
Stansfield, Manning & G Drive
Under the Hairpin
The ground around the Hairpin was fought over twice: in the trenches above and in the chalk beneath them. British and German tunnellers drove towards one another, listened for the sound of digging and laid explosives under opposing positions. As the underground war developed, British engineers also needed protected routes for the men, equipment and supplies serving this exposed part of the front. Stansfield Subway and the later Manning workings grew within that larger network.
The names describe connected parts of the underground position. Stansfield and Manning identify neighbouring and ultimately connected subway routes, while G Drive, the upper and lower laterals and the numbered fighting galleries identify parts of the associated mining system. A lateral ran across the front, linking drives and the narrower galleries that reached towards the opposing line. Together they formed a network that developed in stages.
A front shaped by the Battle of Loos
The Battle of Loos opened on 25 September 1915. British troops attacked towards Loos and Hulluch but could not turn their initial advances into a decisive breakthrough. The front settled into a long contest around the British projection known as the Loos salient. At the Hairpin, bends in the opposing trench lines brought the armies particularly close together. Enemy fire threatened troops moving on the surface, while the short distance between the lines encouraged mining below them.
Mine warfare was a struggle for control of ground that infantry could not see. A fighting gallery was usually too narrow to serve as a general thoroughfare: its immediate purpose was to approach an enemy position, carry a charge or establish a listening post. Men also dug countermines to intercept hostile galleries. Detonations shattered the chalk and left craters that could become new positions to defend. The craters marked an underground contest that continued long after the fighting of September 1915. The Commonwealth War Graves Commission’s account of Corporal James Wishart records three British mines blown at the Hairpin on 4 May 1916 and a German counterattack resisted by the Cameron Highlanders. The explosion was only one moment in a continuing struggle to occupy and hold the ground it created.
The British scheme began to take shape across the connected frontage in the second week of January 1916, when the 253rd Tunnelling Company opened work in four sectors: No. 1 Section at the Hairpin, No. 4 at the Quarries, No. 3 at St Elie and No. 2 at Hulluch. The arrangement shows that the Hairpin workings were conceived as part of a wider mining front from the outset. The Quarries sector passed to the 180th Tunnelling Company on 23 March, while responsibilities elsewhere continued to change as the underground battle developed.
The tunnelling-company diaries reveal how fiercely the Hairpin frontage was contested. In April 1916, the 180th Tunnelling Company recorded German mines and damage to its galleries there. On 15 April, a German explosion threw a large quantity of chalk into one gallery and buried a non-commissioned officer; another mine followed on 16 April. The company also dealt with suspected German digging near the Kink. This mining front shaped the protected routes that later served the infantry.
In June 1916 the 180th diary places its No. 2 Section at the Hairpin and its Nos. 1 and 3 Sections at the Quarries. After further German mining activity, additional men were assigned to the Hairpin. On 14 June, the company handed its mine at Border Redoubt to the 170th Tunnelling Company and moved its No. 4 Section to a mine behind Brookwood Trench, between the Quarries and Hairpin.
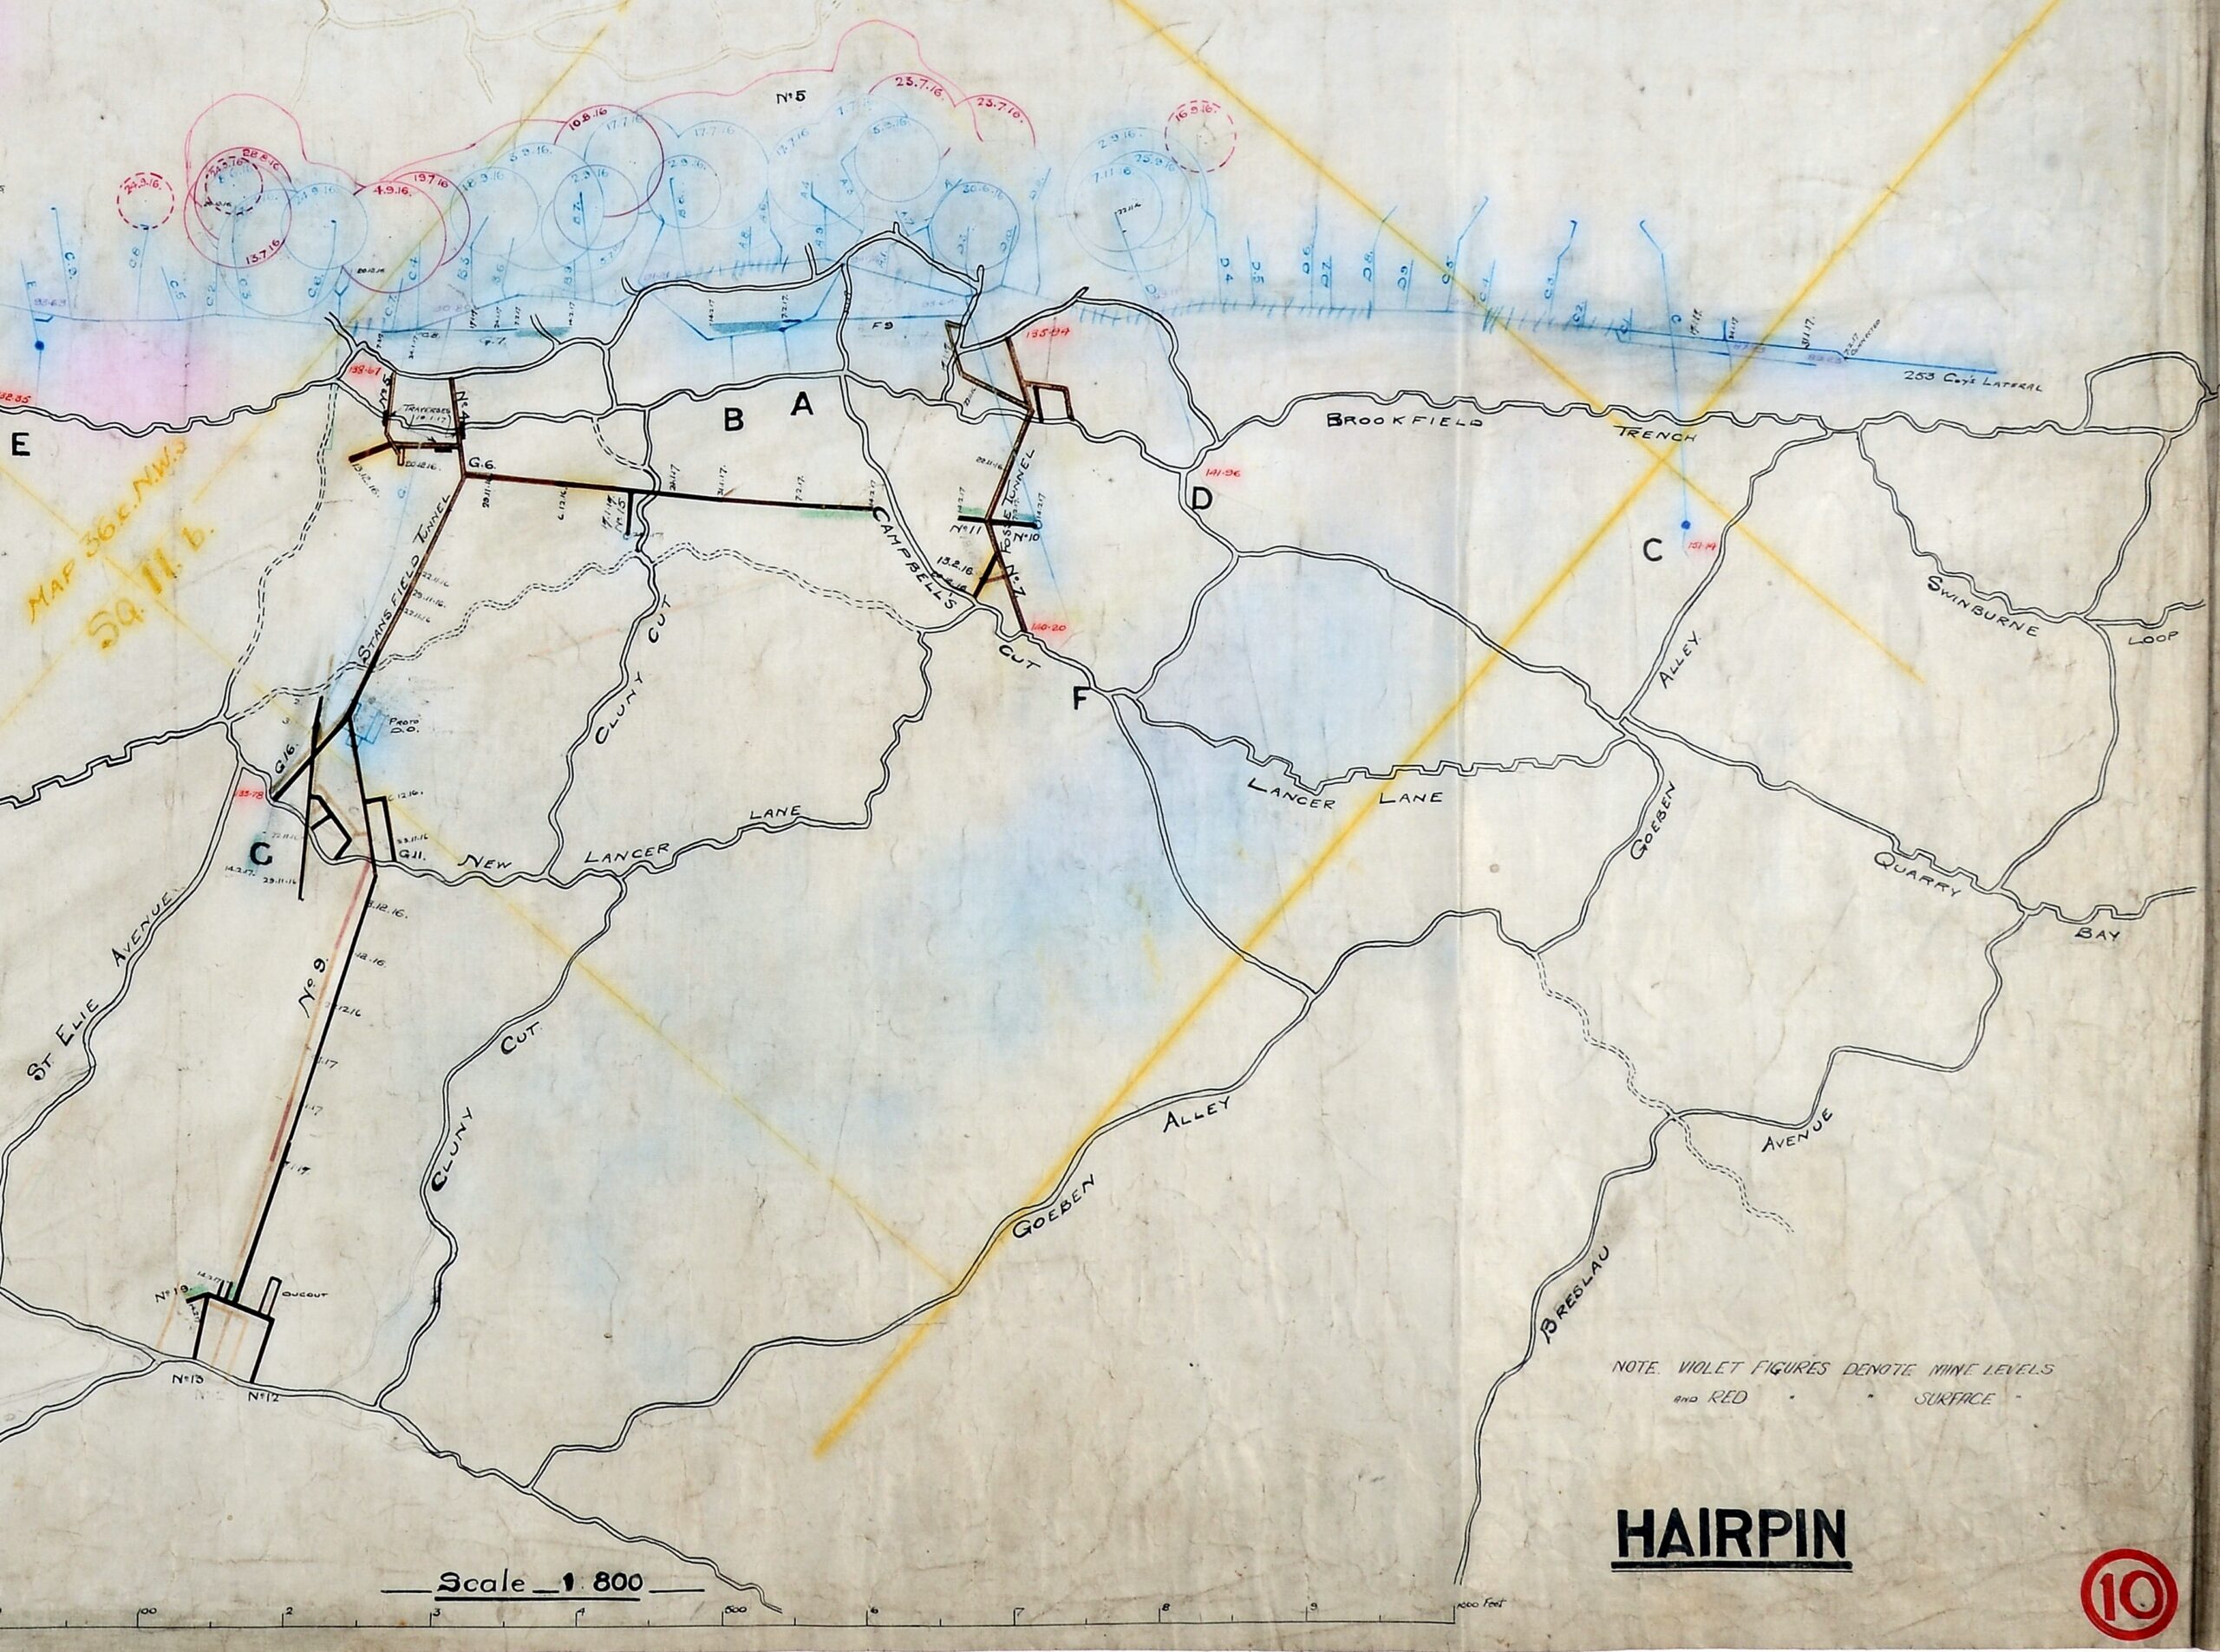
As the system expanded, its passages acquired distinct roles. Laterals connected existing shafts beneath the surface, while narrower listening galleries were driven towards the enemy to provide warning of hostile mining. The larger communication subways were designed for movement by the garrison and were normally excavated to about 6 feet 6 inches high by 3 feet wide, enough for an infantryman to pass with his rifle slung. A Hairpin mining plan, revised between November 1916 and February 1917, records these drives and laterals beside the larger subway arrangements. Some passages unfinished on that plan were subsequently carried through.
From mine galleries to Stansfield Subway
As infantry fortified the crater line, engineers developed sheltered passages behind it. German observation and trench-mortar fire made movement between the crater posts and the rear dangerous. A history written by an officer of the 1/8th Sherwood Foresters describes posts around the craters linked by steps to the tunnels of the broader St Elie sector.
Mining still required shafts, listening positions and routes for spoil removal, but the front also needed dependable communication beneath the reach of artillery and trench mortars. Stansfield Subway became a larger route for sheltered movement towards the Hairpin posts. Its rail line allowed small wagons to carry material through the chalk instead of relying entirely on exposed surface routes.
The system was used for shelter as well as movement. In July 1917, the 1/8th Sherwood Foresters held a front running from Stansfield Posts through Hairpin Craters, North and South Craters and Border Redoubt. Three companies manned the line; the fourth was in support, living mostly in Stansfield Tunnel. Their battalion headquarters was in a dugout on Stansfield Road. These details from the battalion’s published history place real troops inside the subway and in the positions it served. The divisional engineers’ diary records an inspection of the Stansfield entrances on 4 September.
Weetman describes how passages across the St Elie sector connected to mine shafts and acquired rooms, timber-and-wire beds, electric light, cooking equipment and wells. Doors and gas blankets protected parts of the network against a gas attack, while electric bells linked sentries at the crater posts to men sheltered below. His description covers the wider tunnel network; his statement that the support company lived mostly in Stansfield Tunnel identifies Stansfield itself as one of its occupied routes. He also records the strain of long periods underground. A battalion order for the July relief prohibited fires in both the trenches and tunnels and required the unit’s cooks to be brought forward. Even where men lived below ground, meals and fire precautions had to be organised as part of the position.
The different kinds of passage did different jobs. The subway was a route towards the front; a drive carried workers into the deeper mining area; the laterals linked a succession of forward galleries. In those galleries, men watched and listened for the enemy underground. Openings and chambers at junctions gave space for stores, services or men working the system. These functions overlapped physically: a soldier could leave the larger Stansfield passage and enter a much narrower mining route within the same connected complex.
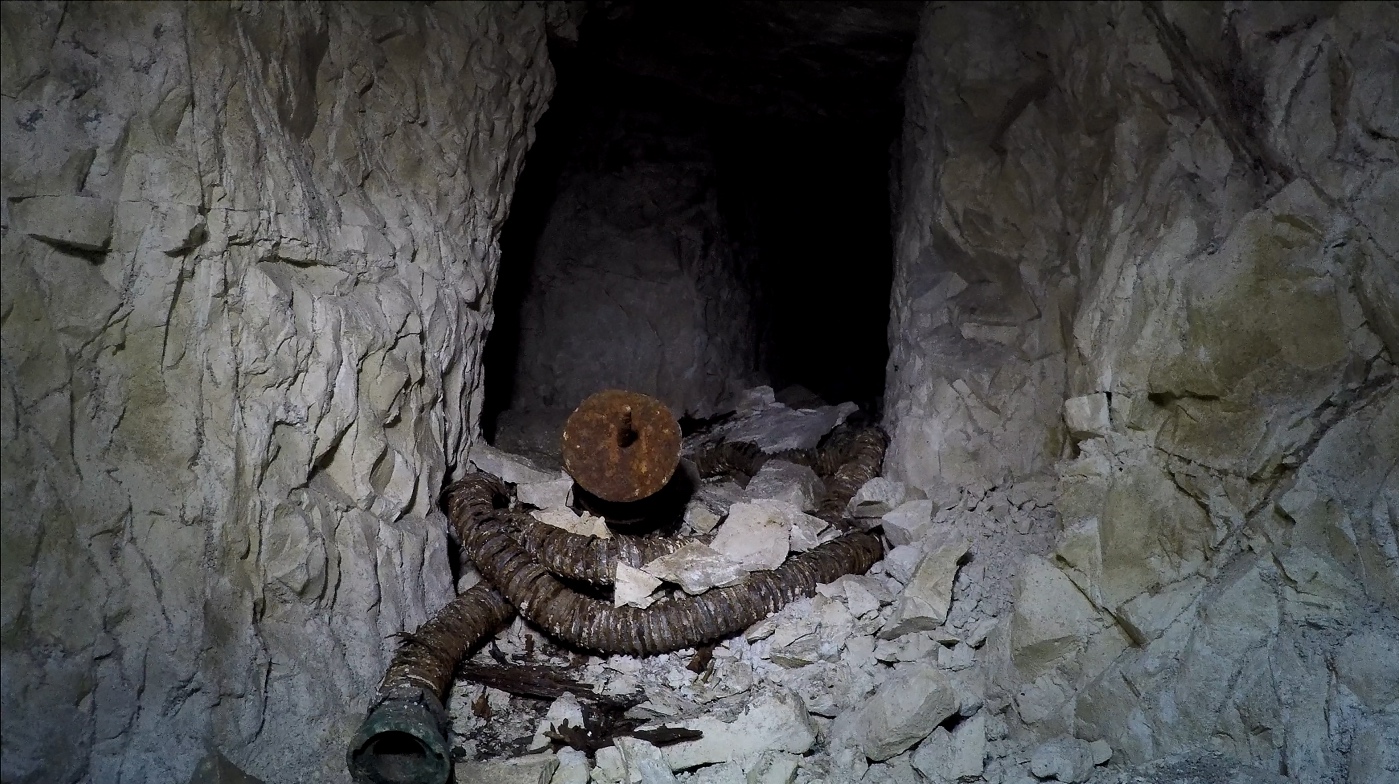
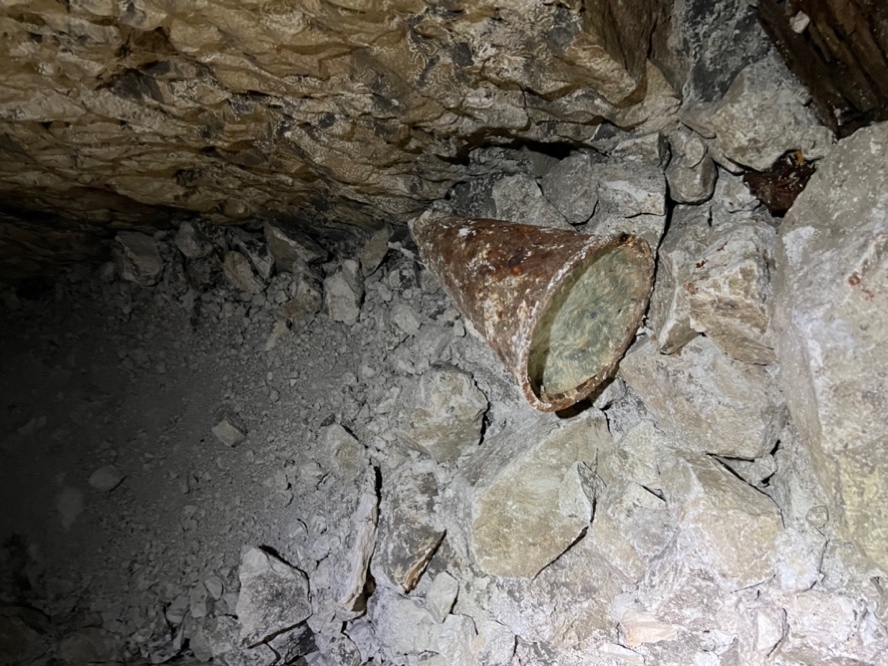
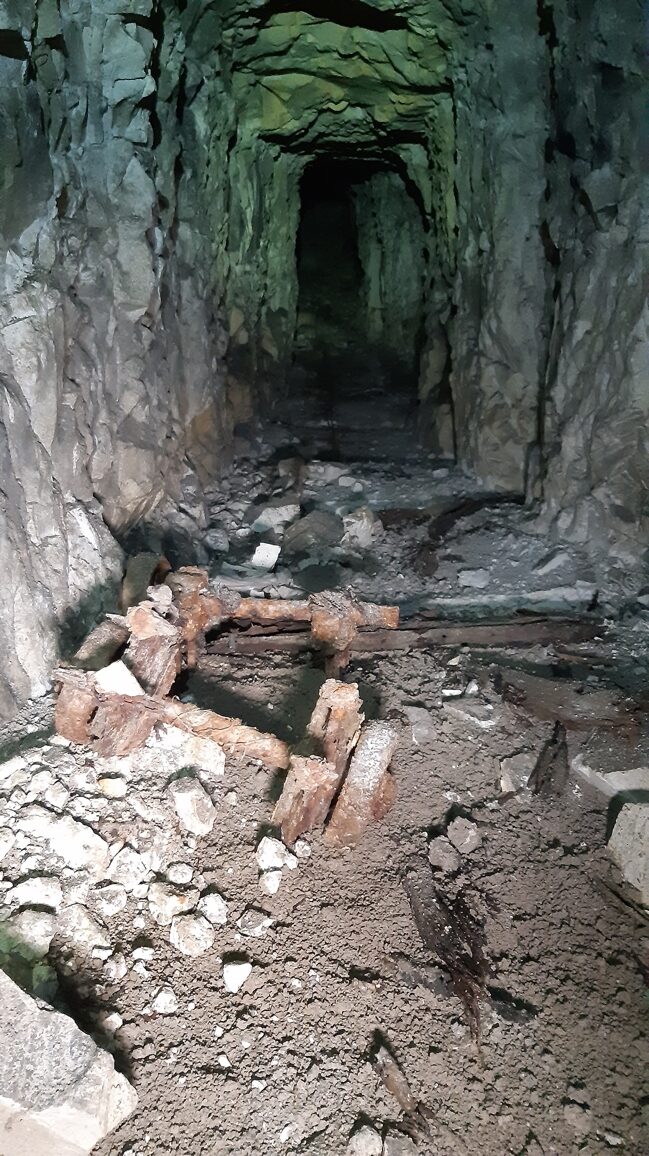
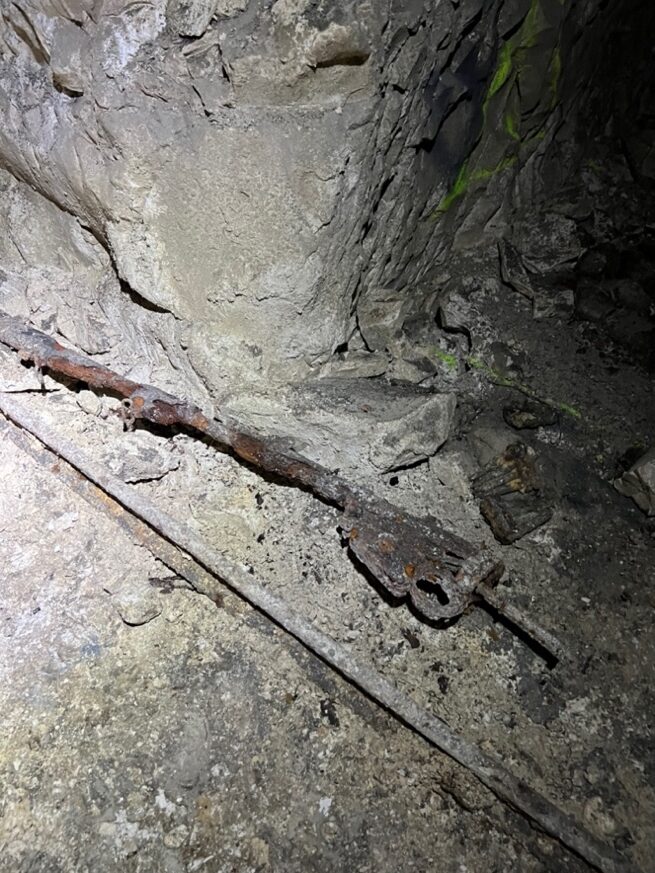
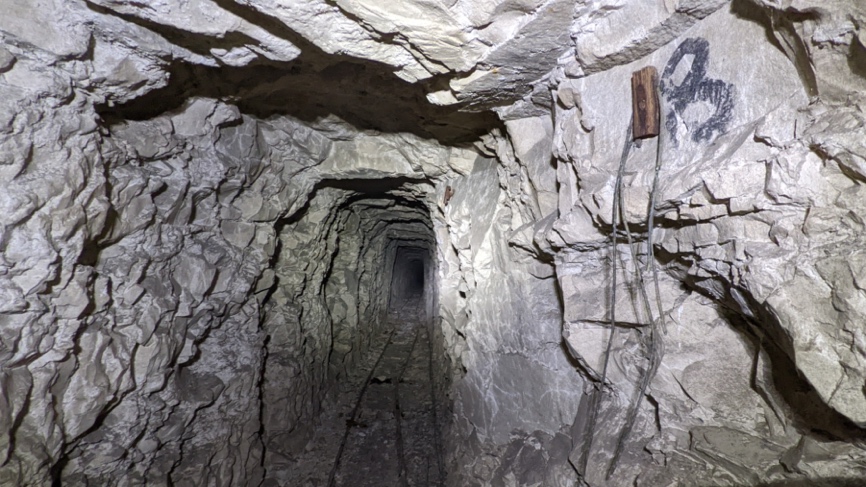
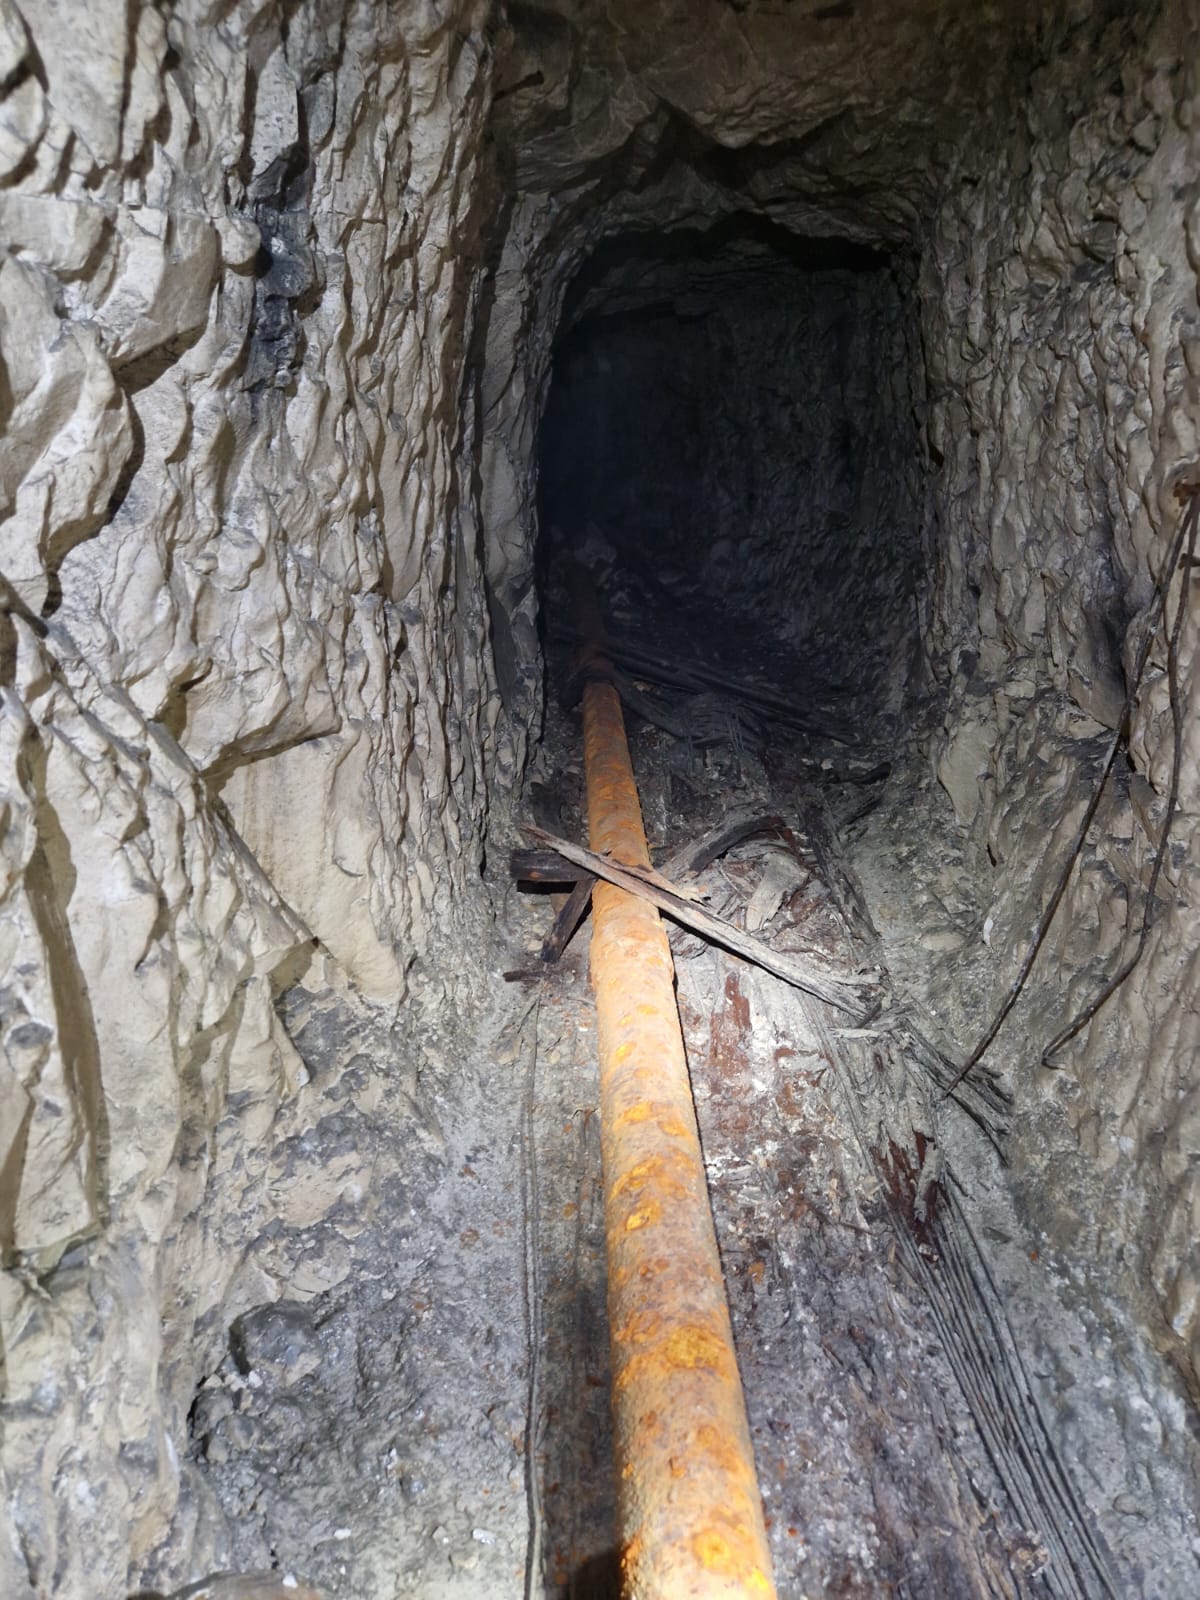
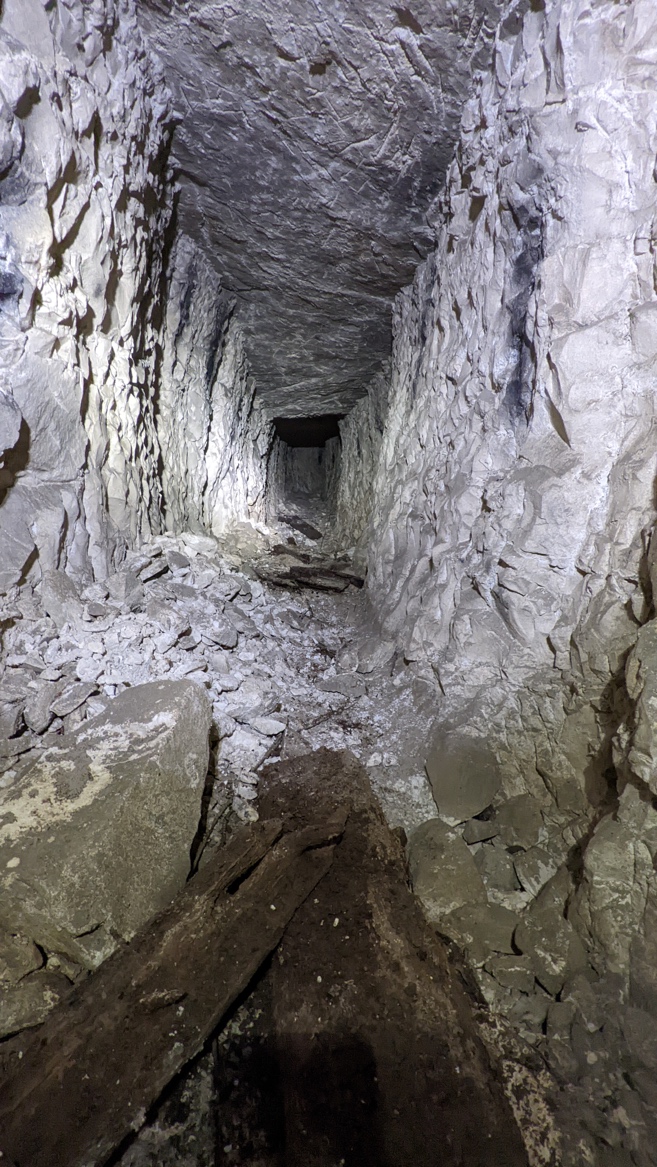
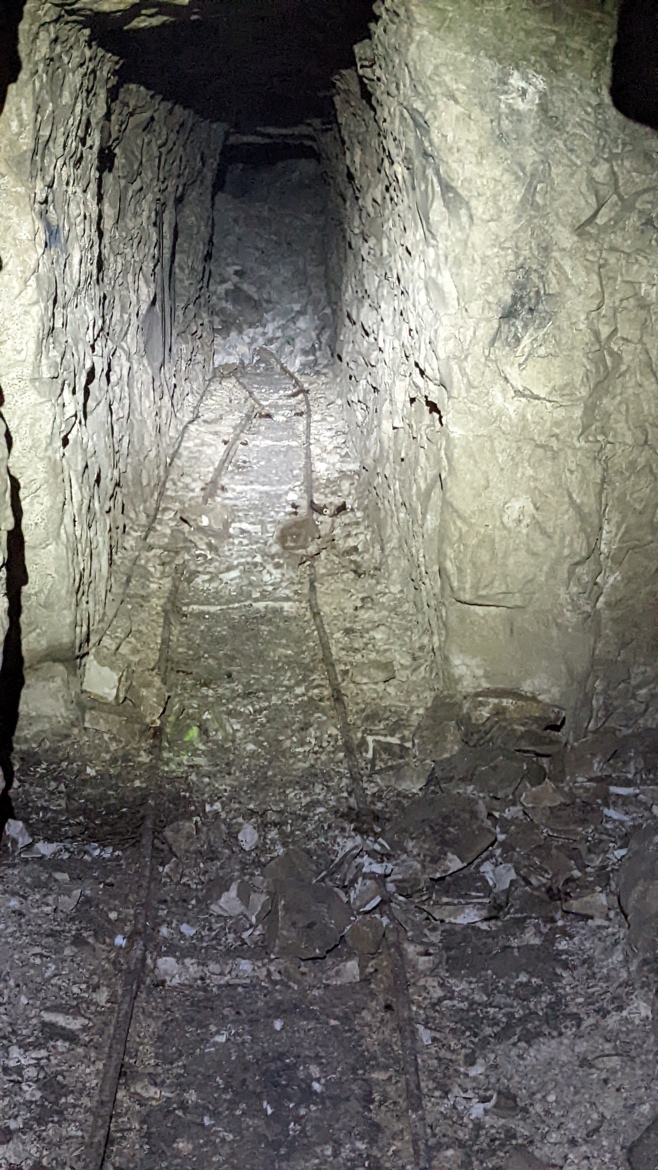
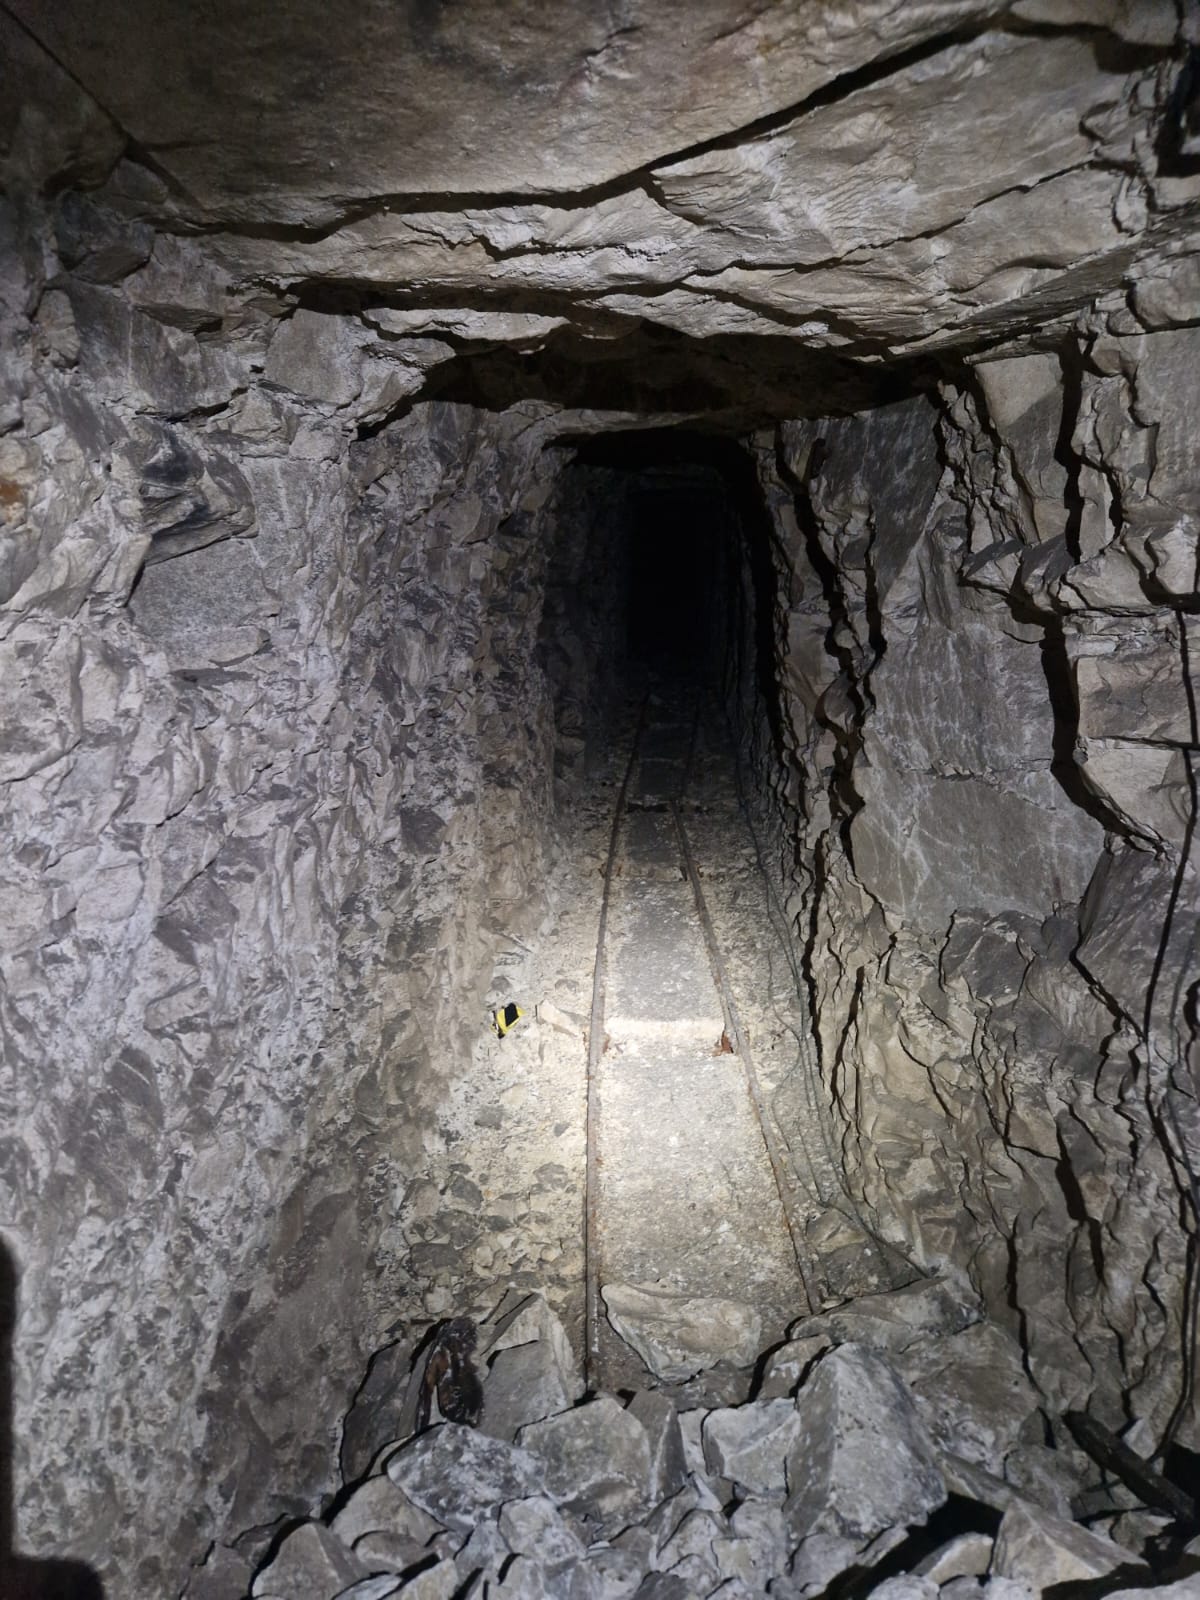
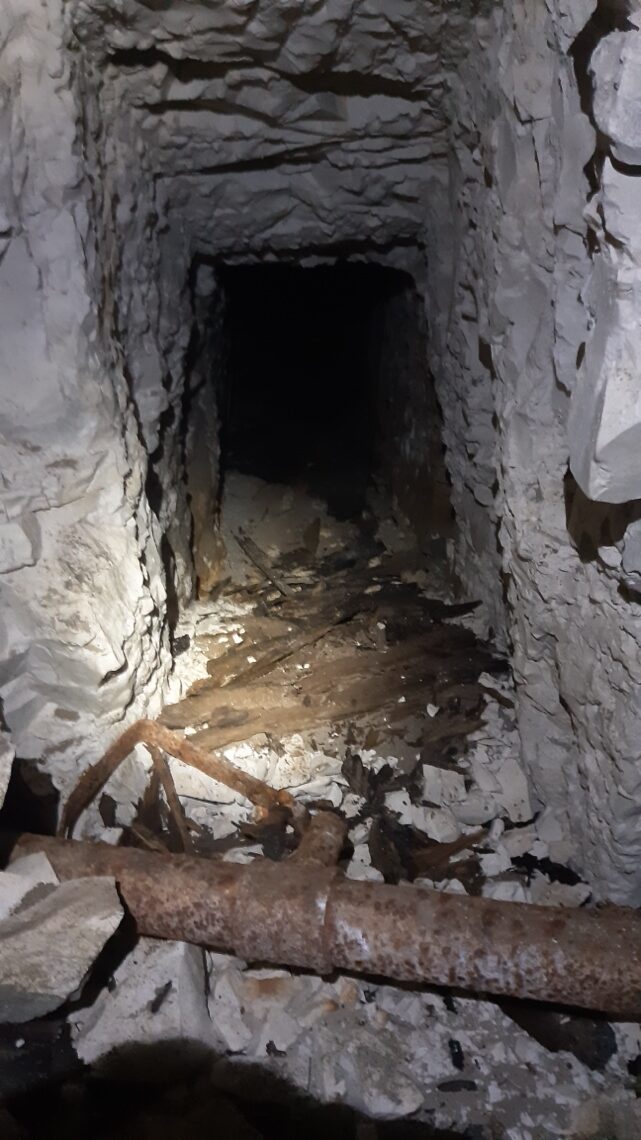
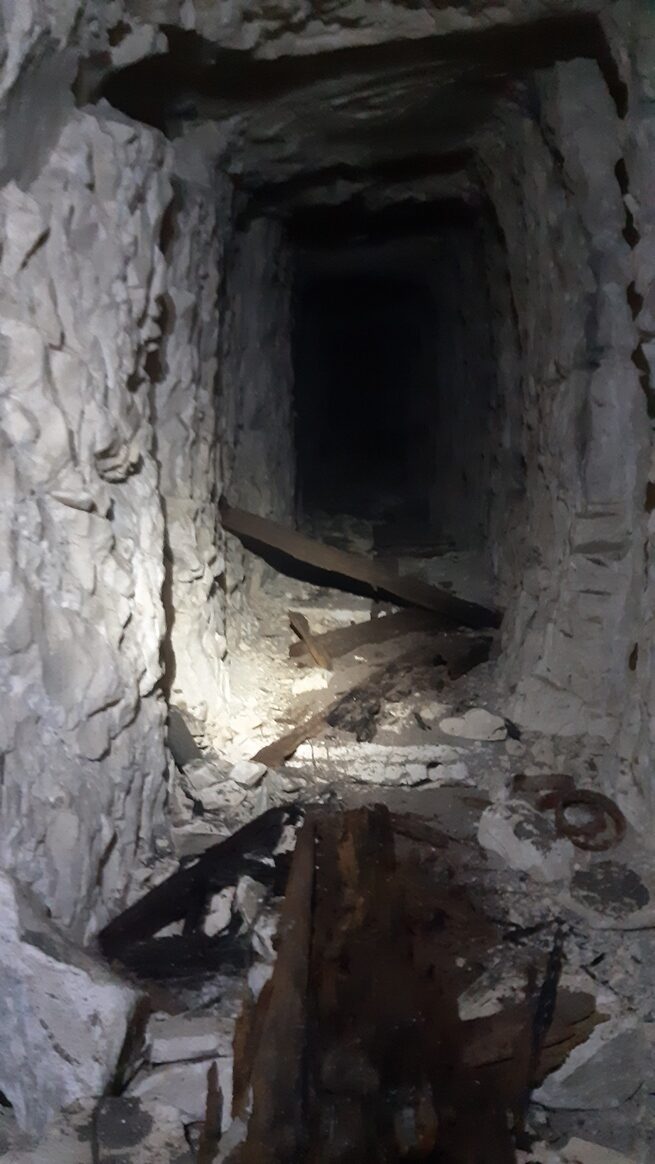
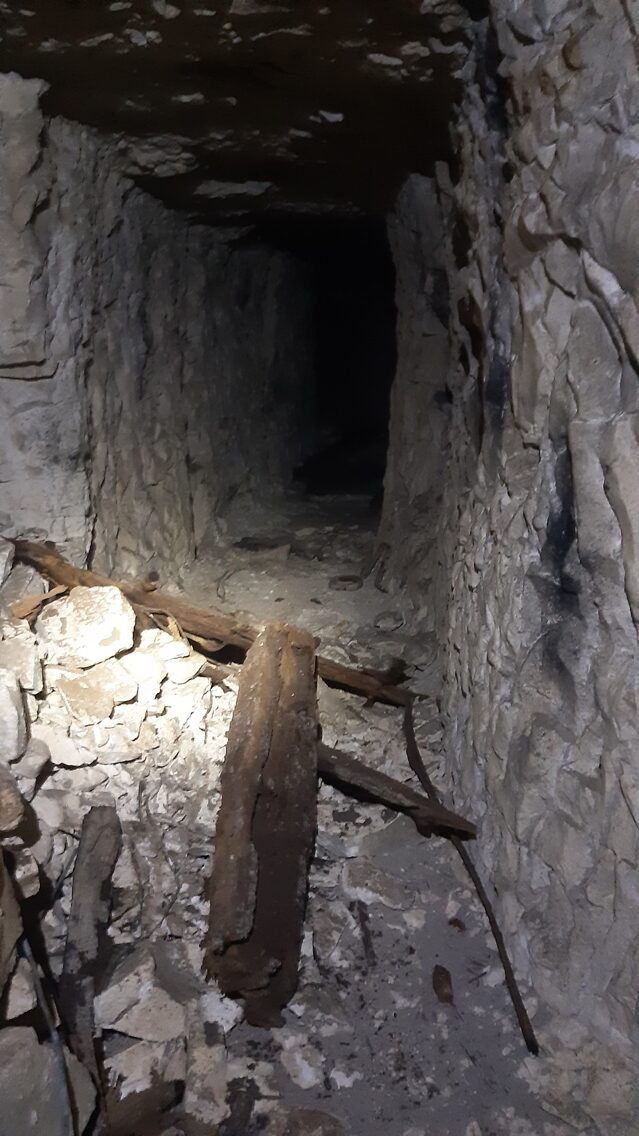
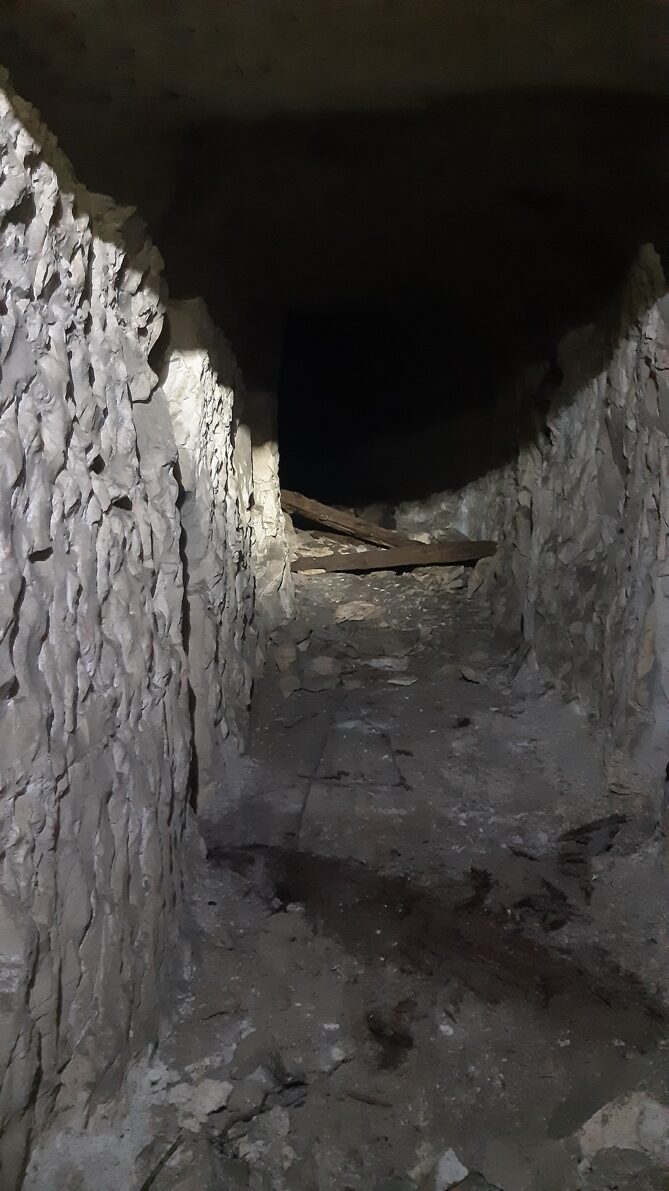
The surviving Stansfield section preserves light railway track, ventilation pipe and a side passage with chambers. An opening cut through the chalk once carried electrical and telephone cables. Together these details show what a working subway demanded beyond excavation: transport, air, light and communications all had to reach the men underground. The railway also offered a way to remove chalk spoil as work advanced, helping keep excavation and supply traffic moving away from the threatened surface.
By late 1917 the underground route was being improved as part of a connected operational system. The 3rd Australian Tunnelling Company enlarged—or “stripped”—the mine lateral from the Hairpin towards Hulluch and laid 40-centimetre tramway track through the subways. The work made the route easier to maintain and use, while physically tying the Hairpin workings to the wider underground frontage.
G Drive and the underground front
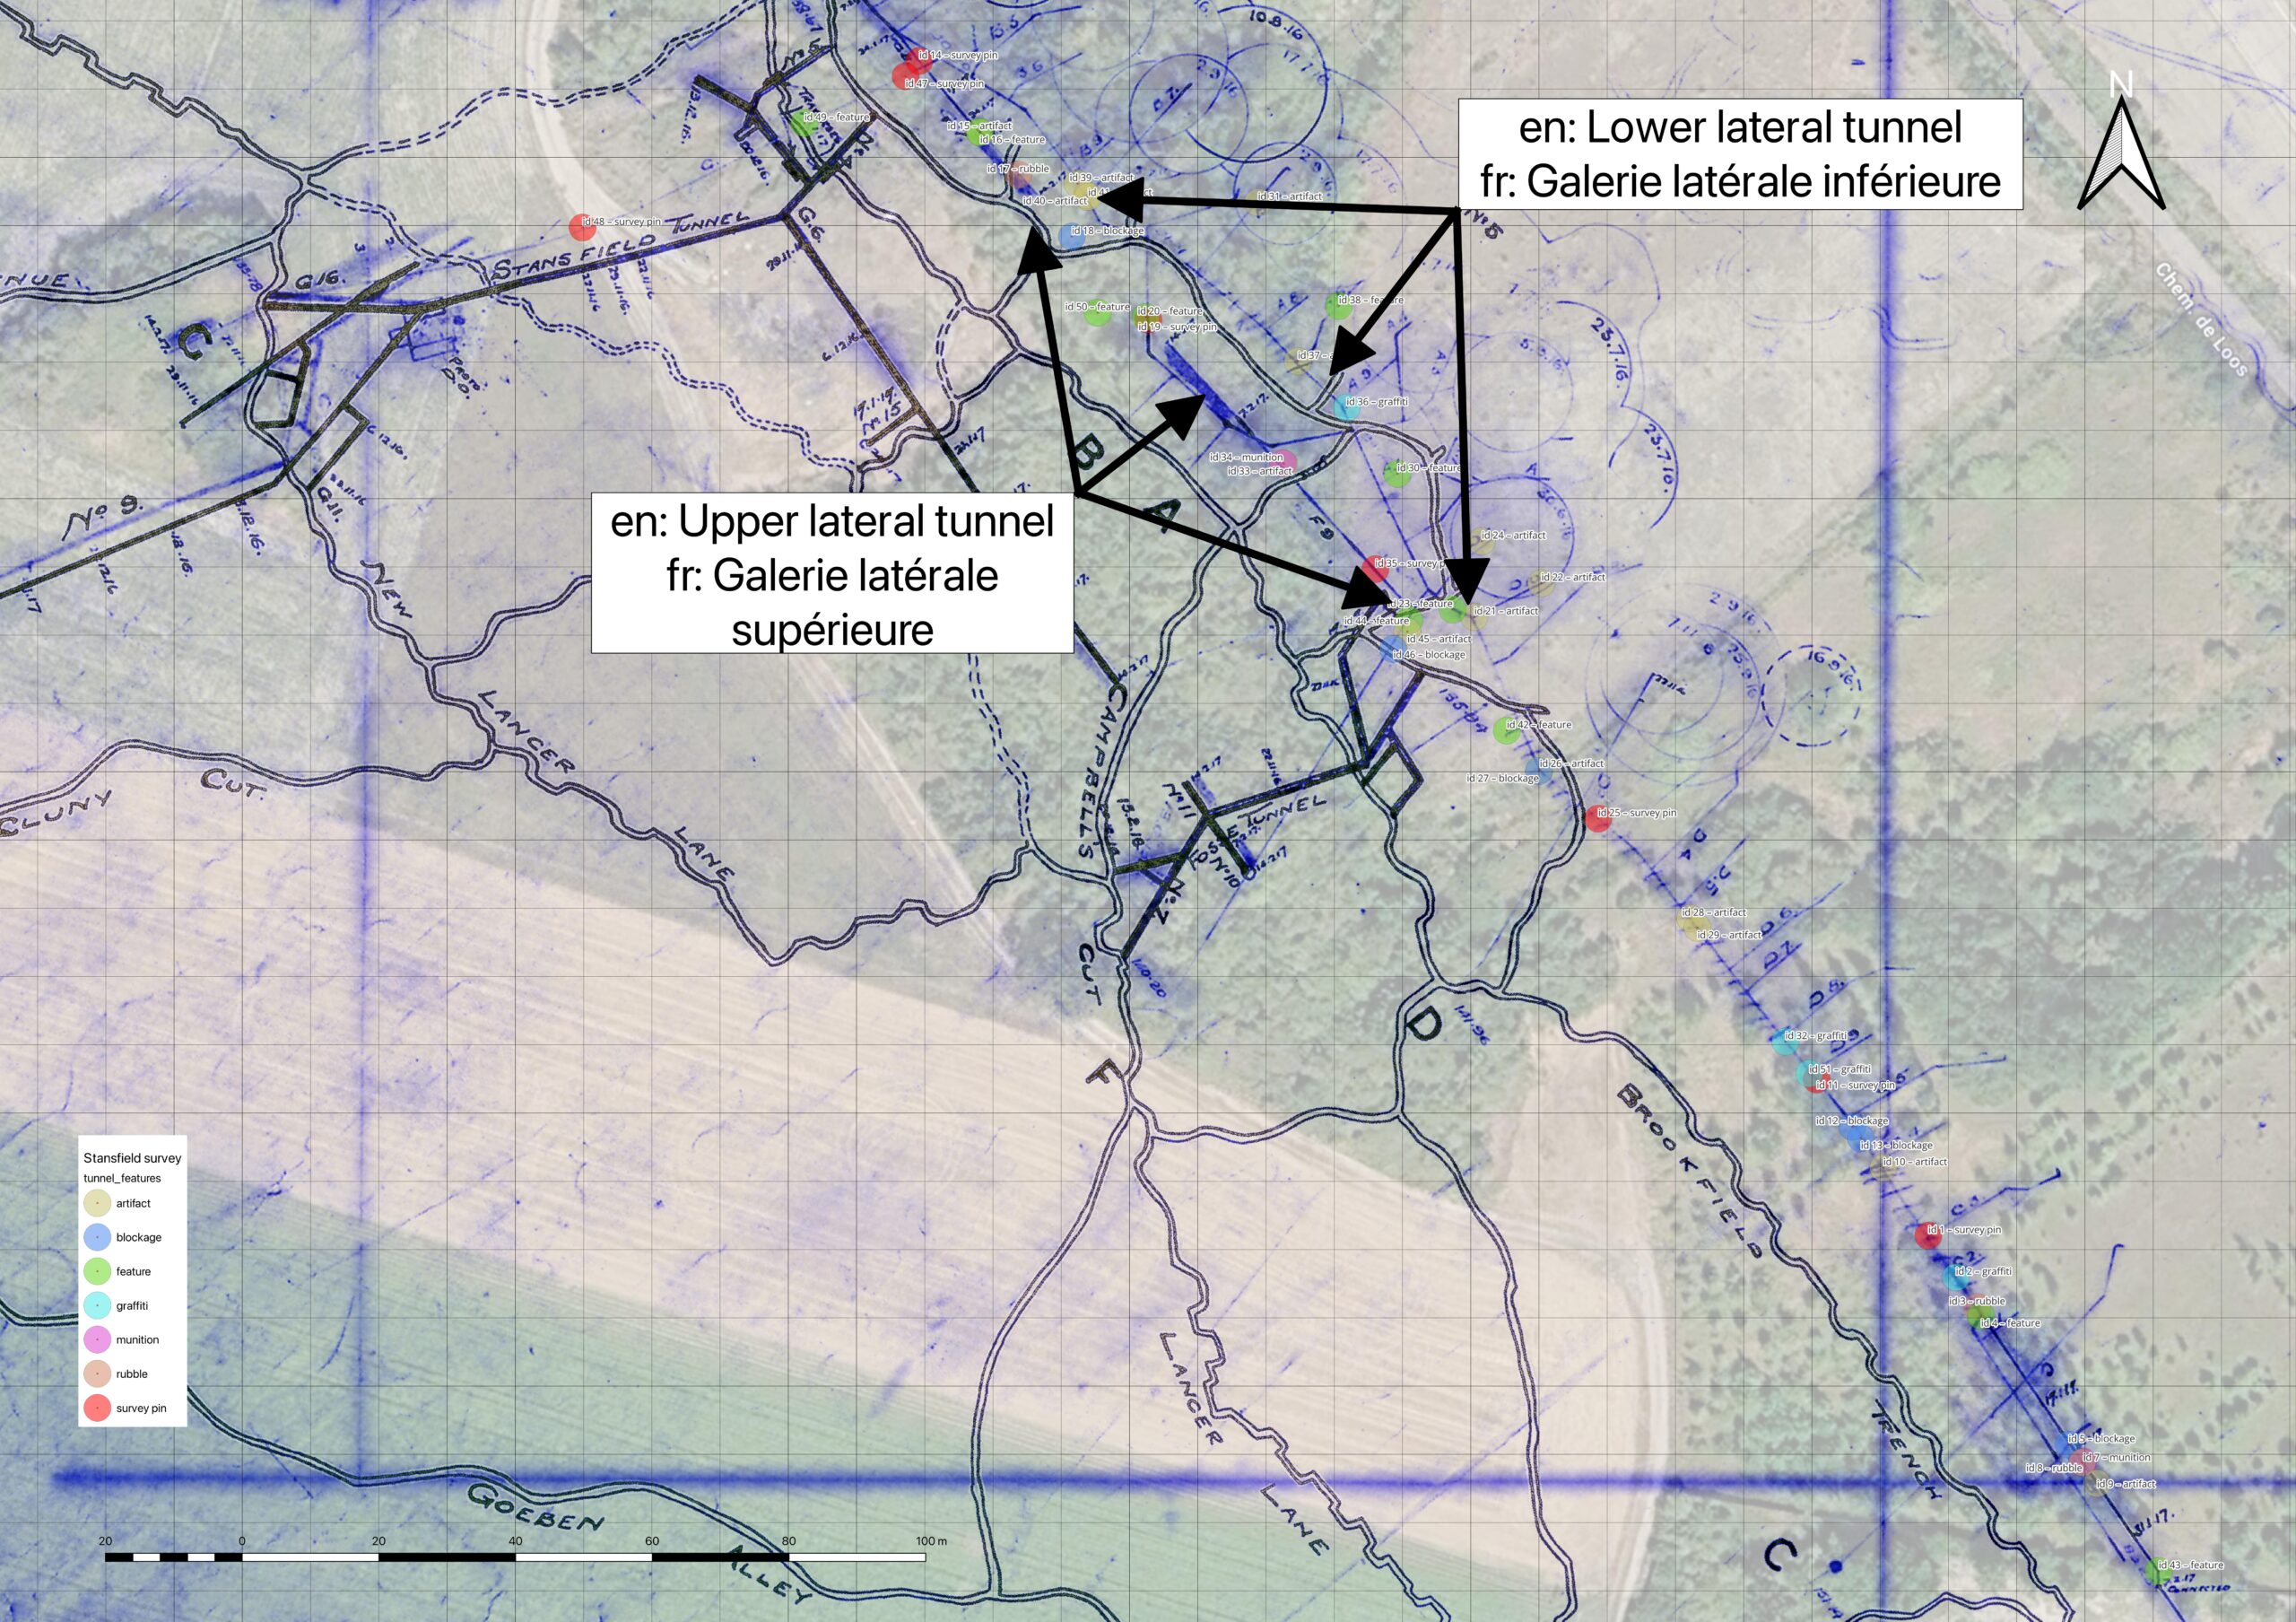
G Drive joined the main Hairpin lateral, from which fighting galleries extended towards no man’s land. Some led to observation or listening positions. The 253 lateral was a linked passage in the southern mining network. These connections placed the Stansfield and Manning routes within a much wider underground front, close to the neighbouring Hulluch–St Elie system.
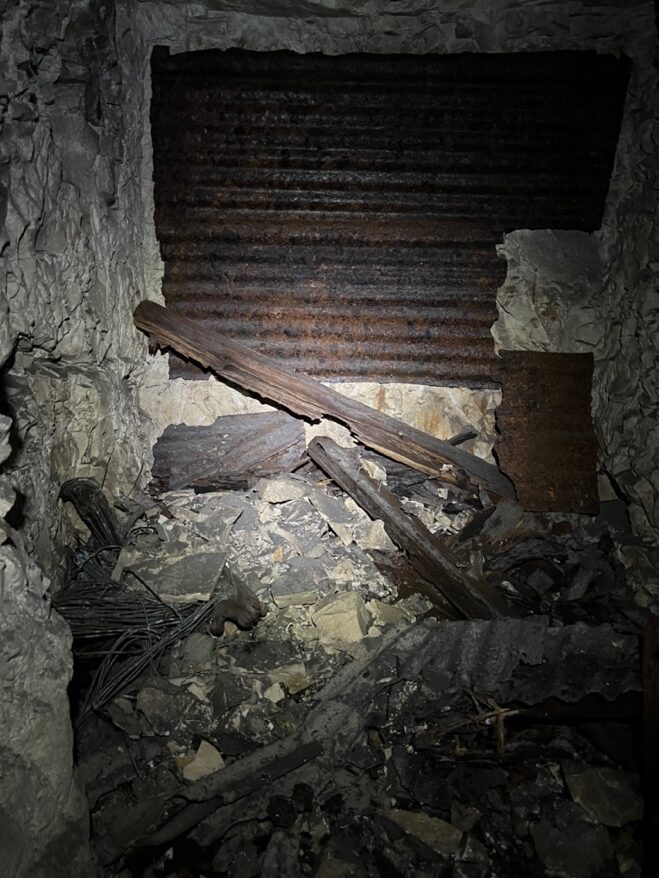
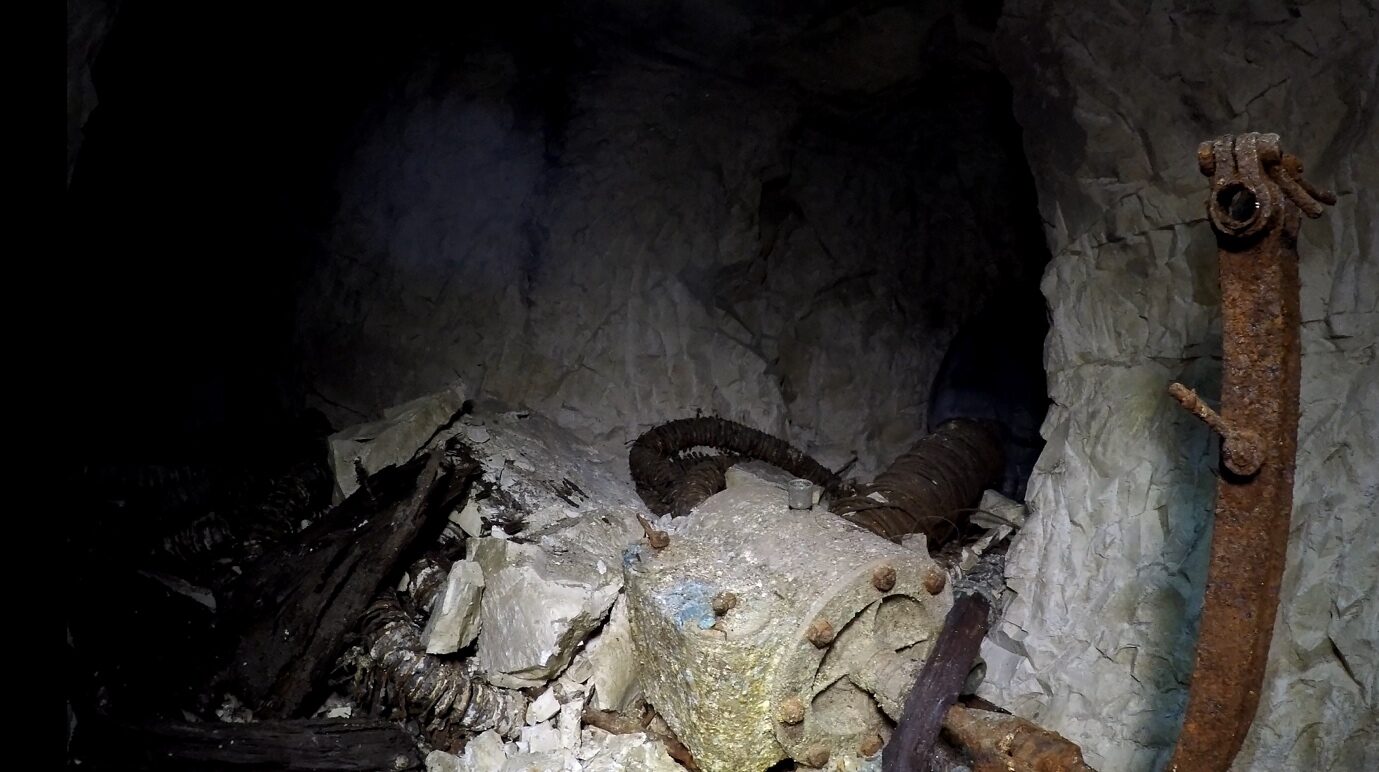
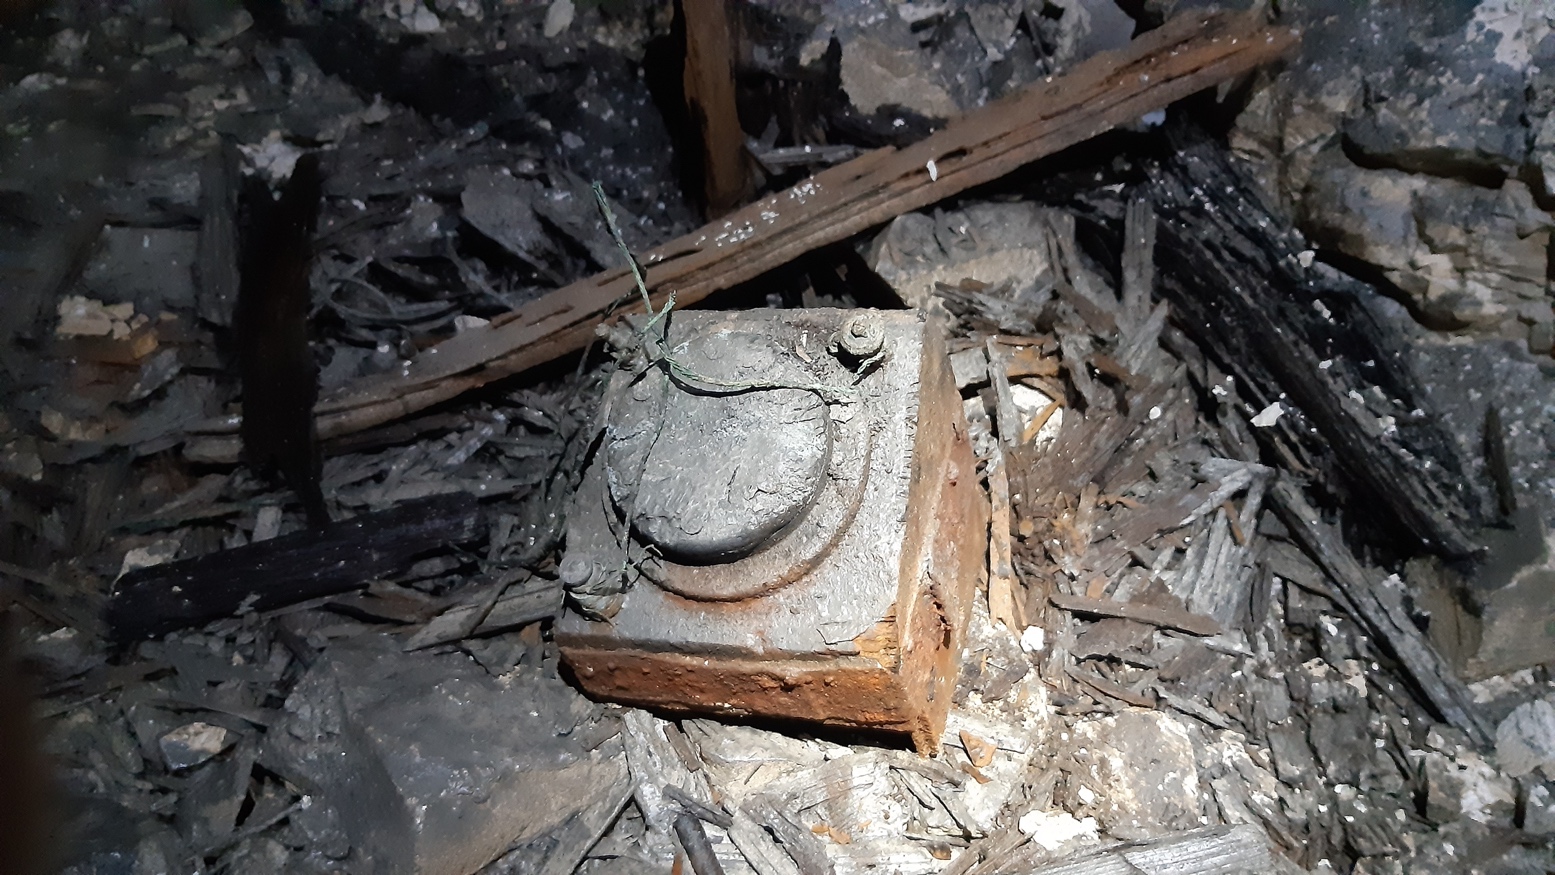
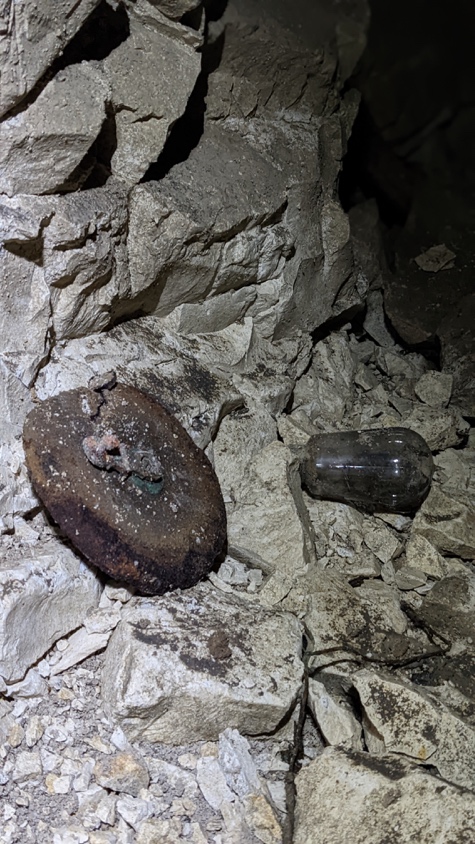
The galleries were a workplace as well as a means of attack. Tunnellers had to keep passages clear, manage water and move air through branches where stagnant or contaminated atmospheres could threaten life. Surviving pipes, wiring, timber and railway fittings belong to that practical history. A pump installation recorded during investigation speaks to the persistent problem of water. The presence of listening equipment reflects the other constant task: detecting an opponent before he could place or fire a mine.
The wartime plan marks a lateral as unfinished when its last corrections were entered on 2 February 1917. The surviving passage continues beyond the unfinished end marked on the plan: construction progressed after that revision. Later excavation and collapse have also changed the network represented by the wartime survey.
Inside the working system
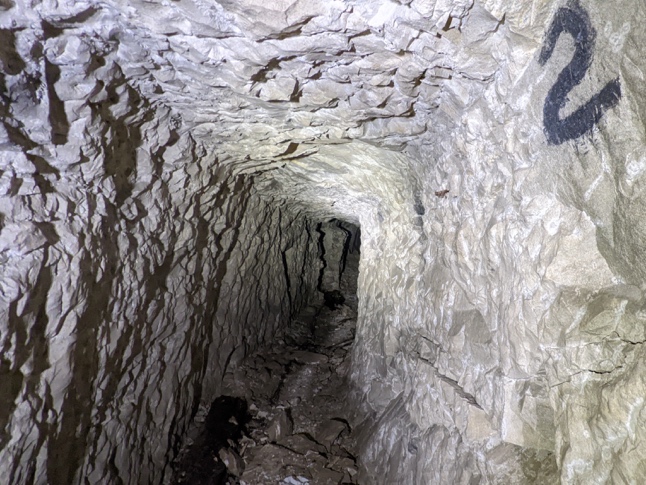
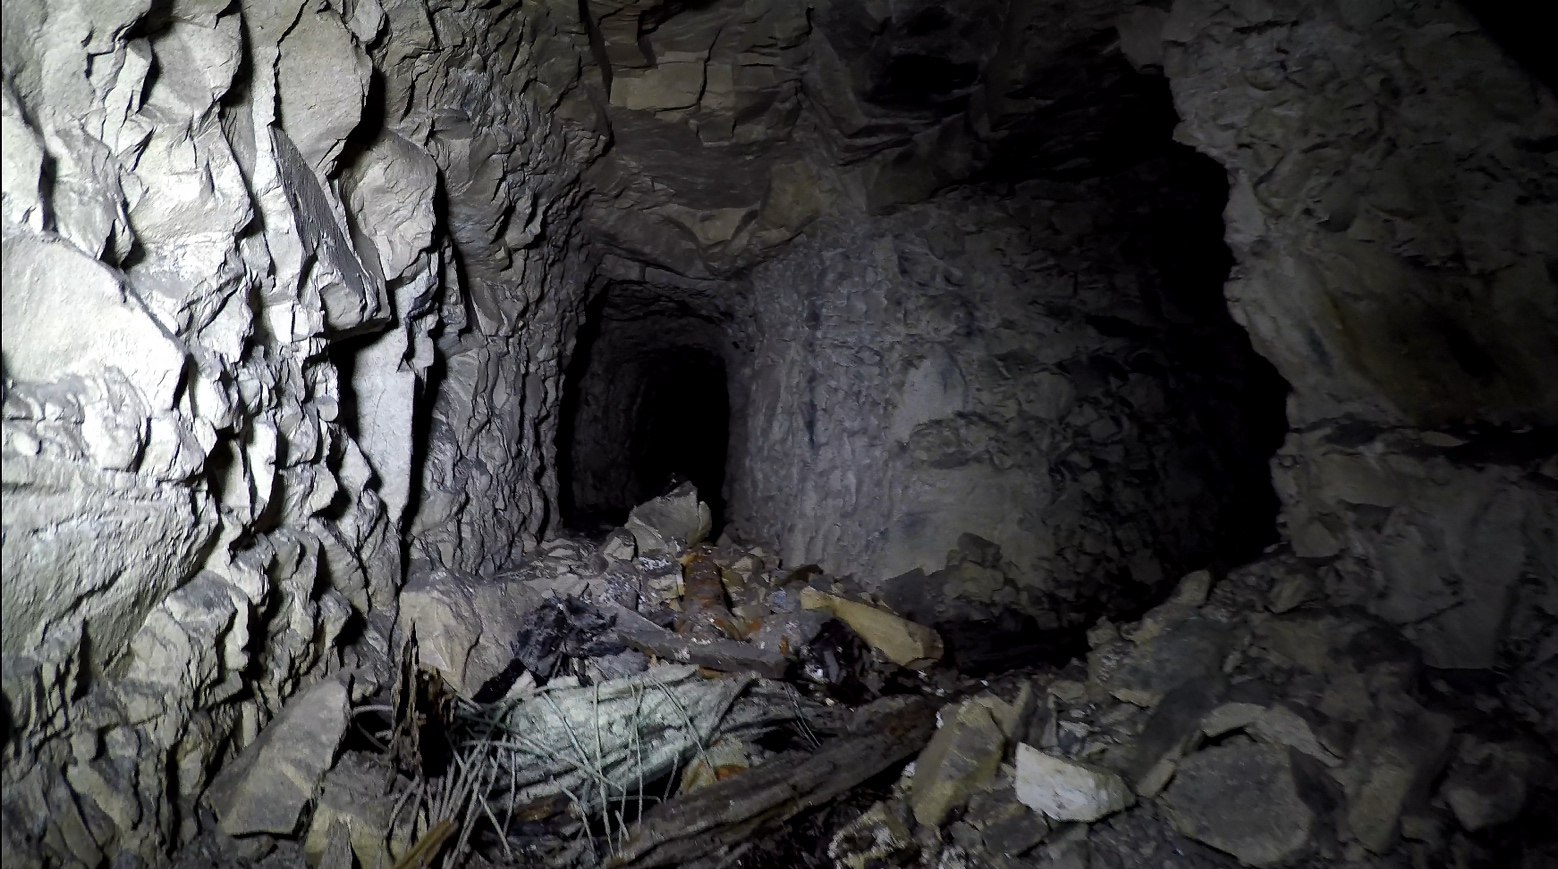
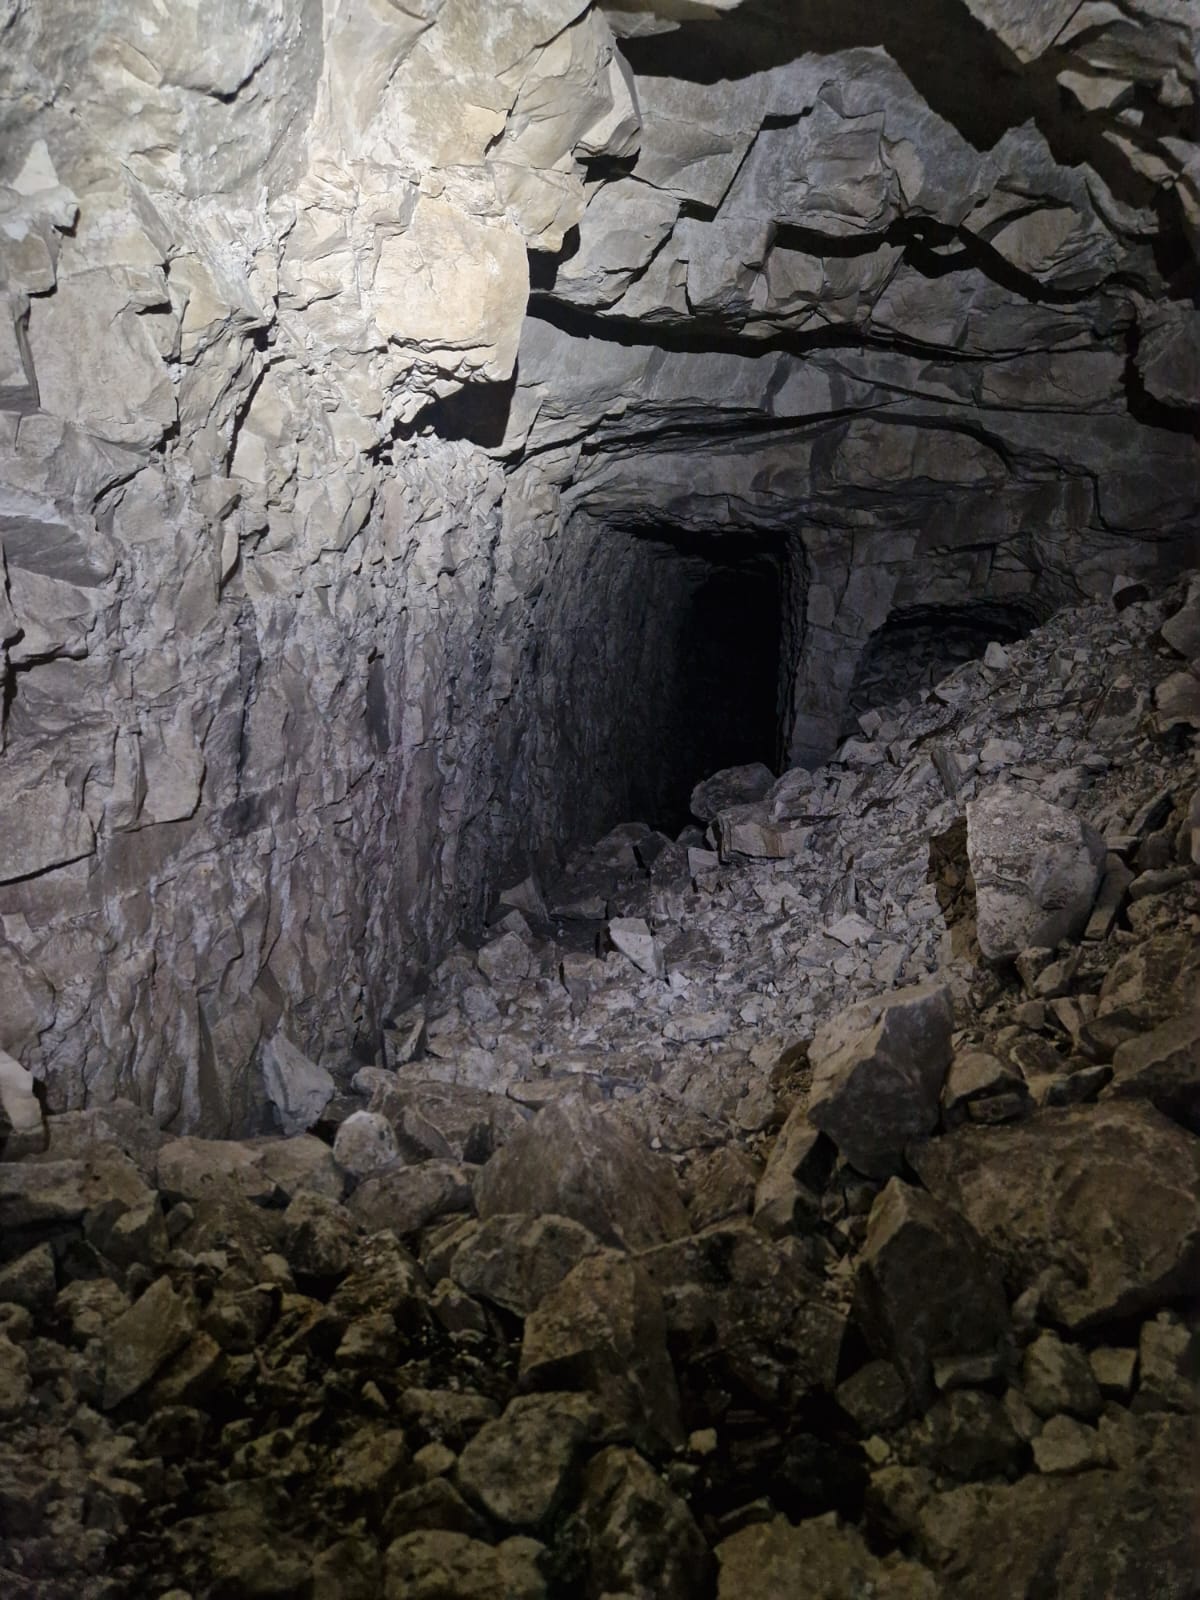
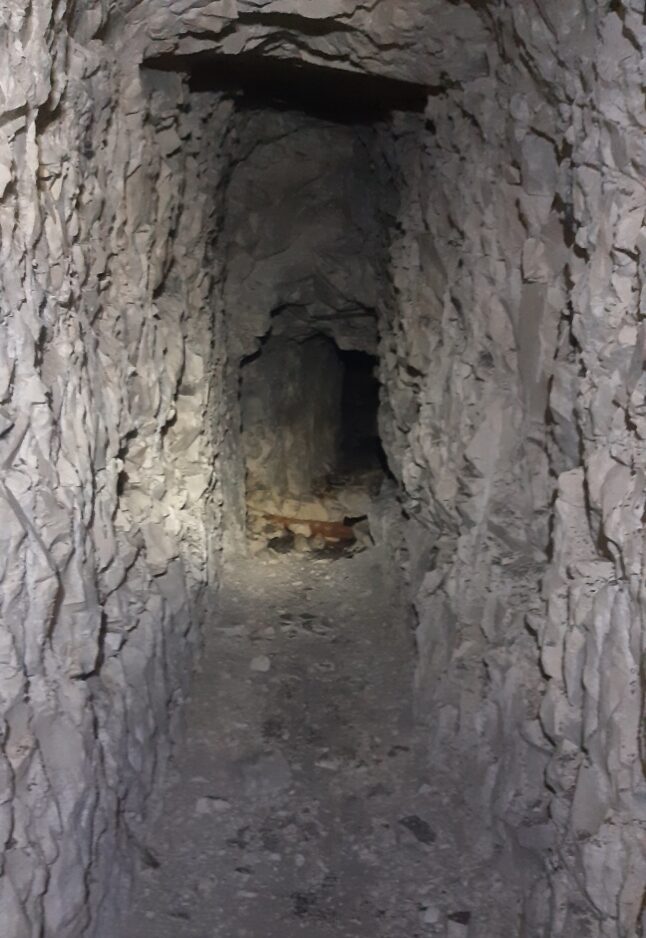
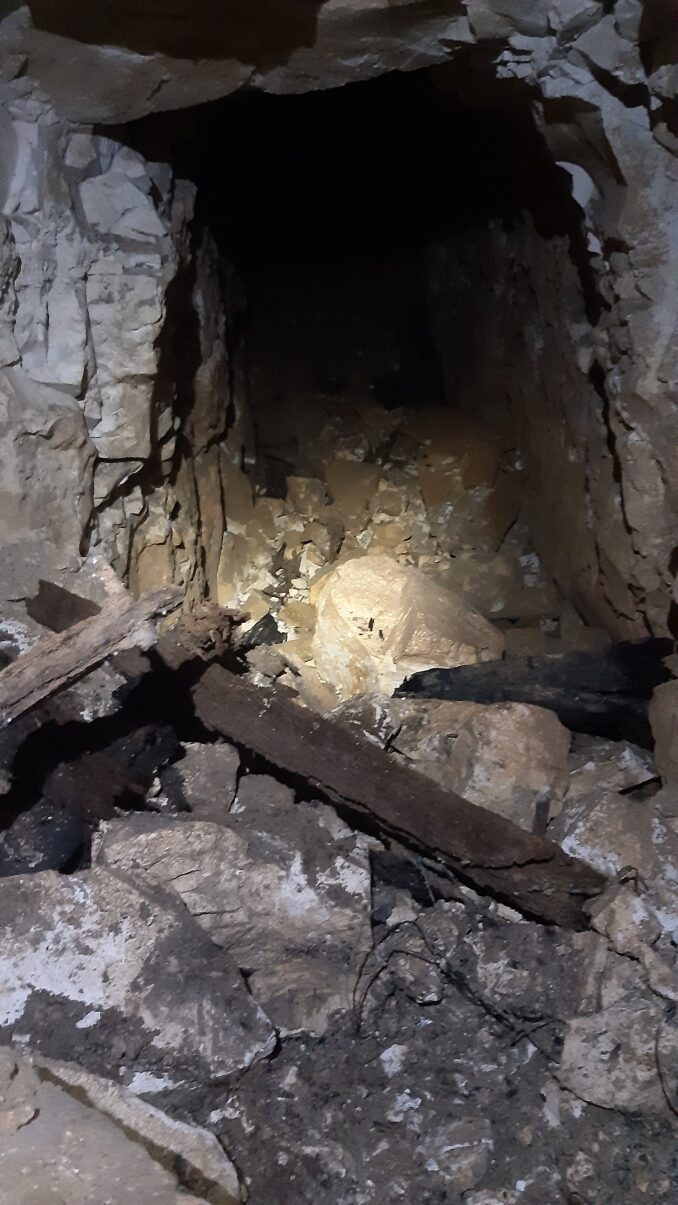
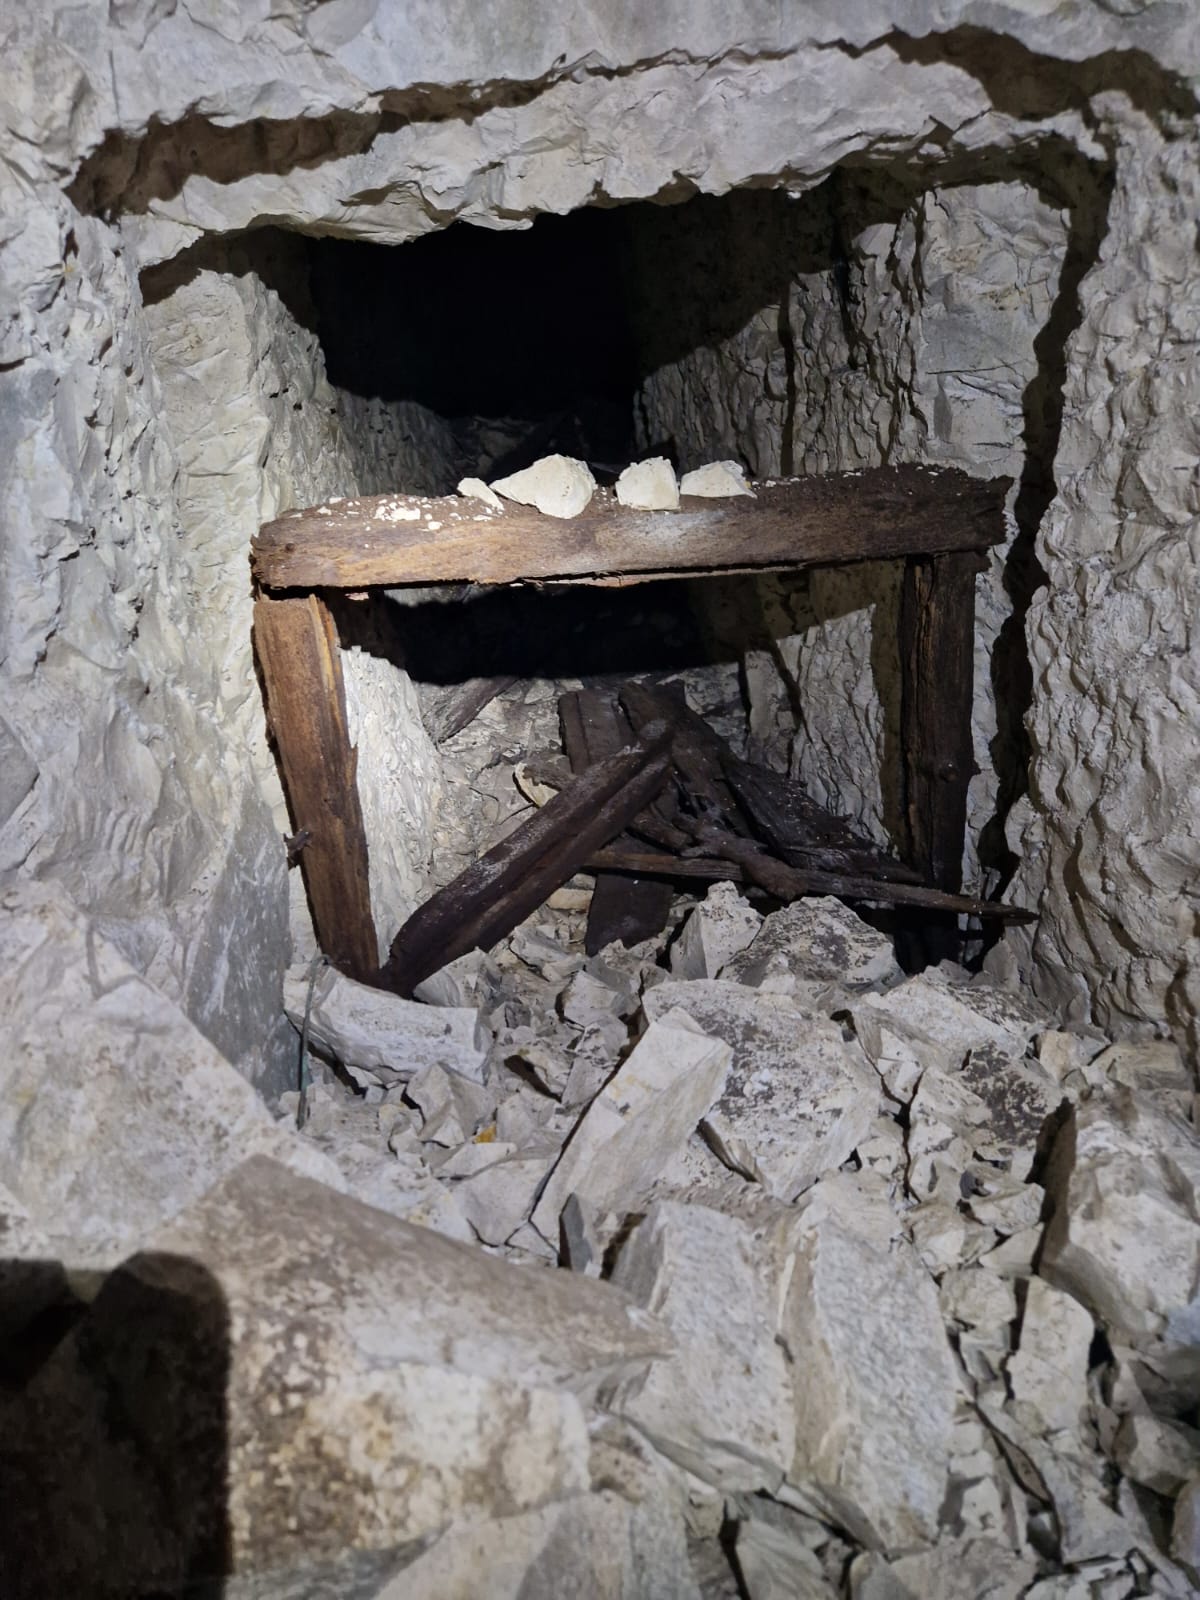
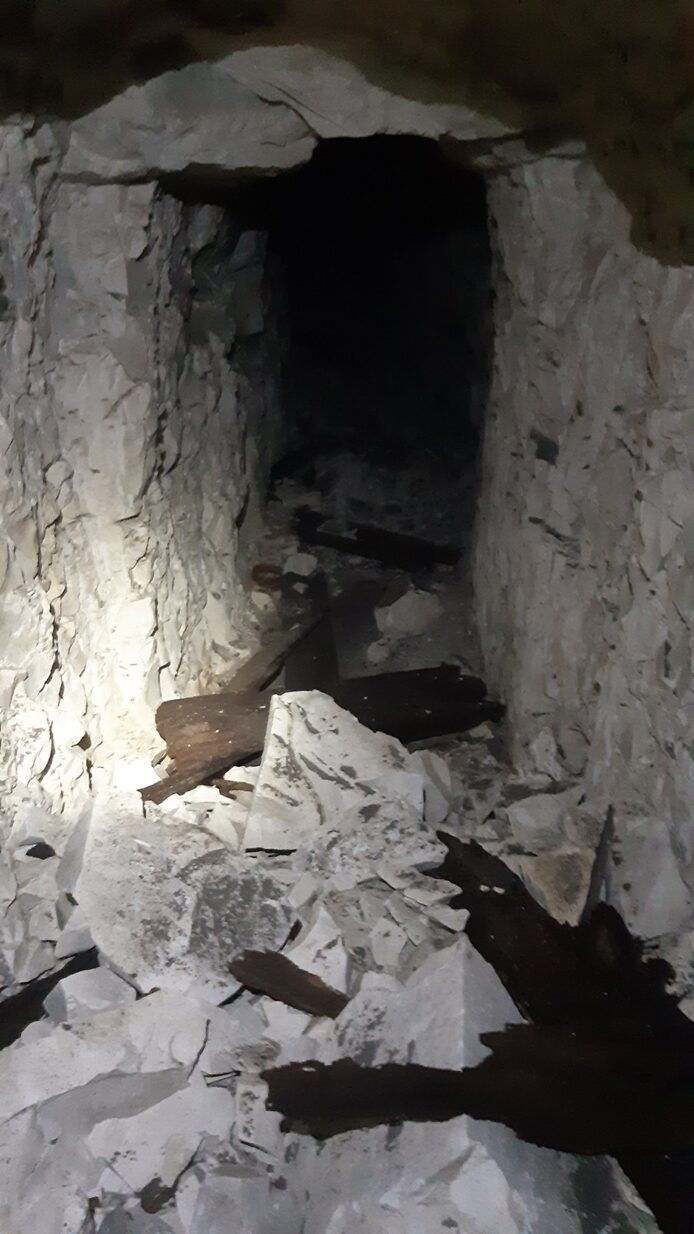
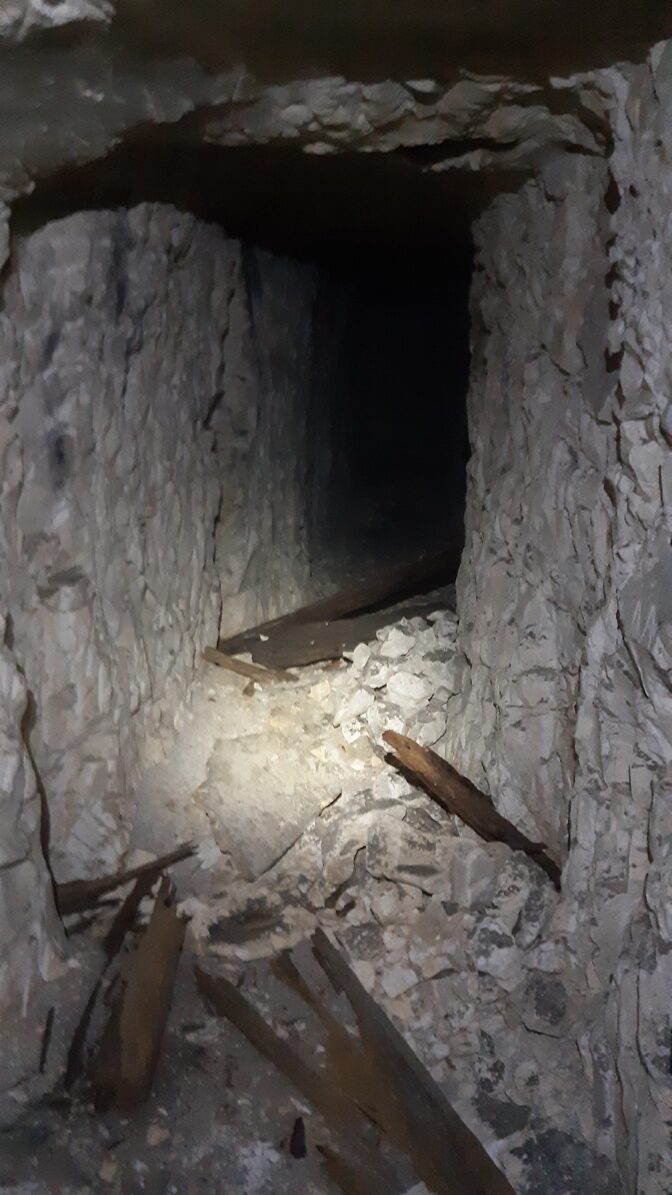
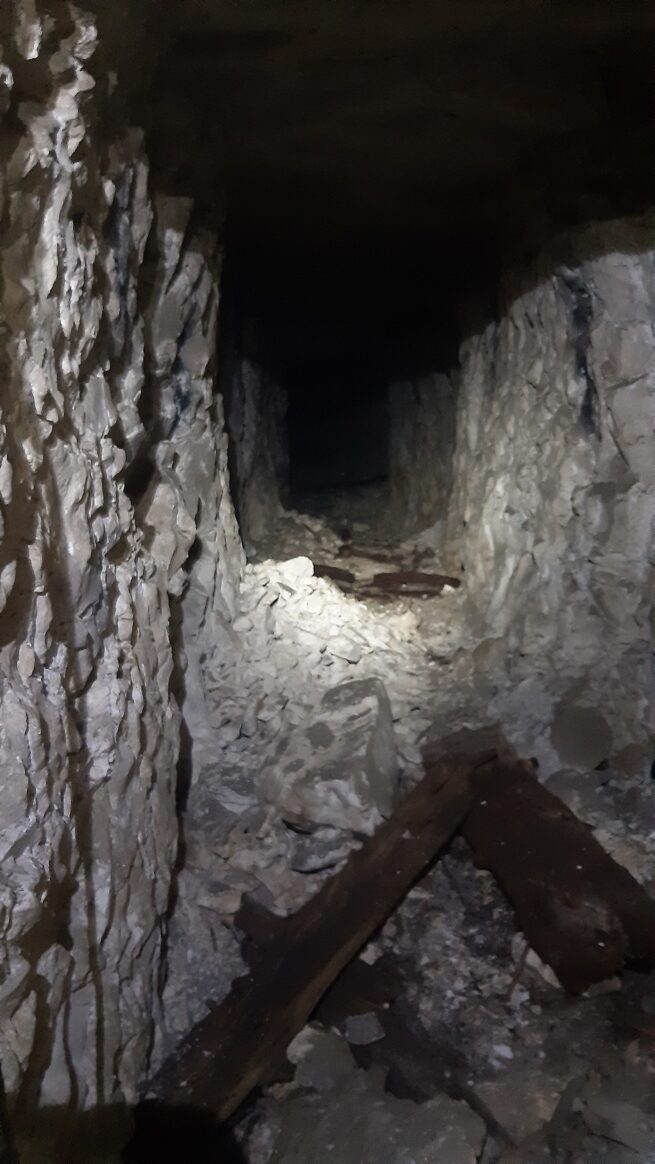
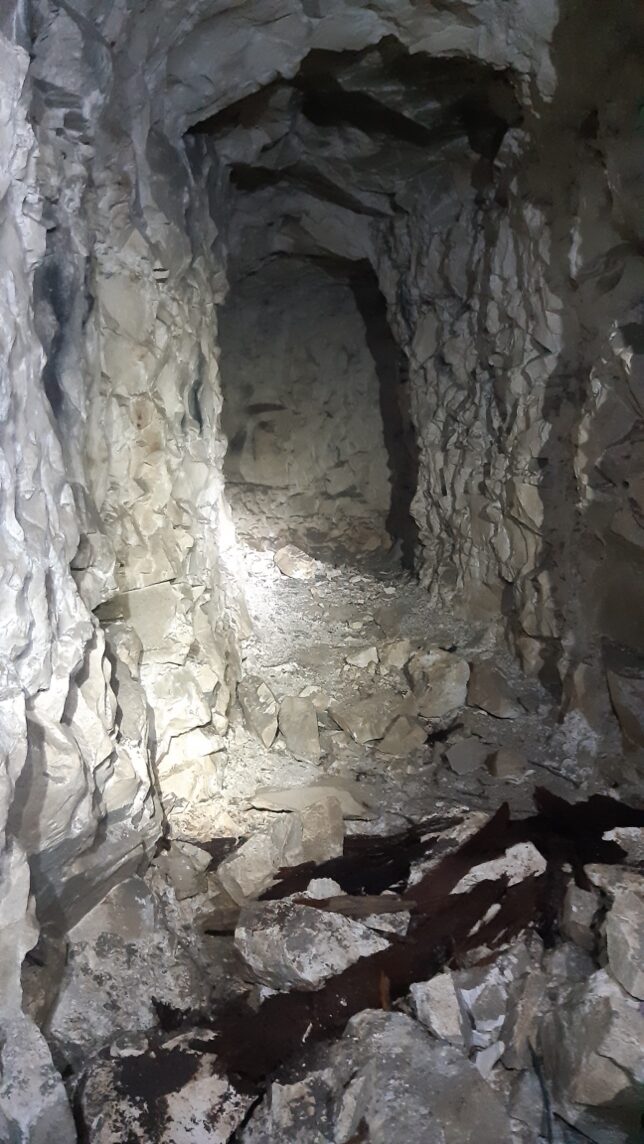
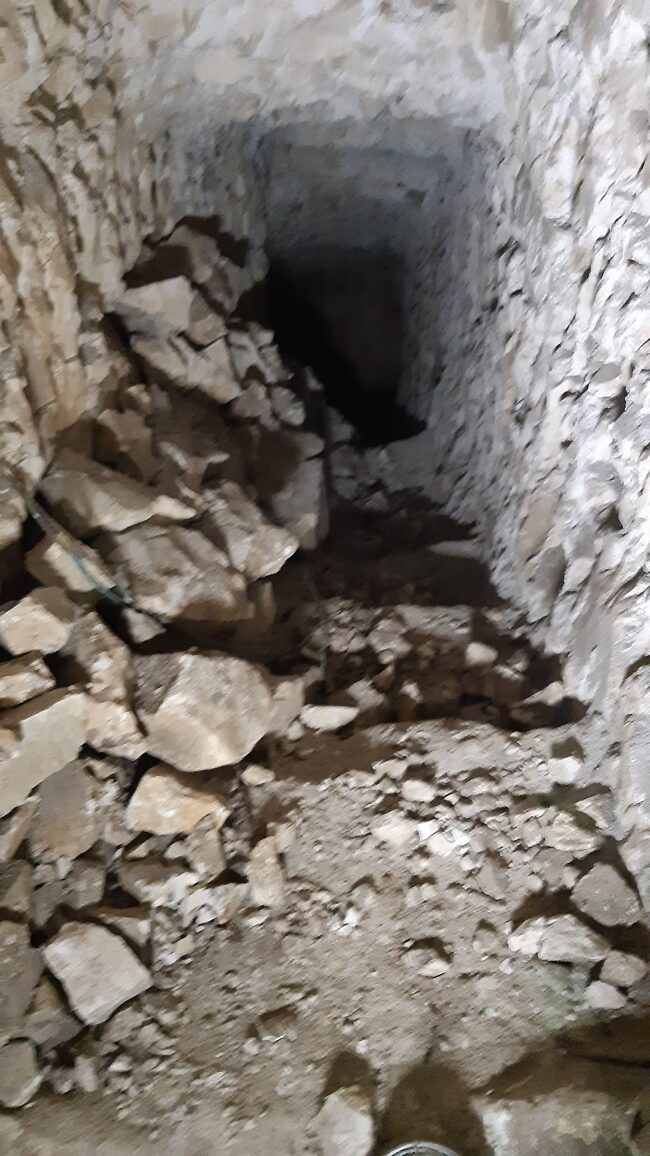
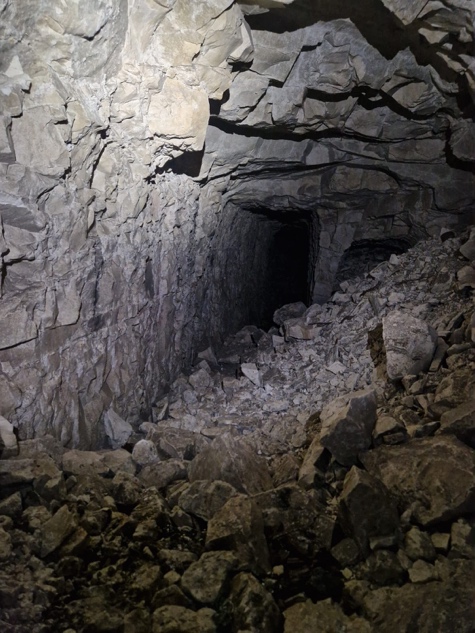
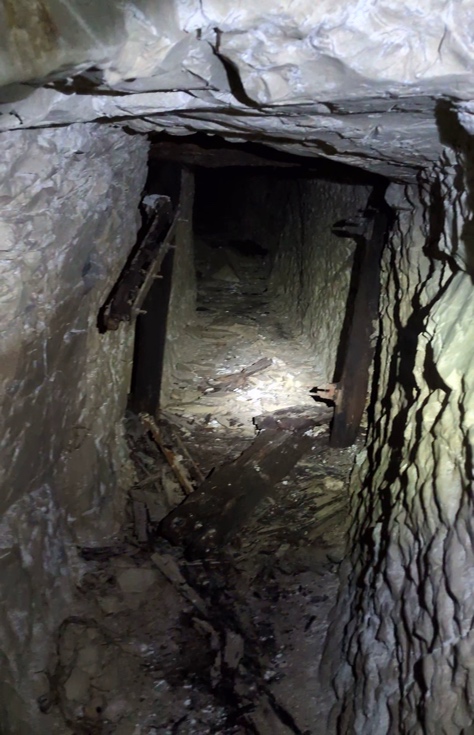
These photographs record the equipment, services and surviving details that made the underground network usable. Scroll across the gallery and select an image to view it at full size.
The later Manning route
A later wartime plan shows Manning Tunnel beside Stansfield, running towards the same threatened frontage and joined within the wider network. Manning was an additional route to the Hairpin position, linked to Stansfield and the deeper mining network. Feetham and Border Redoubt on wider plans refer to other neighbouring works. The names distinguish routes within a changing complex.
Manning appears on a later plan than the Stansfield workings mapped in February 1917. Its addition extended the underground routes serving the Hairpin during 1917 and 1918. The later Australian drawings show that engineers continued to adapt it for the needs of the garrison.
The 3rd Australian Tunnelling Company’s December 1917 diary preserves a drawing for a regimental aid post, or R.A.P., off Manning Tunnel. The drawing shows a proposed new passage and a treatment dugout beside an existing one. A regimental aid post was where wounded men first received care before evacuation farther behind the line. The proposed arrangement placed first aid and evacuation within reach of a sheltered route.
The need for sheltered routes continued as the battle above changed. The Sherwood Foresters’ history records a German raid on 2 January 1918 directed towards the Hairpin crater posts. A bombardment fell especially heavily on the craters, but infantry and Lewis gun fire drove off the attackers. The continued defence of the crater posts kept sheltered movement and communications valuable.
On 15 January 1918, the Controller of Mines, First Army, discussed the loophole traverses and demolition charges already installed in Hulluch, St Elie, St George’s and Manning tunnels with the commander of I Corps. The charges lay in the tunnel floors; the important unresolved question was who held responsibility for them and whose authority was required before they could be fired. The 3rd Australian Tunnelling Company’s war diary gives the local detail in a drawing for a demolition-charge recess beneath Manning: a chamber for explosive and guncotton below the tunnel floor, ready to collapse part of the route if an enemy attack entered the system.
British forces were preparing to meet a major German offensive, and the defensive arrangements in Manning show how the underground network fitted into those preparations. The German offensives began on 21 March. Plans to extend them towards Arras and the Loos Salient—an operation known as Walkürenritt—were later abandoned, and no general assault reached the Hairpin front. The Sherwood Foresters’ account records gas bombardment and a raid in the neighbouring Cambrin sector, while making clear that no general attack followed on the Cambrin–St Elie front. Together, the aid-post and demolition drawings show how Manning served both the everyday operation and the emergency defence of the position.
What survives above and below ground
The underground fighting also left its mark on the surface. Several of the Hairpin mine craters survive in a wooded copse on commune land in front of the Stansfield–Manning position. Trees now cover ground that was once an exposed line of crater posts. The surviving hollows give visible form to the contest recorded in the tunnelling diaries: the galleries below were driven towards positions that explosions could overturn, and infantry then had to occupy and defend the broken ground above. The historic plans record the wartime crater field; the wooded landscape preserves part of it today.
The Durand Group first investigated accessible portions of Stansfield in 2016. The visible subway included the railway and service fittings, while falls and water prevented the team from following every expected connection. Investigations in 2019 reached more of the linked Hairpin mining system and recorded a pumping area and listening equipment. These observations helped match named routes on the military plans to the surviving passages.
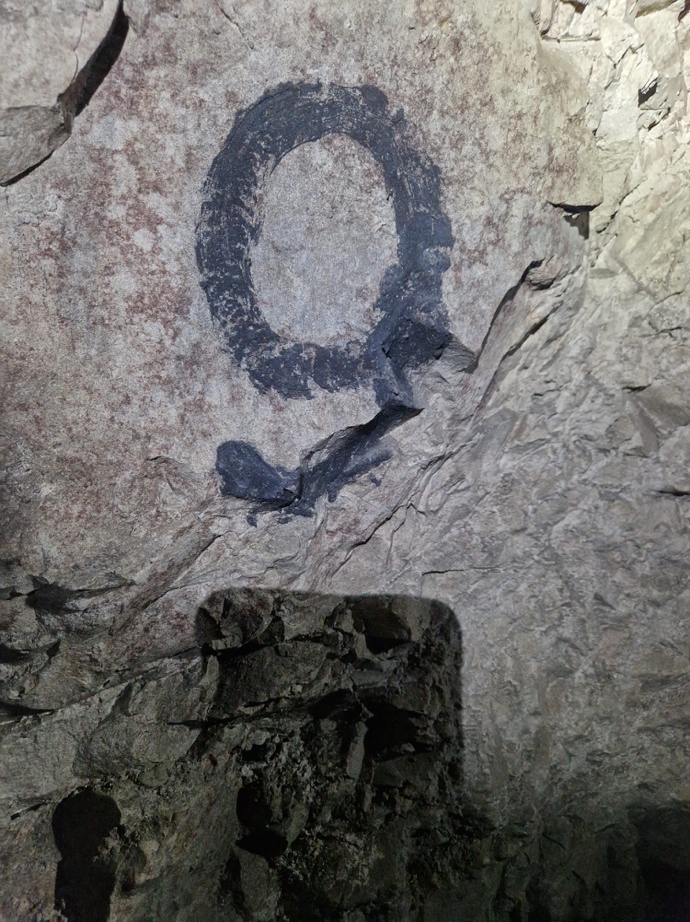
In September 2025, an underground survey recorded approximately 650 metres of accessible passages in the Stansfield–Manning and G Drive network. The team recorded the main lateral, parts of a lower lateral and subsidiary fighting galleries. Rail remains were still in place along much of the principal passage. Occasional timber survives farther forward; painted numerical identifiers on the chalk correspond to gallery designations on wartime maps. Few identifiable First World War name inscriptions were found in the inspected passages.
Falls and unstable ground limited the survey. Its approximately 650 metres measure the passages inspected. Comparison with the wartime plan confirms the broad layout and shows where construction continued beyond the plan’s last revision. Rails, paint, pipes and broken connections each add a different part of the story: a subway built to carry traffic, a mining front kept in operation, and a system repeatedly extended and adapted while the war continued above it.
The current survey also has a practical purpose. By plotting the surviving passages against the ground above and recording falls, damaged areas and other potential points of collapse, the group aims to identify places that could affect surface infrastructure or land use. This information can help local officials and landowners make their own assessments of the ground. The wartime plans explain why the voids are there; the present survey records their condition.
This work sits alongside a wider public effort to understand the risks of old underground cavities. The French public institute Ineris specifically includes First World War saps in its guidance on inspecting abandoned underground works and assessing possible ground movement. France’s Géorisques inventory of underground cavities provides the broader public record. The survey can contribute detailed evidence about this particular system for the people responsible for the land above it.
Sources and further reading
National Army Museum, “Battle of Loos”, for the 1915 battle and its outcome.
The National Archives, WO 95/488/1, 180th Tunnelling Company diary; WO 95/488/5, 253rd Tunnelling Company diary; WO 95/2695/2, 1/8th Sherwood Foresters diary and July 1917 orders; WO 95/2672/1, 46th Division Commander Royal Engineers diary; and WO 153/911, Hairpin mining plan corrected through 2 February 1917.
H. Standish Ball, 1918 plan of the subways and laterals between La Bassée and Hulluch, as reproduced in the supplied overlay. It shows Stansfield, Manning, Feetham and Border Redoubt as named routes in a wider scheme.
Commonwealth War Graves Commission, Corporal James Wishart and the Hairpin mines of May 1916.
W. C. C. Weetman, The Sherwood Foresters in the Great War, 1914–1919, contemporary battalion history covering Stansfield, the crater posts and the January 1918 raid.
Australian War Memorial, 3rd Australian Tunnelling Company diary, December 1917 and January 1918, including the Manning aid-post and demolition-recess sketches.
Andy Prada, “‘No Ordinary Working Environment’: The Hulluch Tunnels during the Great War,” Stand To!, No. 134 (June 2024), for the development, connection and defence of the Hairpin–Hulluch underground frontage.
National Library of Scotland, historic maps of the Hairpin landscape for the surface setting