
Hulluch Subways
The Underground Front
Beneath the fields near Hulluch lies an interconnected system of mine galleries, larger subways and chambers built for men, supplies and weapons. It did not appear all at once. British tunnellers began with narrow passages for fighting beneath the enemy; they later drove wider routes that brought troops and stores forward under cover. Australian tunnellers extended and defended the network, and British engineers altered it again in 1940. The surviving passages preserve traces of each stage.
Australian war correspondent Charles Bean visited the workings with Major Alexander Sanderson in February 1918. He found infantry, trench mortars and machine guns underground, with a light railway bringing stores towards the guns. What Bean saw was the product of more than two years of excavation, connection and continual repair.
From the Battle of Loos to the mine war
The Battle of Loos began on 25 September 1915. The British attack changed the shape of the front near Hulluch, but it did not drive the German army from the area. When the fighting subsided, the opposing lines faced one another across a contested stretch of ground that included the Loos salient, a projection of the British line exposed to enemy fire. The positions established after the battle became the setting for the underground works at Hulluch. Men had to hold, supply and defend them through the months that followed.
As the armies remained in place, they fought beneath the trenches as well as across them. Tunnellers drove narrow galleries towards the opposing line, listened for enemy digging and placed explosive charges beneath defended positions. A successful detonation could destroy a trench and leave a crater that both sides might then fight to occupy. Each side also dug to find and destroy the other’s galleries before its charges could be fired. The cratered ground around this part of the Loos front was thus a product of continuing mine warfare, rather than a single battle.
In January 1916, the 253rd Tunnelling Company, Royal Engineers, began work in the Hulluch and St Elie sectors. Its war diaries record mining at Hulluch, St Elie, the Quarries and the neighbouring Hairpin. Shafts led down to fighting galleries, where men listened for enemy tunnellers, drove towards their positions and defended their own workings. The danger reached beyond the point of an explosion: when a German mine blew at Hulluch in April 1916, gas travelled through a connecting gallery and men were killed underground. As the separate workings expanded, engineers began to join them. The larger subway routes built later in 1916 provided sheltered movement for troops and supplies while connecting to the deeper mine system that had grown out of the fight beneath the front line.
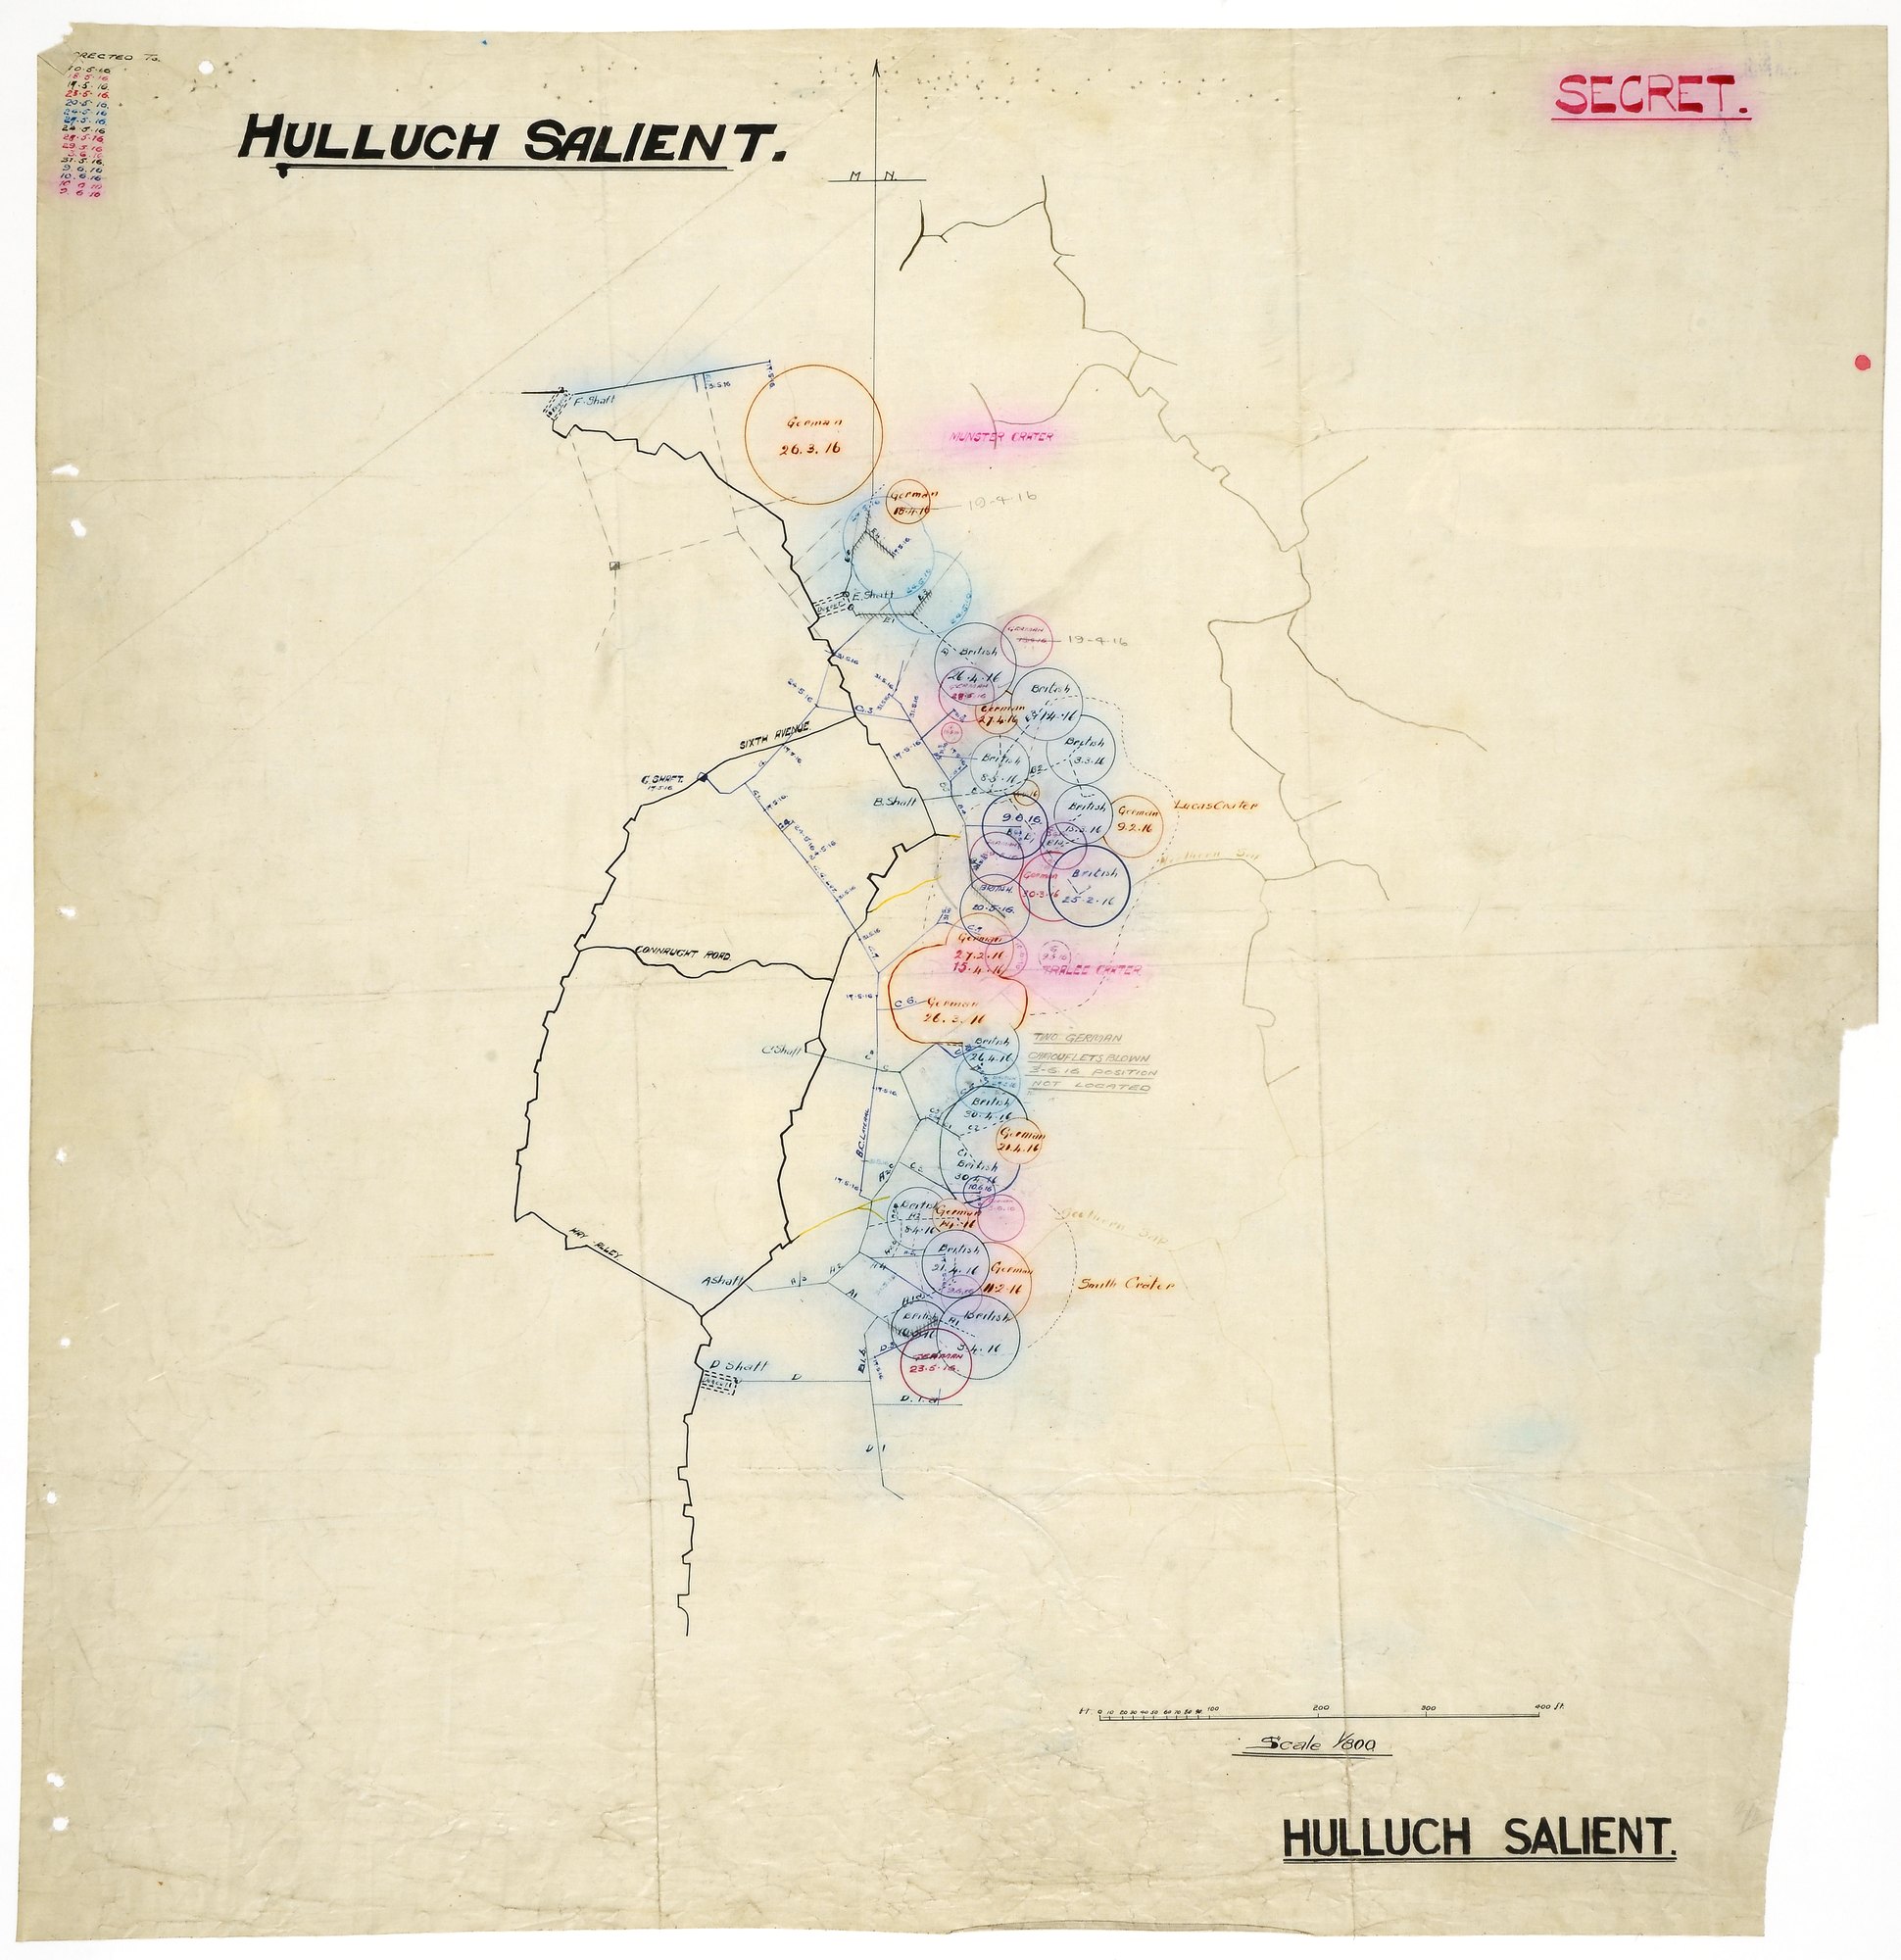
Hulluch Salient mine-warfare plan showing British and German shafts, craters and recorded explosions along the front. The National Archives, WO 153/911.
From mine galleries to a subway, 1916–17
By November 1916, the work had grown beyond mining towards enemy positions. The early fighting galleries had been driven separately and then joined by laterals, or cross passages. The 253rd Company’s diaries record improvements at St Elie and a rescue chamber stocked with Proto breathing apparatus for use in dangerous air. Engineers now began larger communication subways so that men and supplies could travel under cover between parts of the front.
The first connections took shape quickly. A report of 21 November 1916 records that the Northern and Southern Hulluch communication tunnels had already been joined, while the main Hulluch Tunnel was still being driven. In the following weeks, work continued both there and on the Dudley and Devon tunnels towards St Elie. The main Hulluch route was excavated between November 1916 and February 1917, but new branches and facilities followed. Parts of the network were therefore connected and in use while other passages were still under construction.
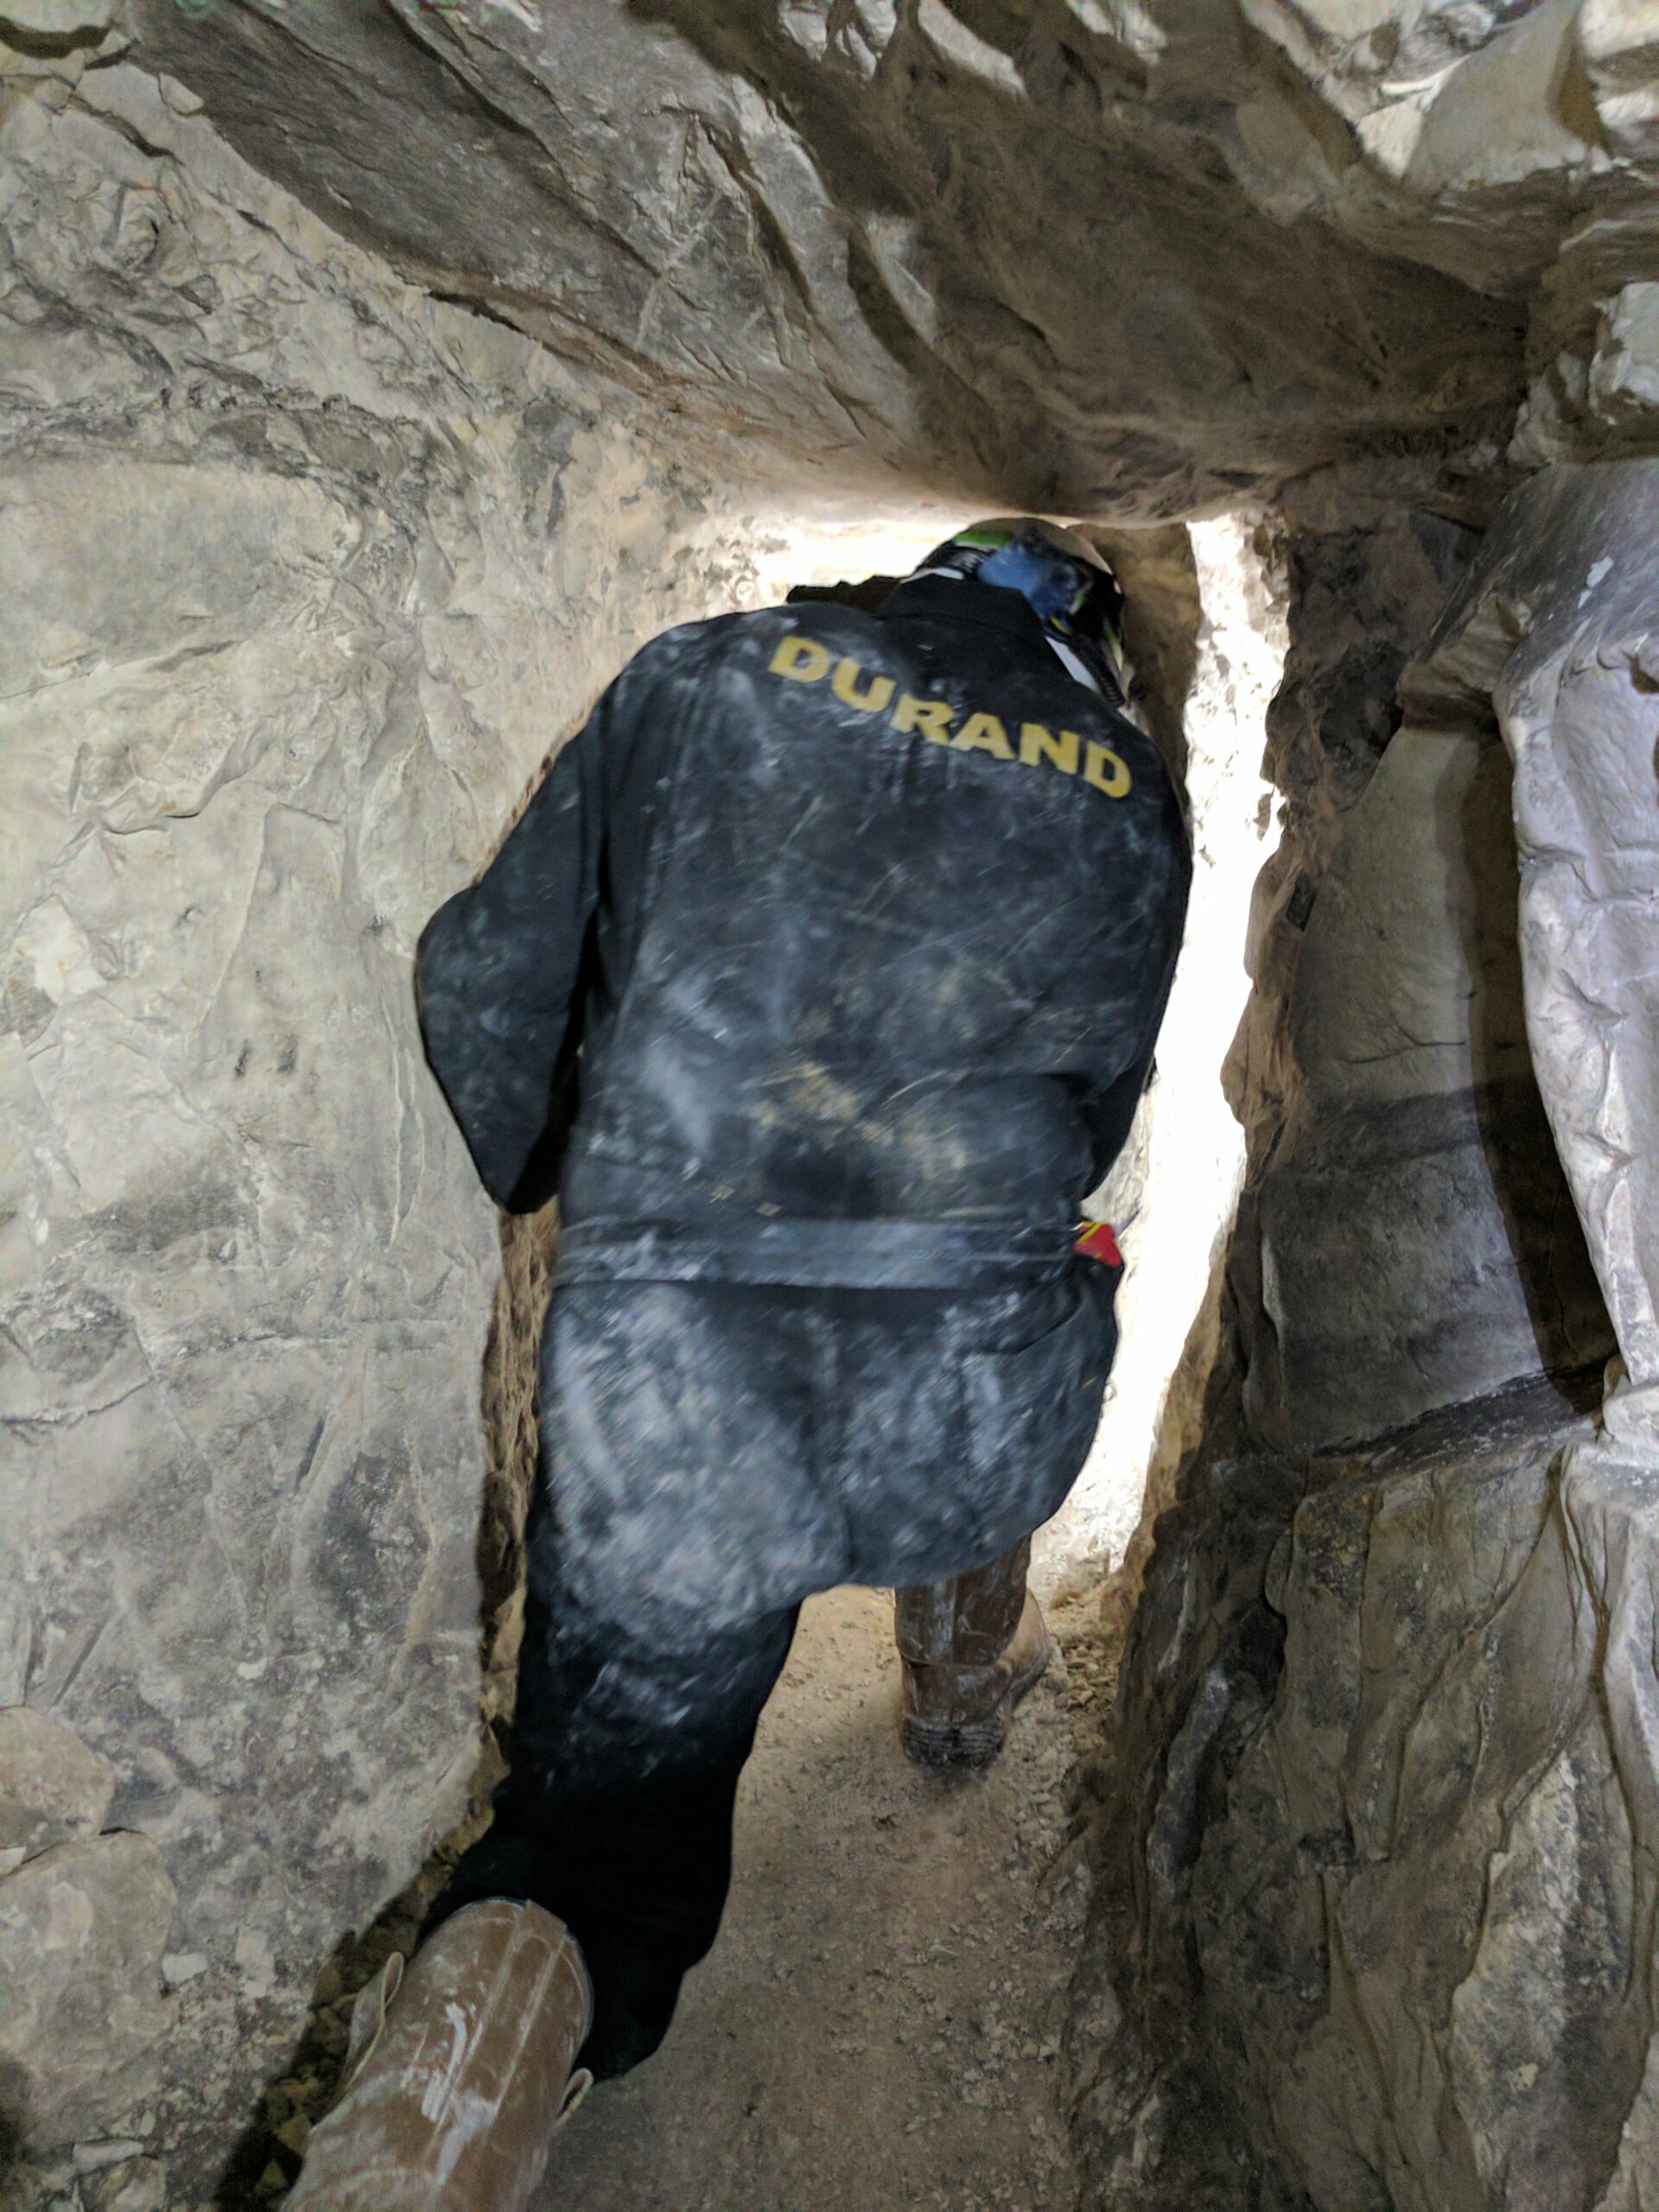
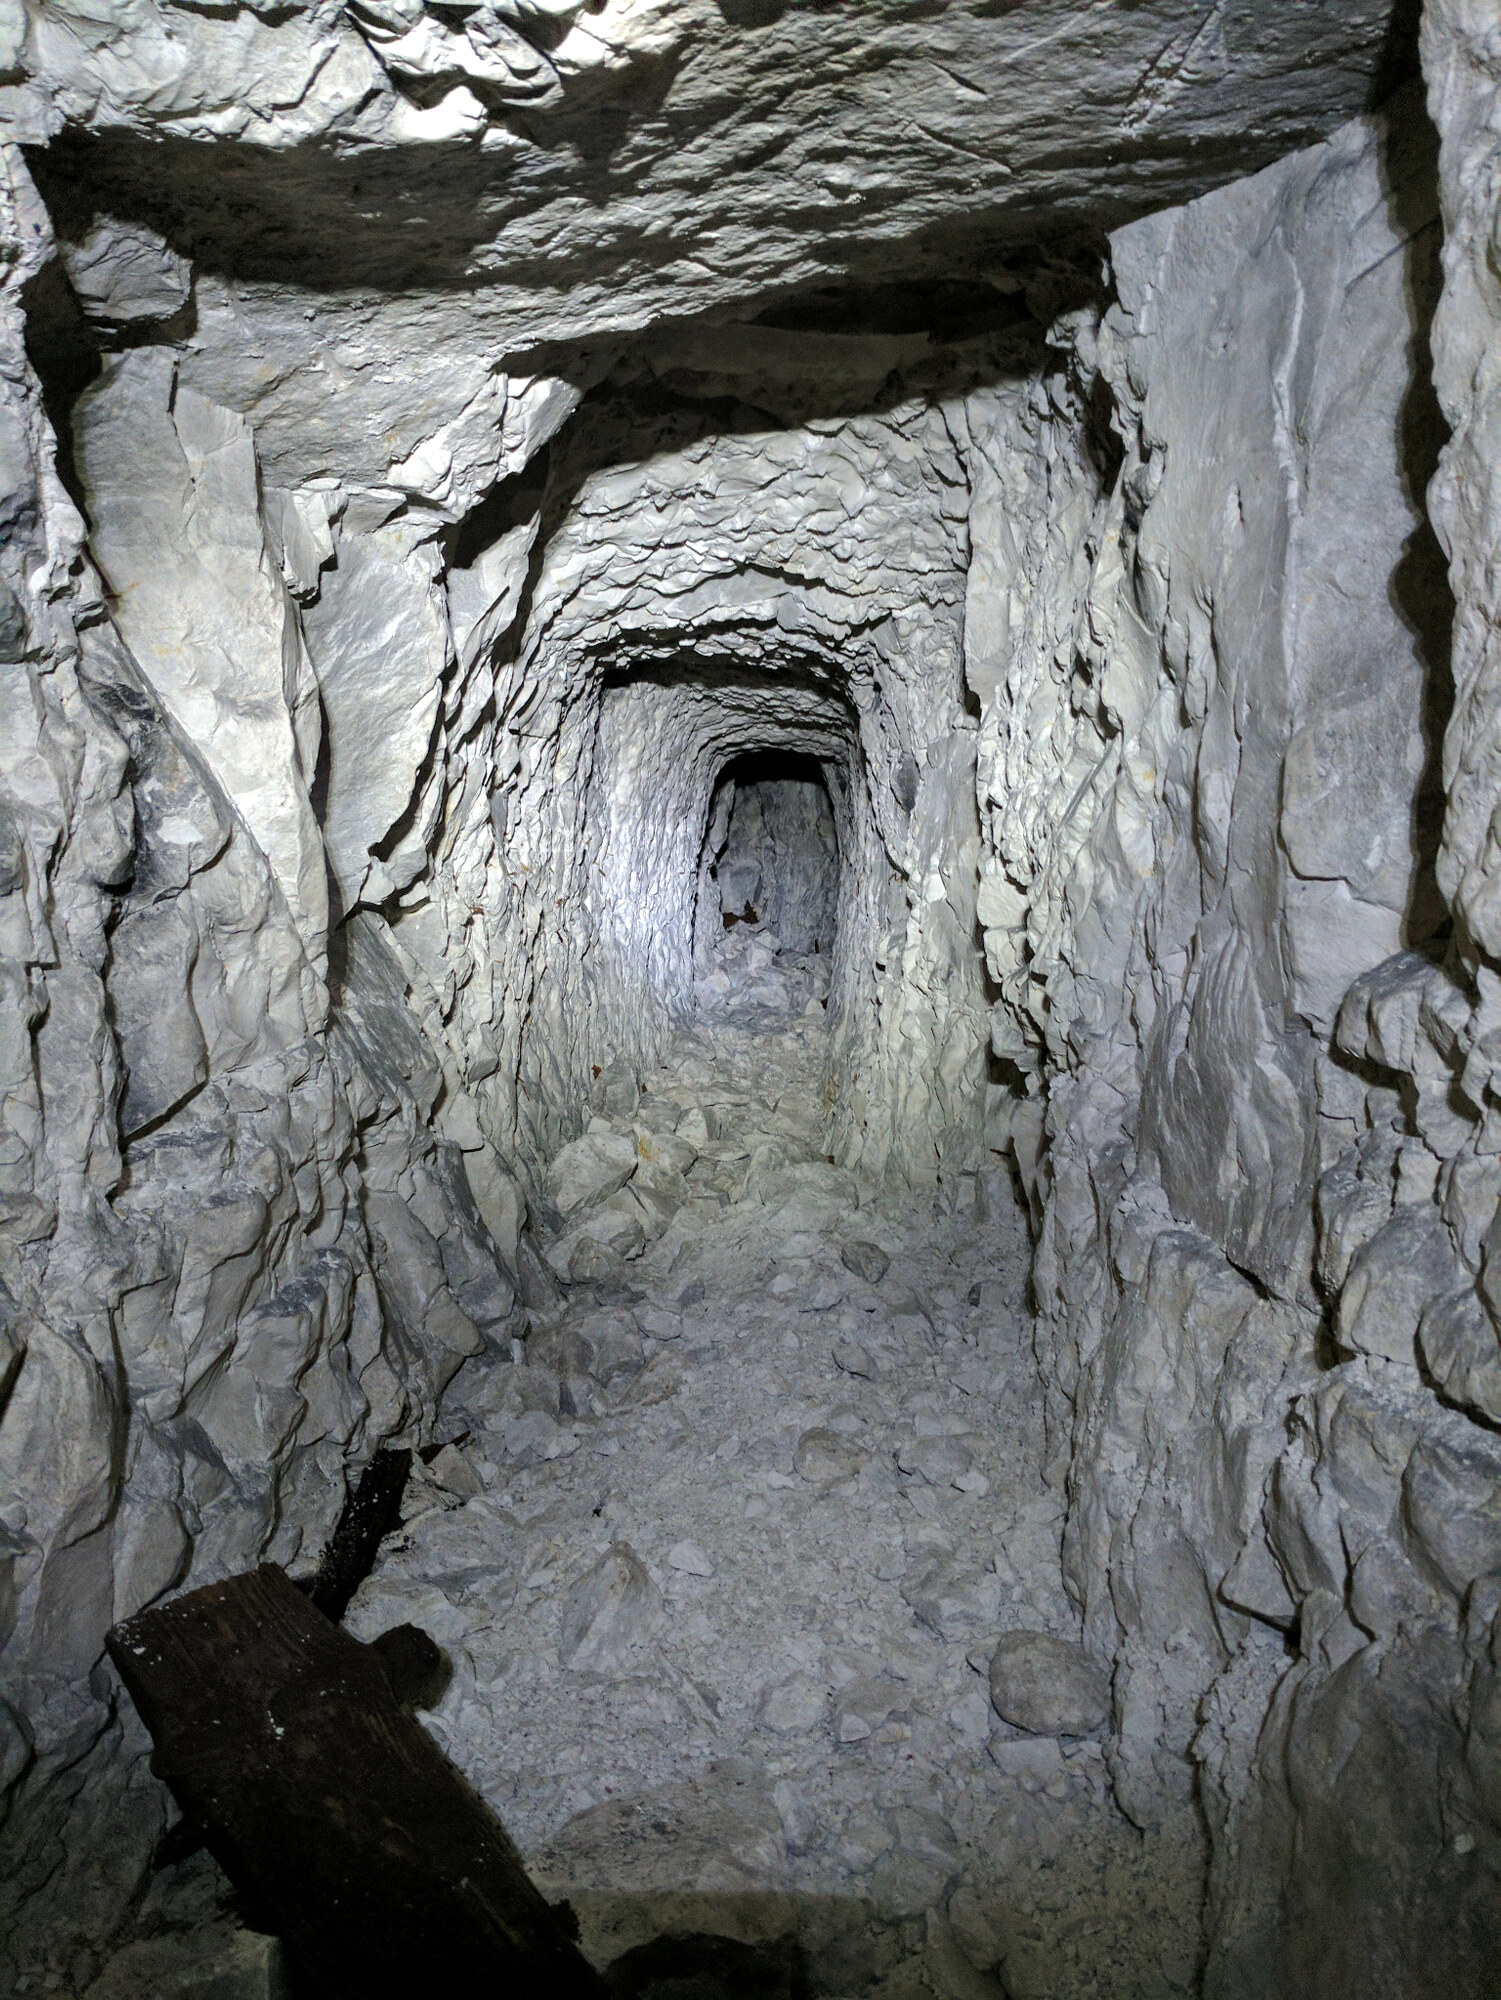
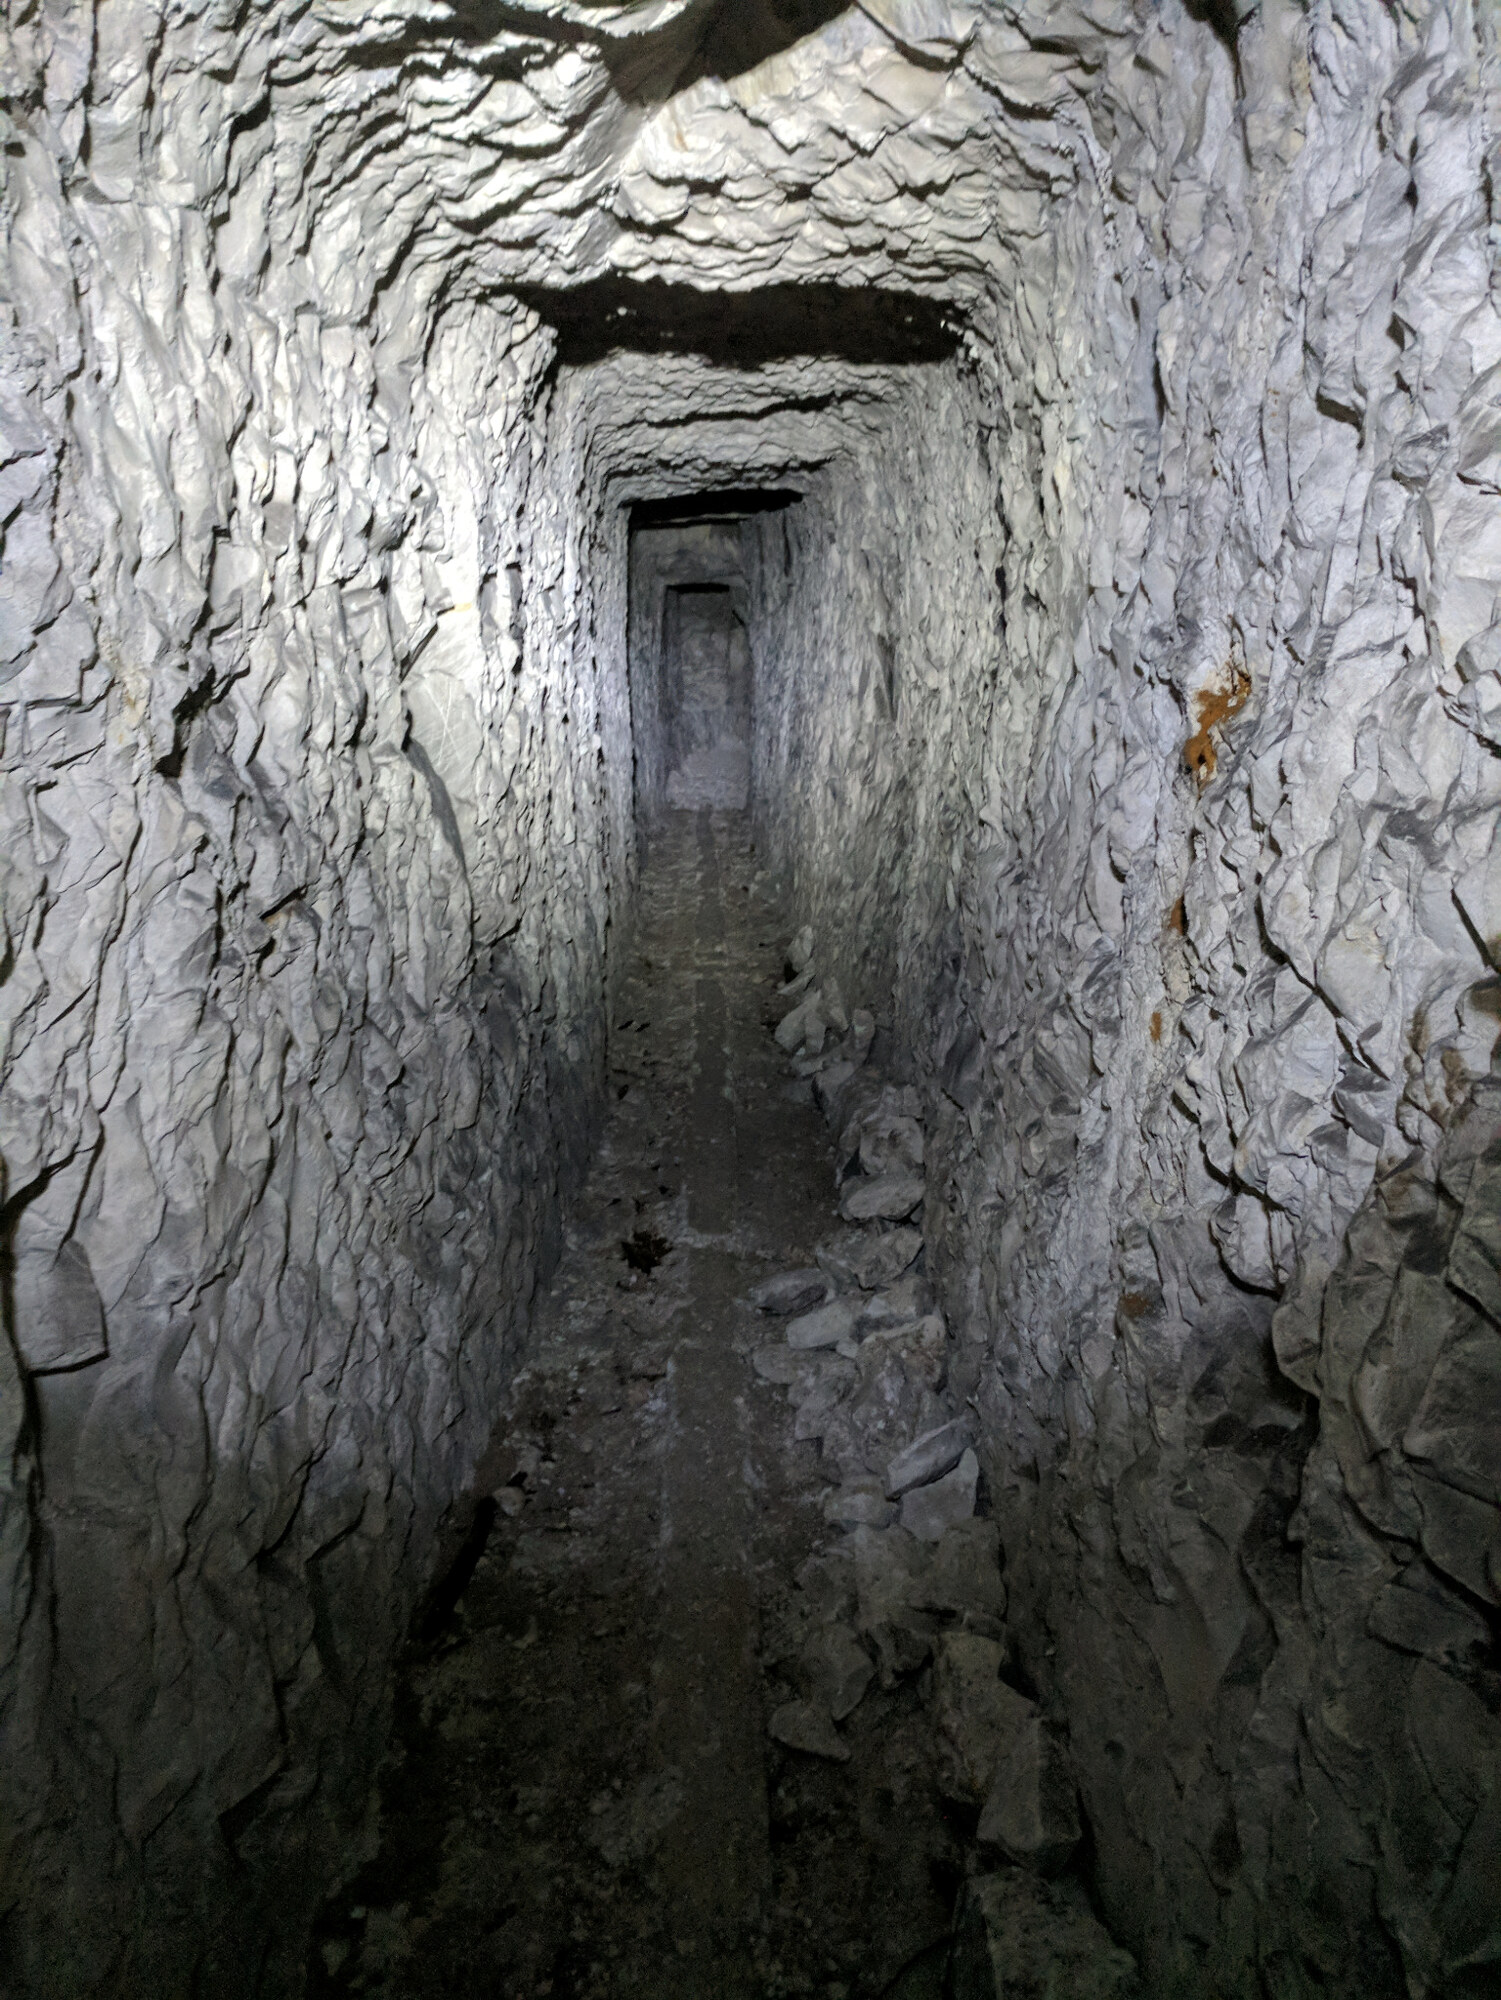
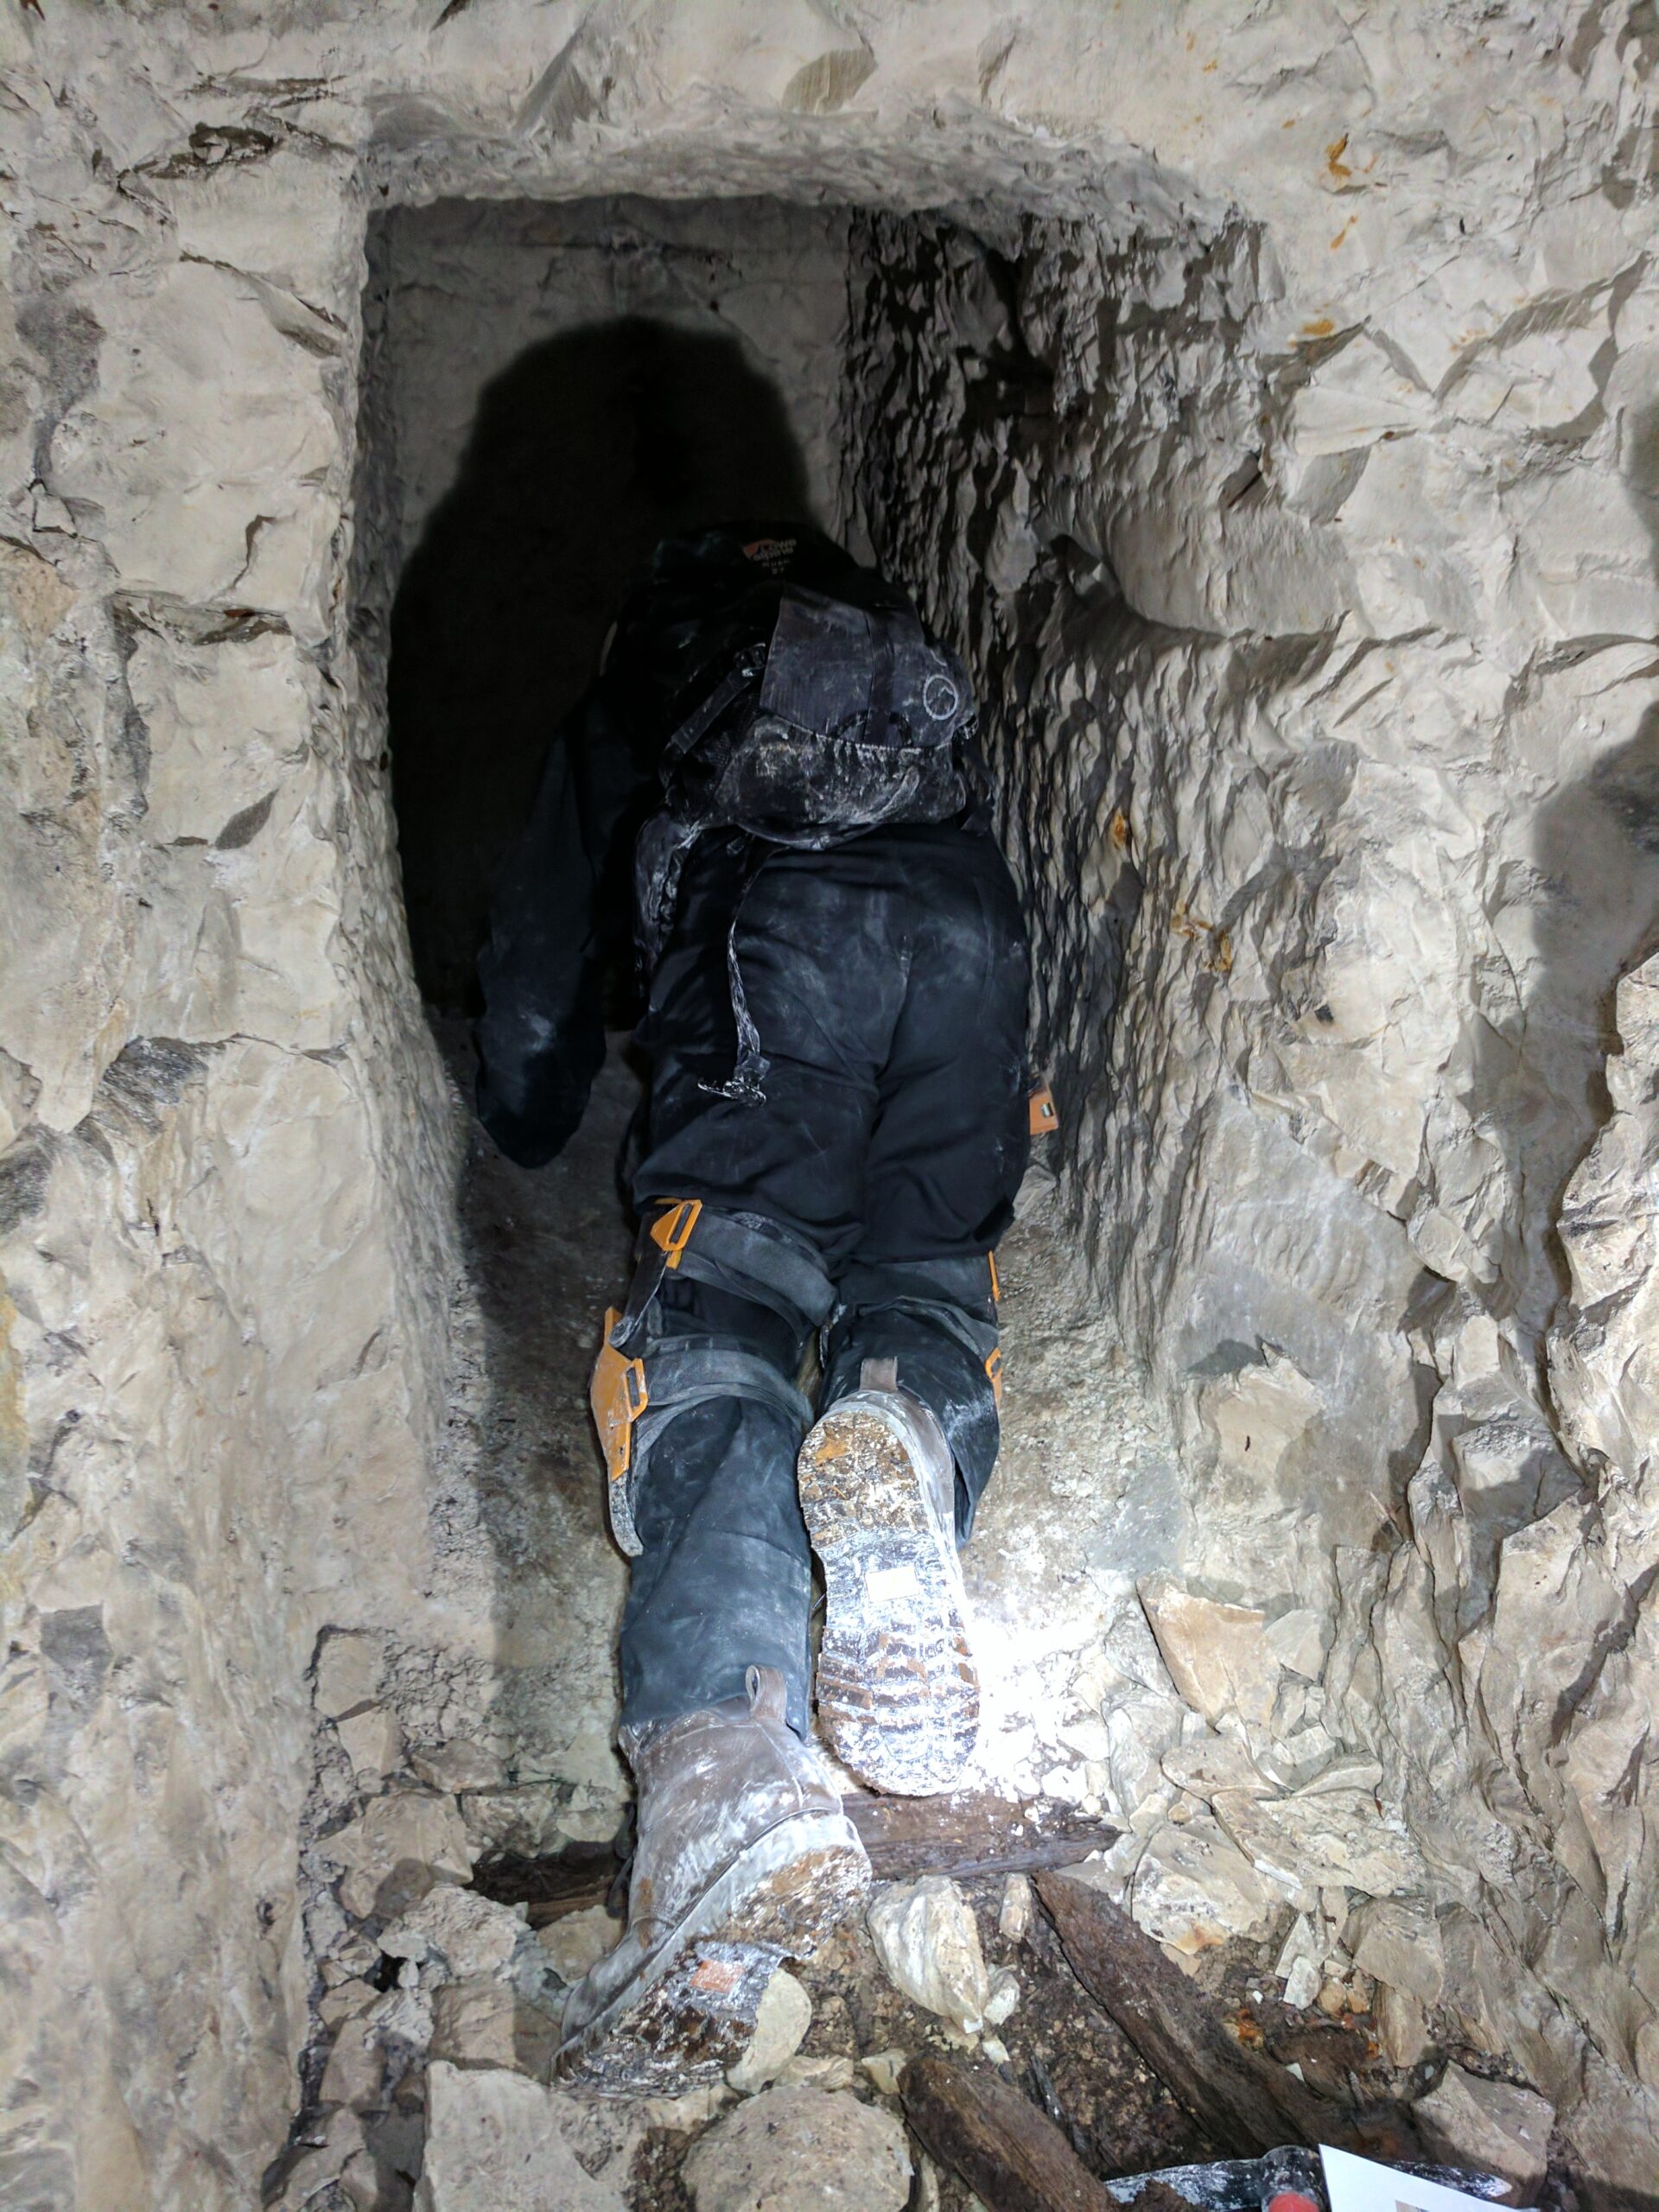
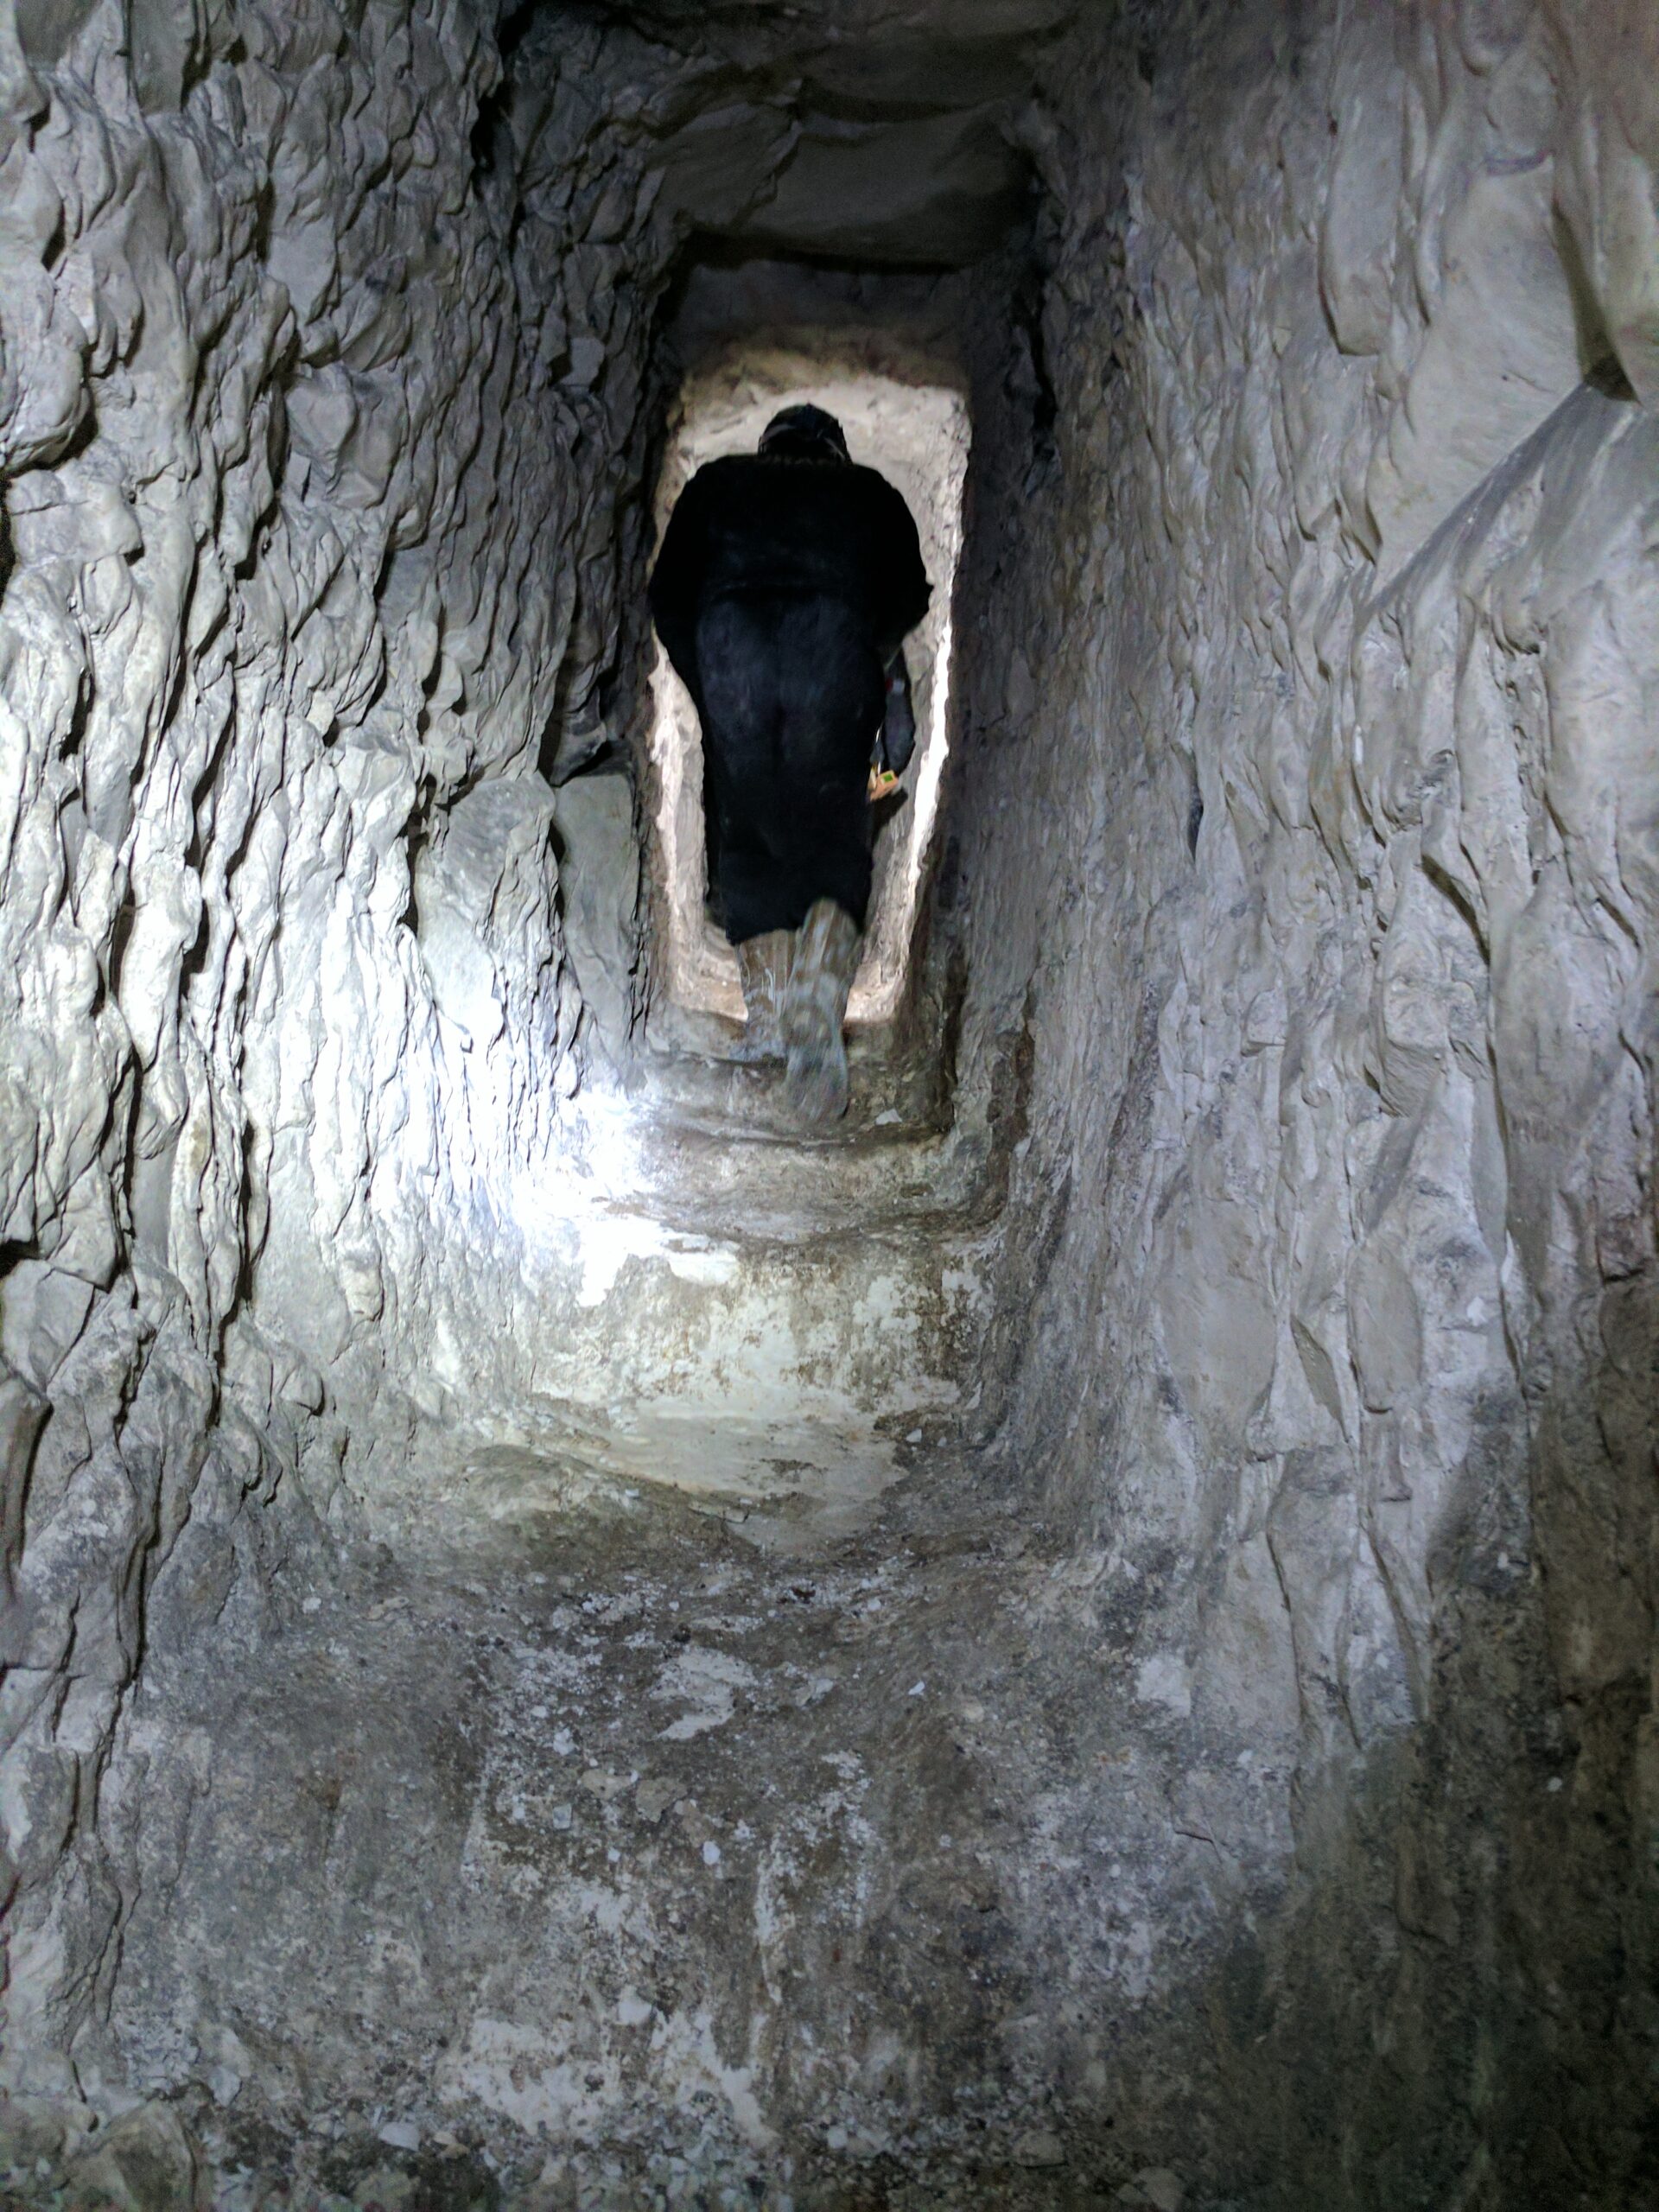
A subway was a covered route for moving men and supplies. The larger passages were generally about six feet high and three feet wide and lay roughly 25–35 feet below the surface. Older, narrower mine galleries reached depths of around 30 metres. The subway was joined to those deeper workings, which remain accessible through the connected Hulluch–St Elie system. A man passing from the broad route into a fighting gallery would have crossed between two different phases of the underground war.
The many names on the plans identify parts of one connected network, not separate sites. The Hulluch Tunnel was a principal communication route. Near a junction called the Oval, Cross Cut offered a way towards the St Elie Tunnel; Dump Drive and 10th Avenue were other named passages. Dudley Tunnel, Devon Tunnel and St George’s Tunnel belonged to the adjoining St Elie routes, while the Northern and Southern tunnels linked the Hulluch route to older mine workings. These connections let men travel from a supply passage towards trenches, mortar positions or deeper listening galleries without returning to the surface. The Royal Engineers’ 1922 plan shows the local arrangement; H. Standish Ball’s wider plan places it among the underground works of the Givenchy–Hohenzollern front.
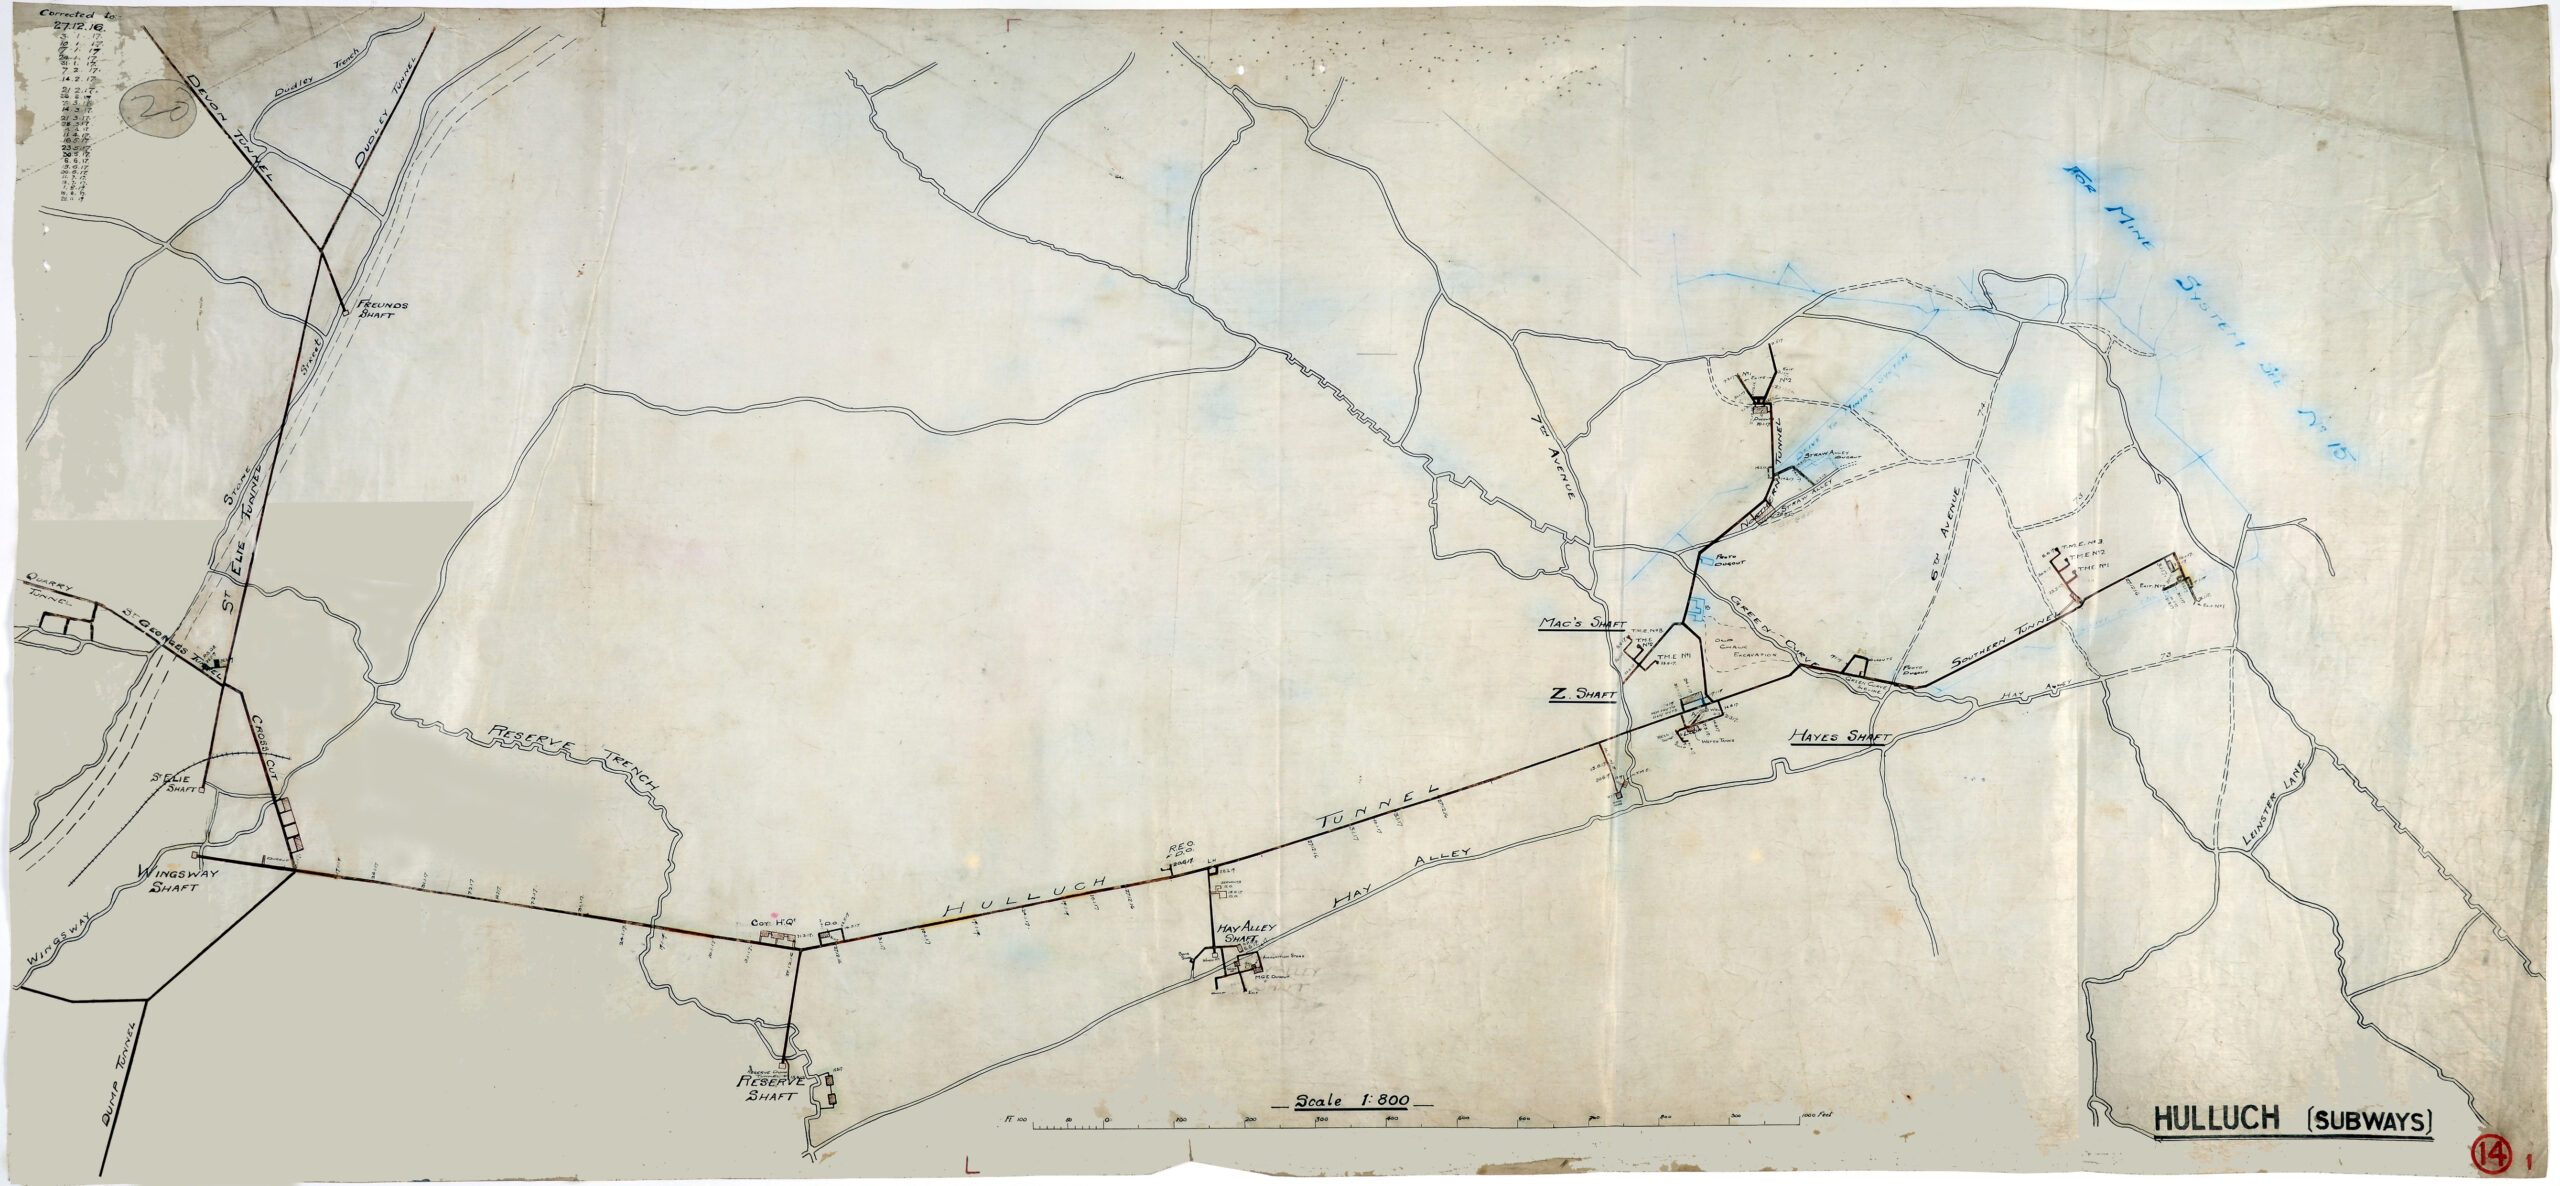
Survey plan of the Hulluch subways. The named passages form an interconnected network of communication routes, branches and deeper mine workings.
Railways, batteries, light and water
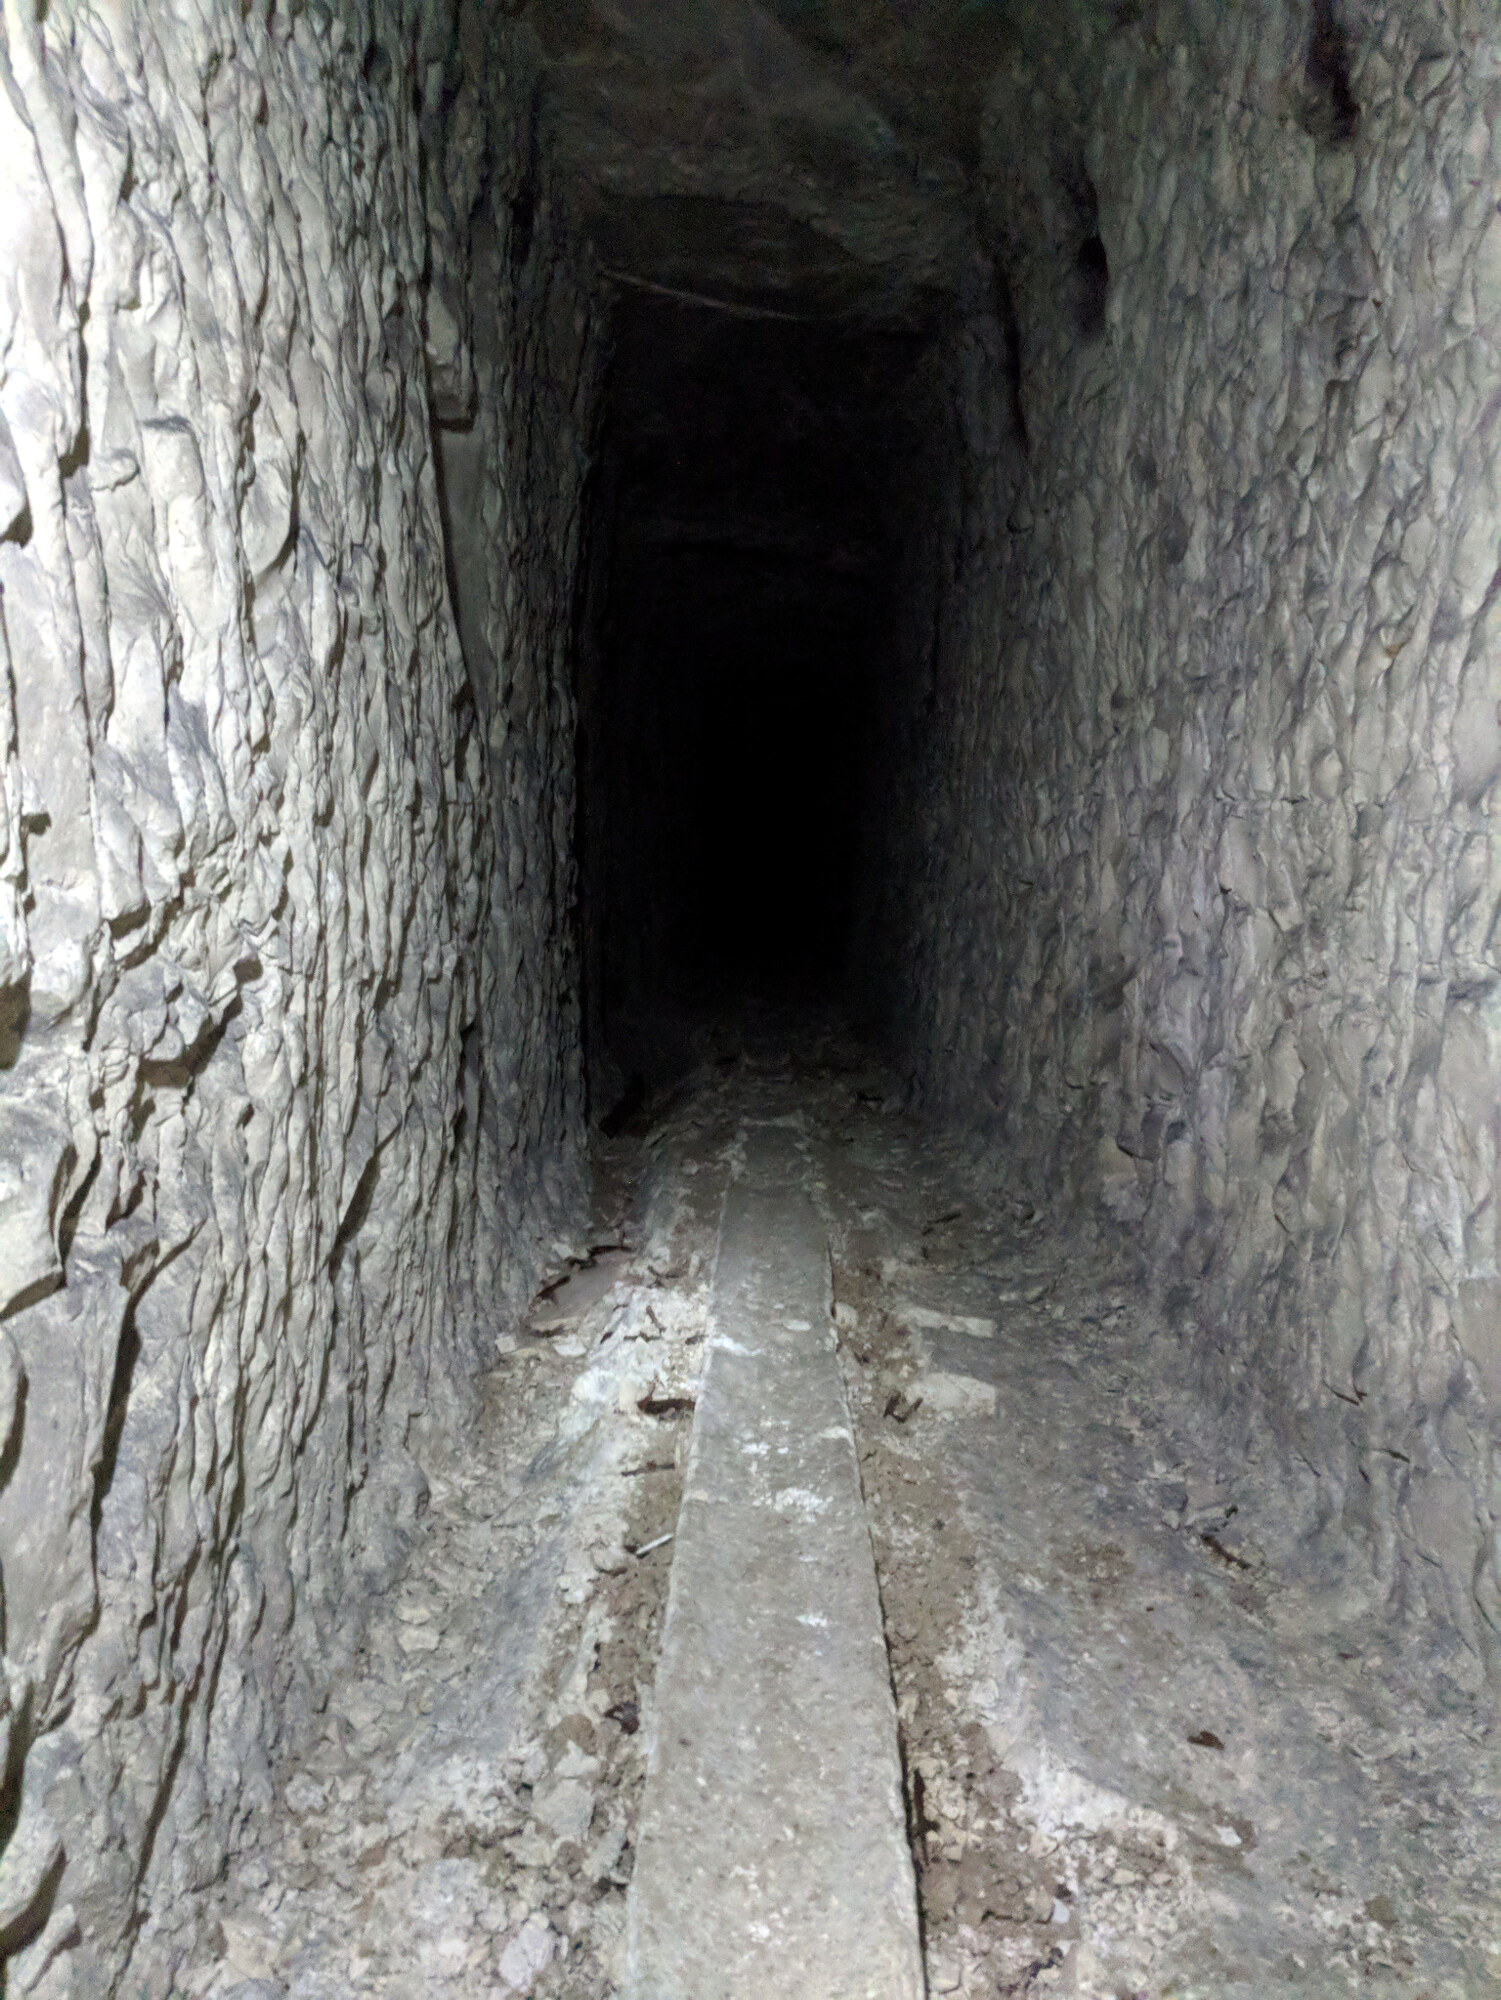
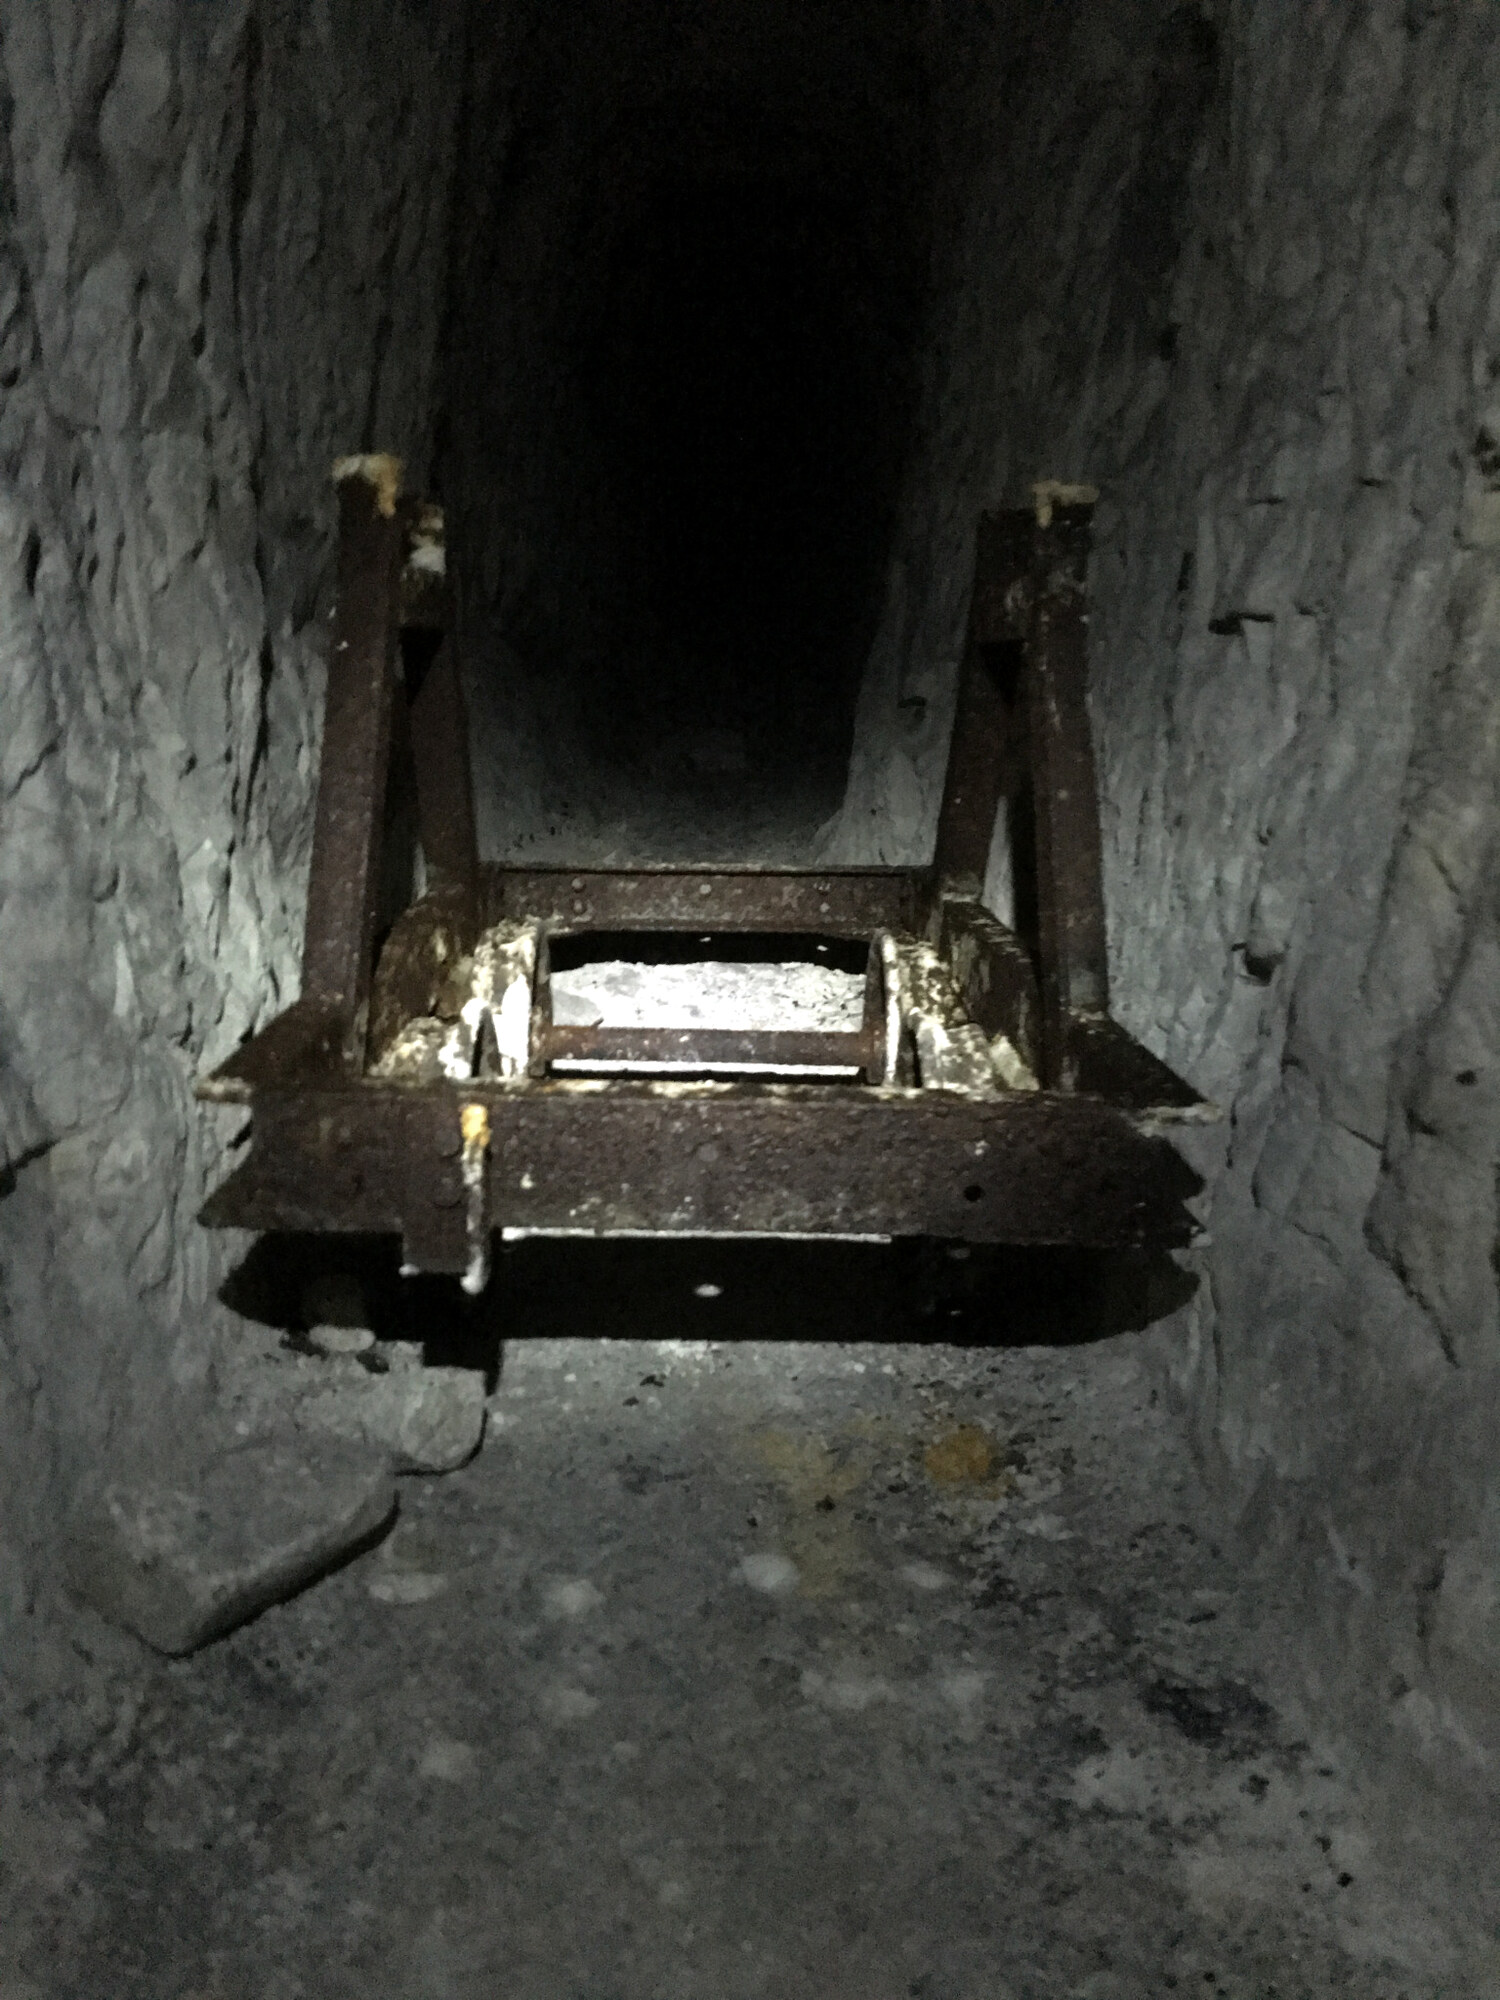
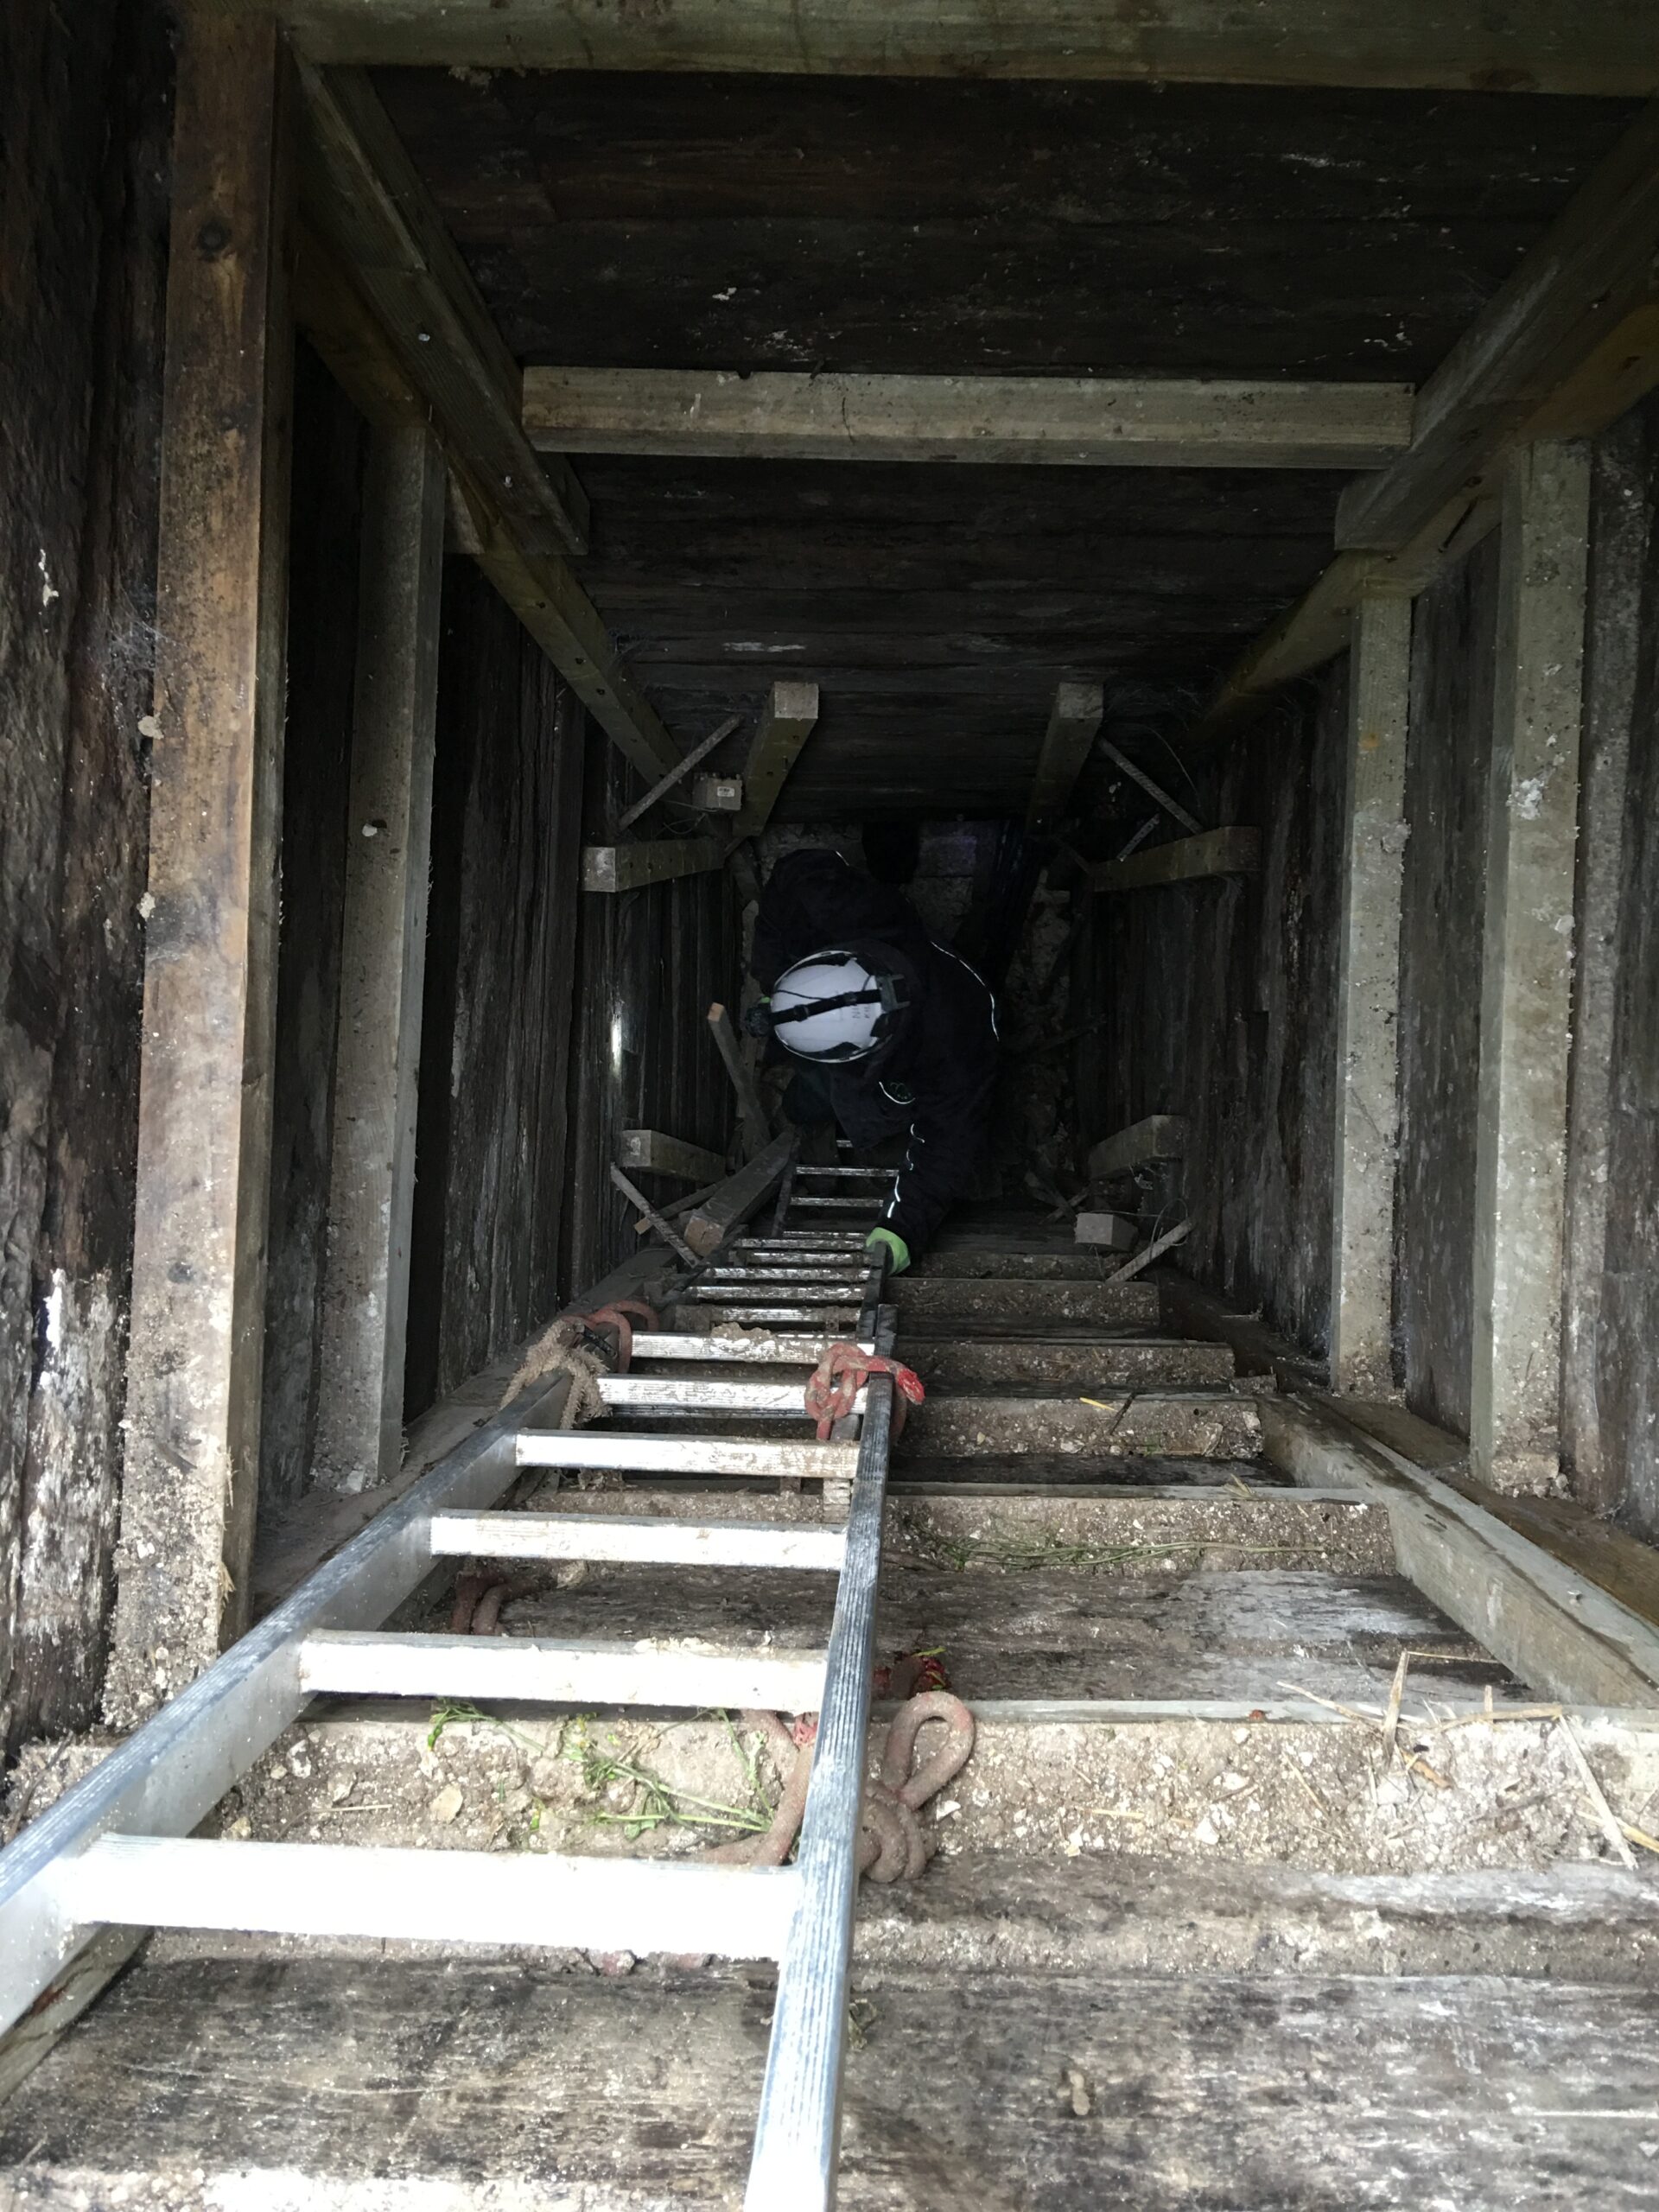
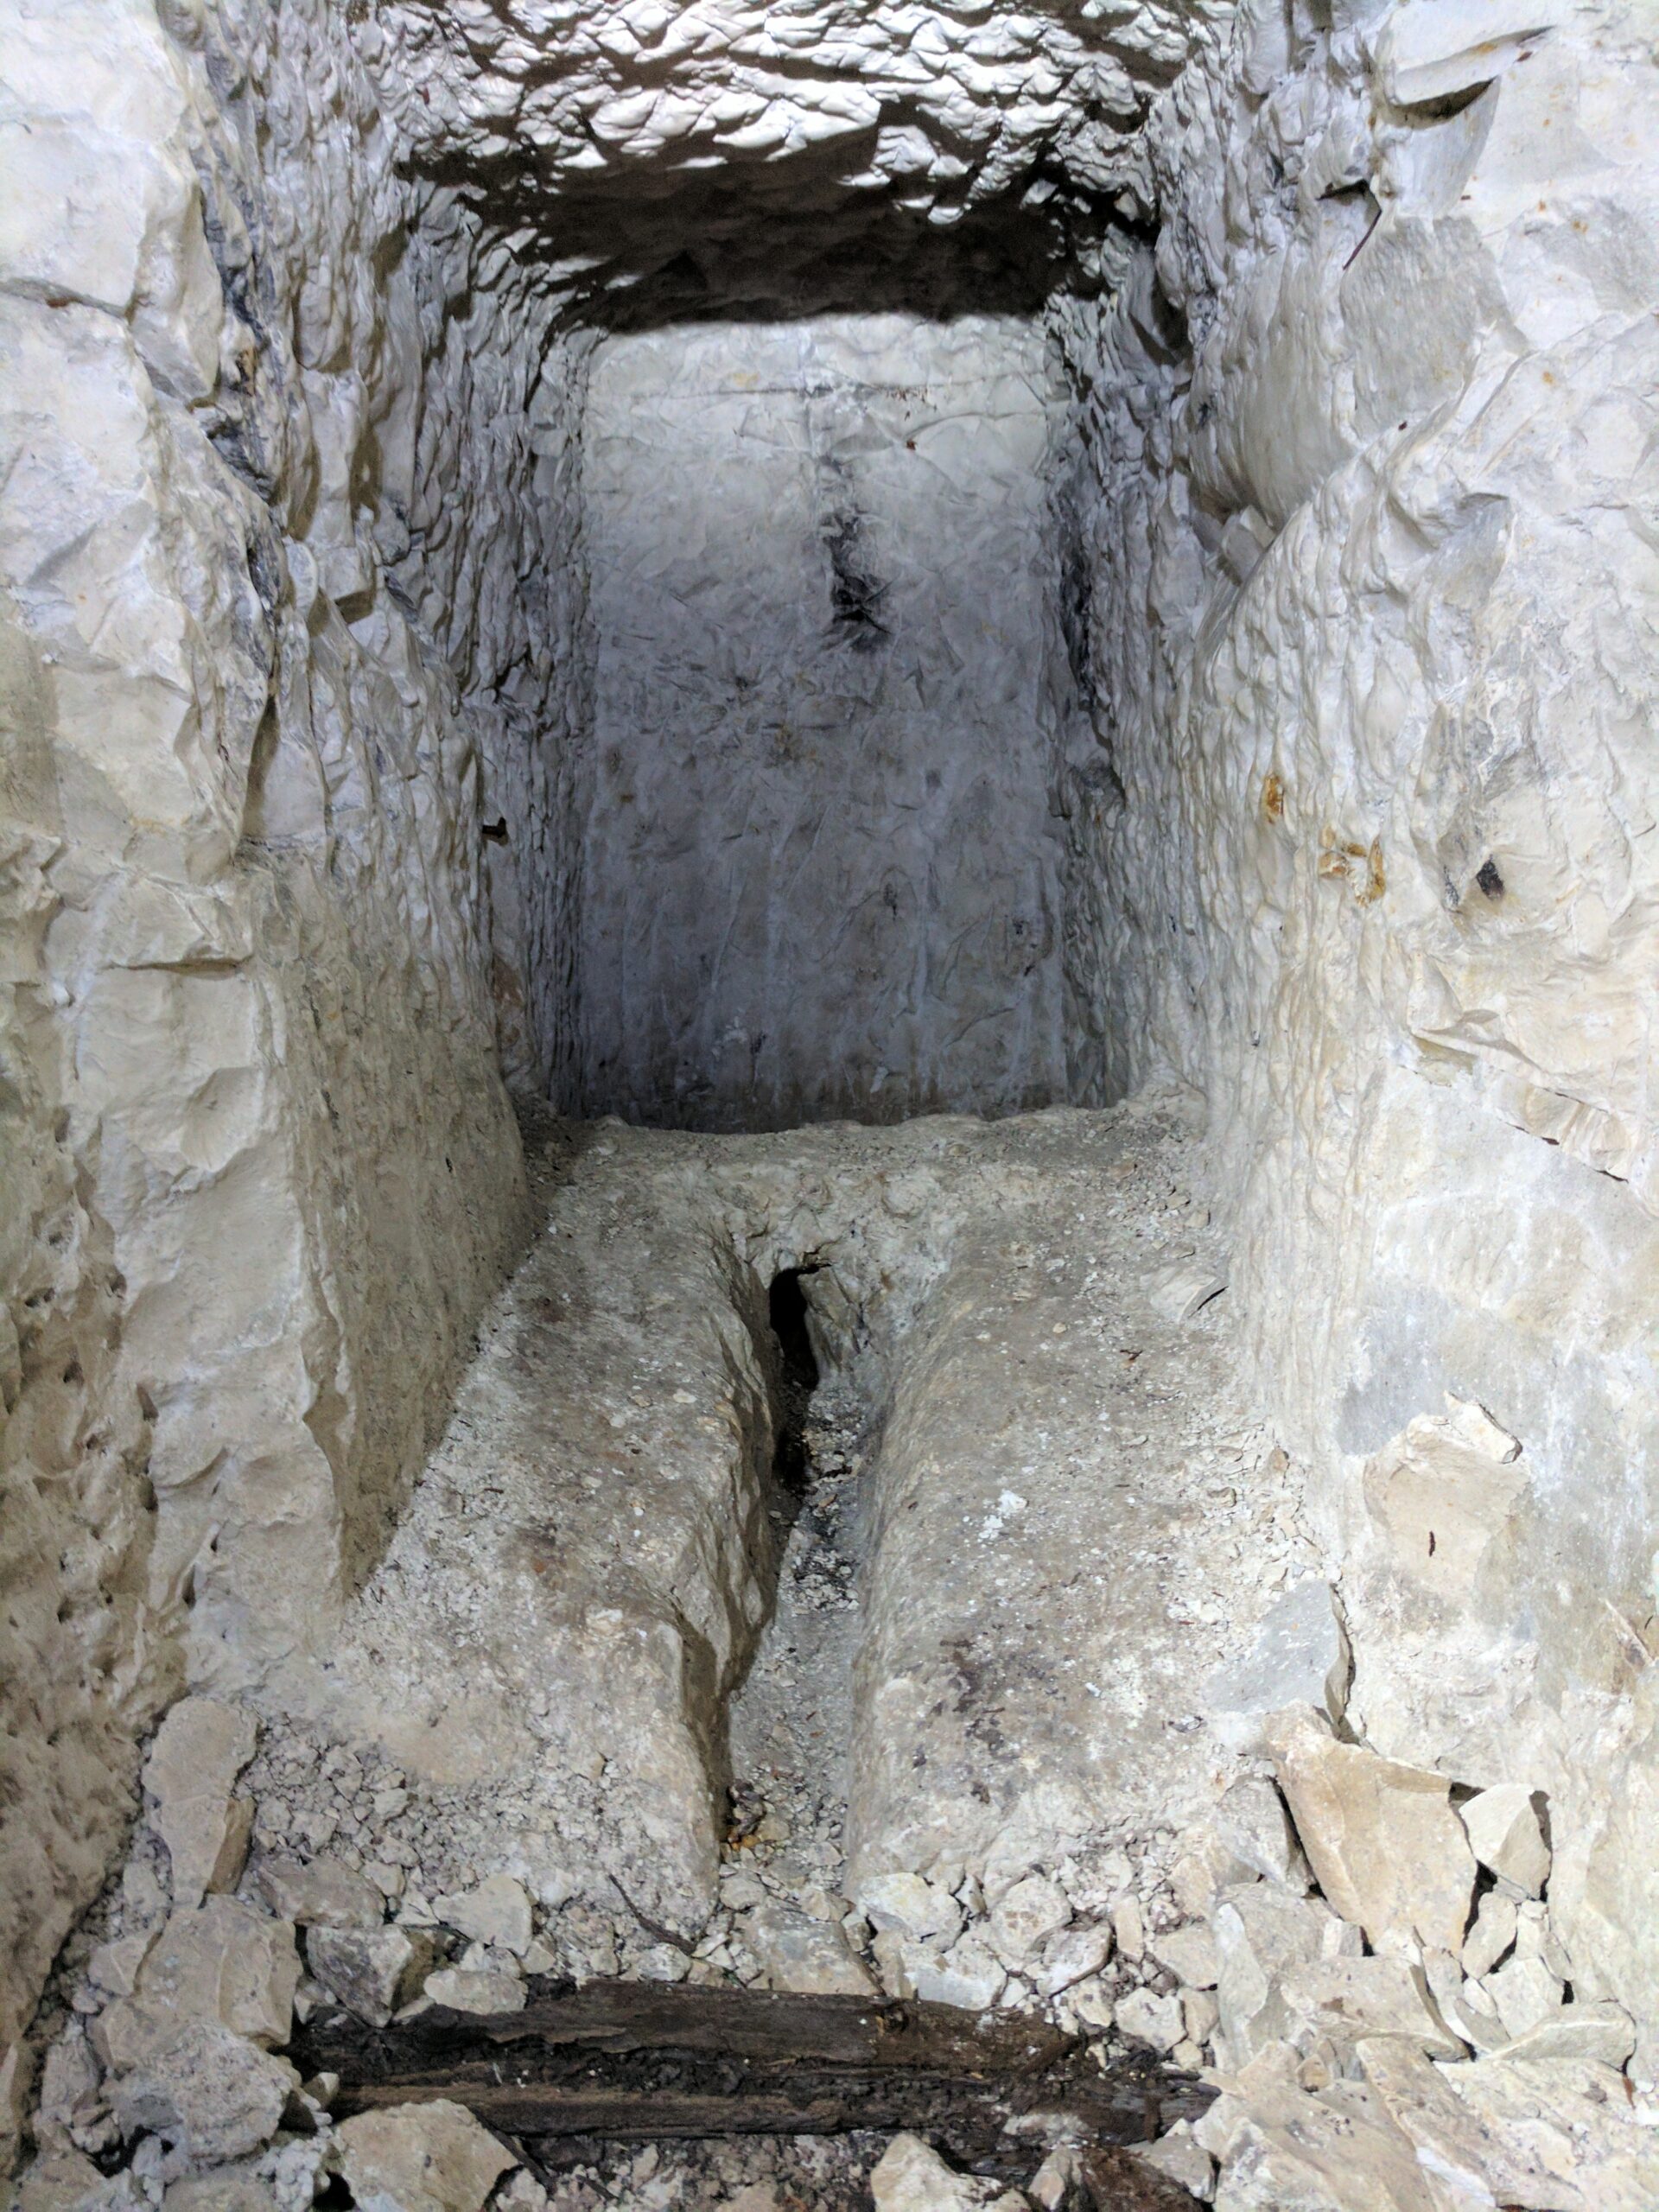
The main passage acted as a supply route, with smaller tunnels branching towards places where men lived and fought. Shafts and sloping entrances known as inclines connected the underground routes to the surface; bombardment repeatedly damaged these openings. A light railway ran along the subway, and tracks extended into side passages. At a junction, a turntable allowed a trolley to be diverted; wider passing places let traffic moving in opposite directions get around each other. The surviving turntable, metal sleepers and marks left by the rails show how the route was organised to keep people and loads moving through a confined space.
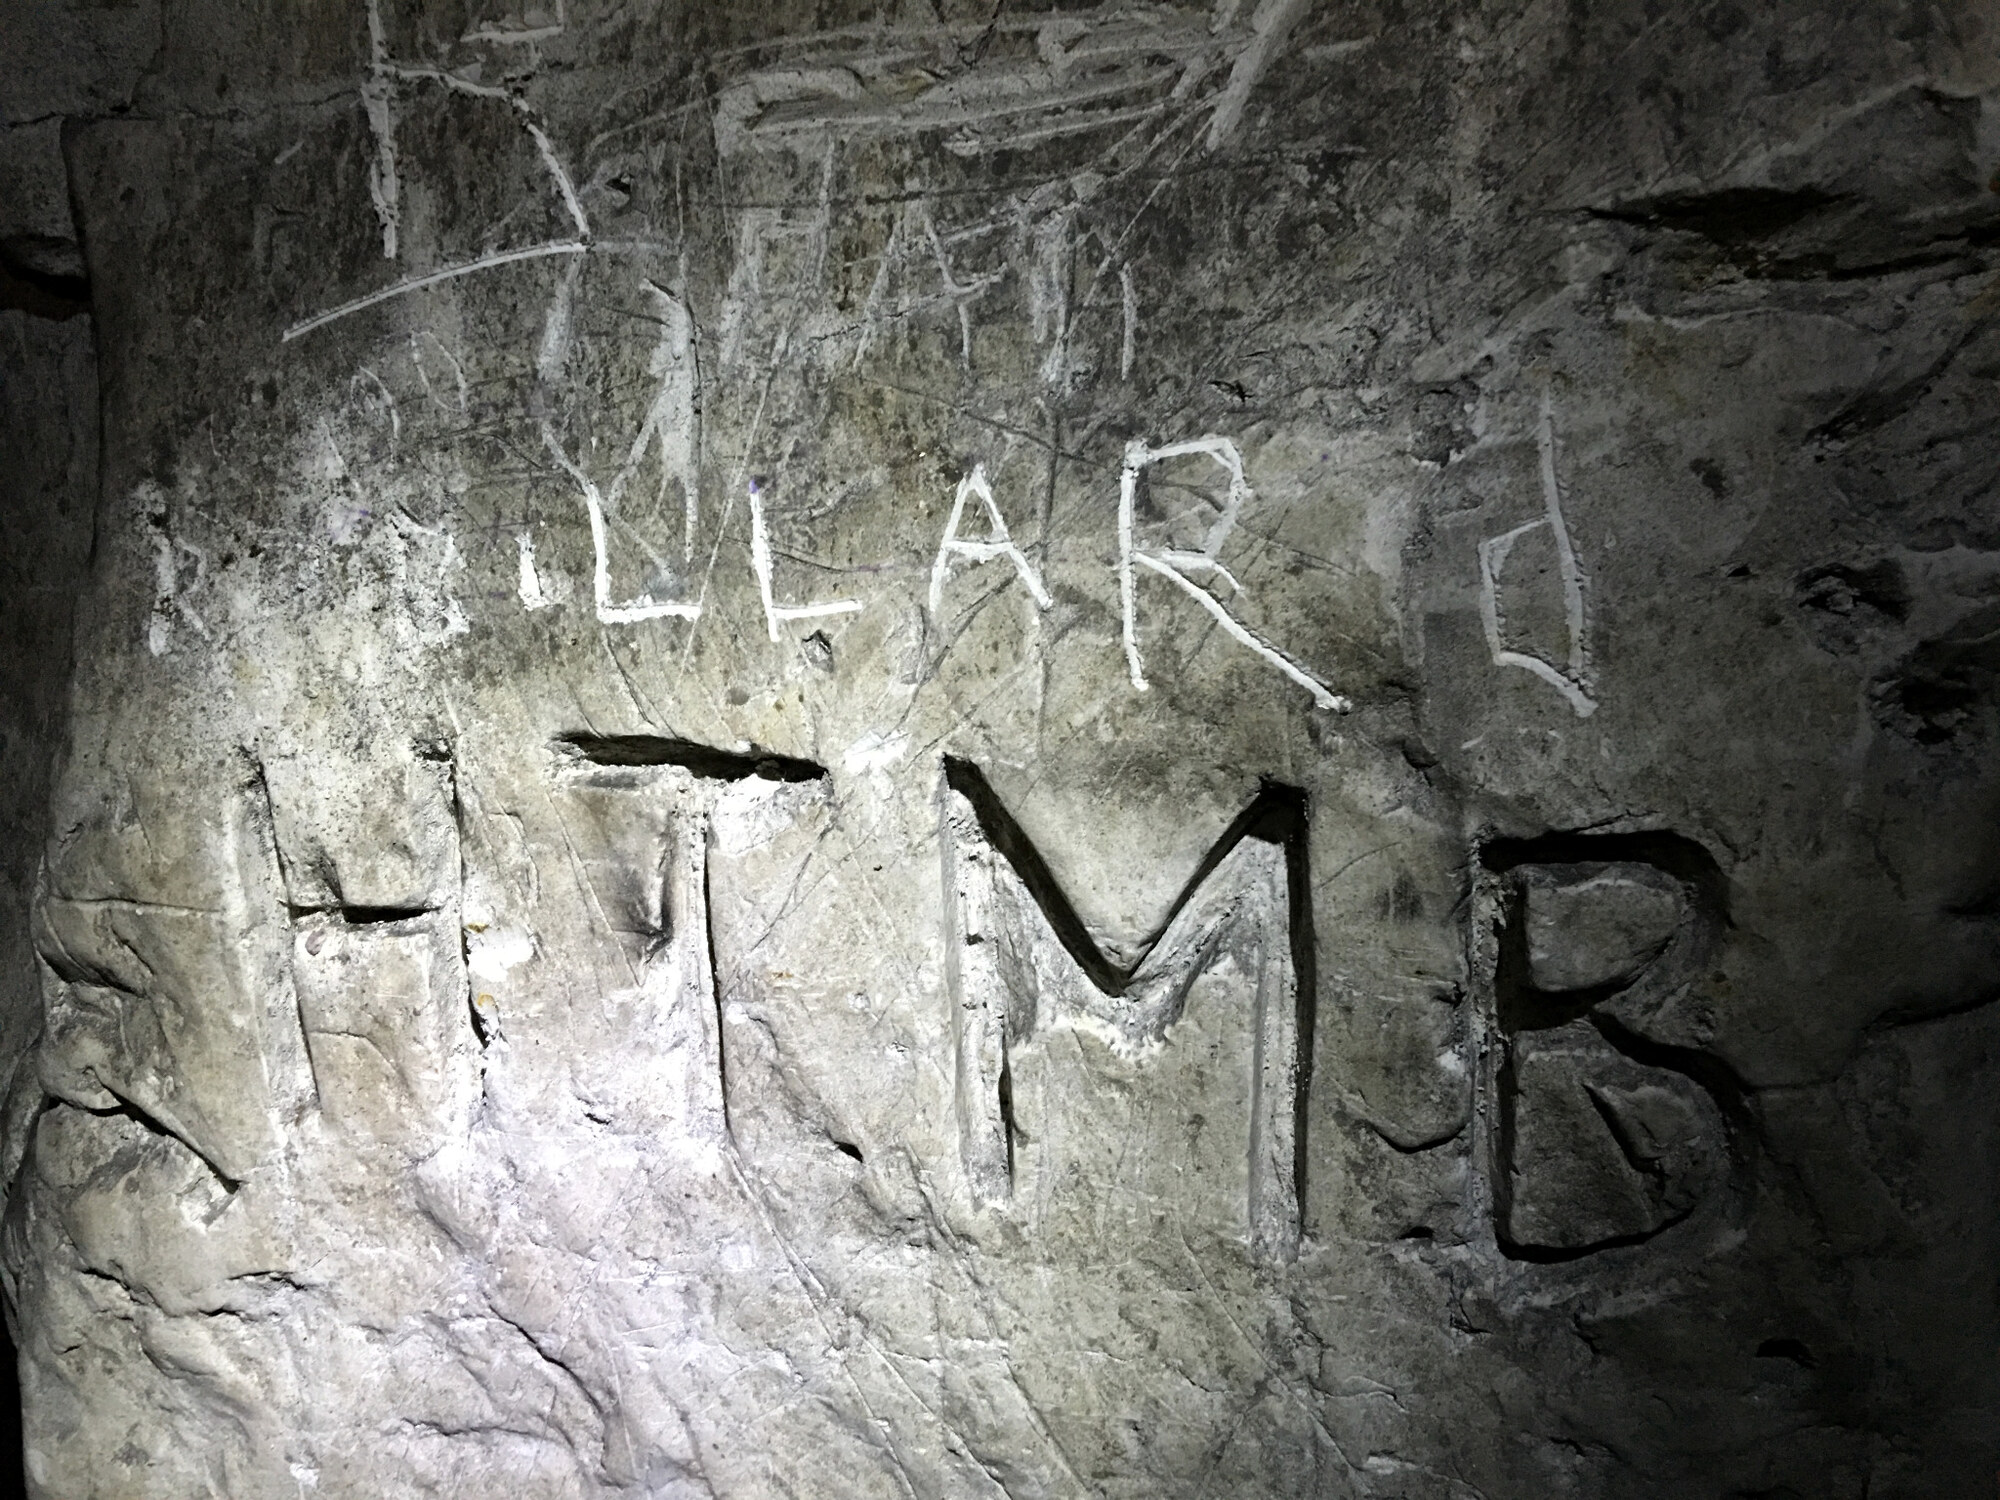
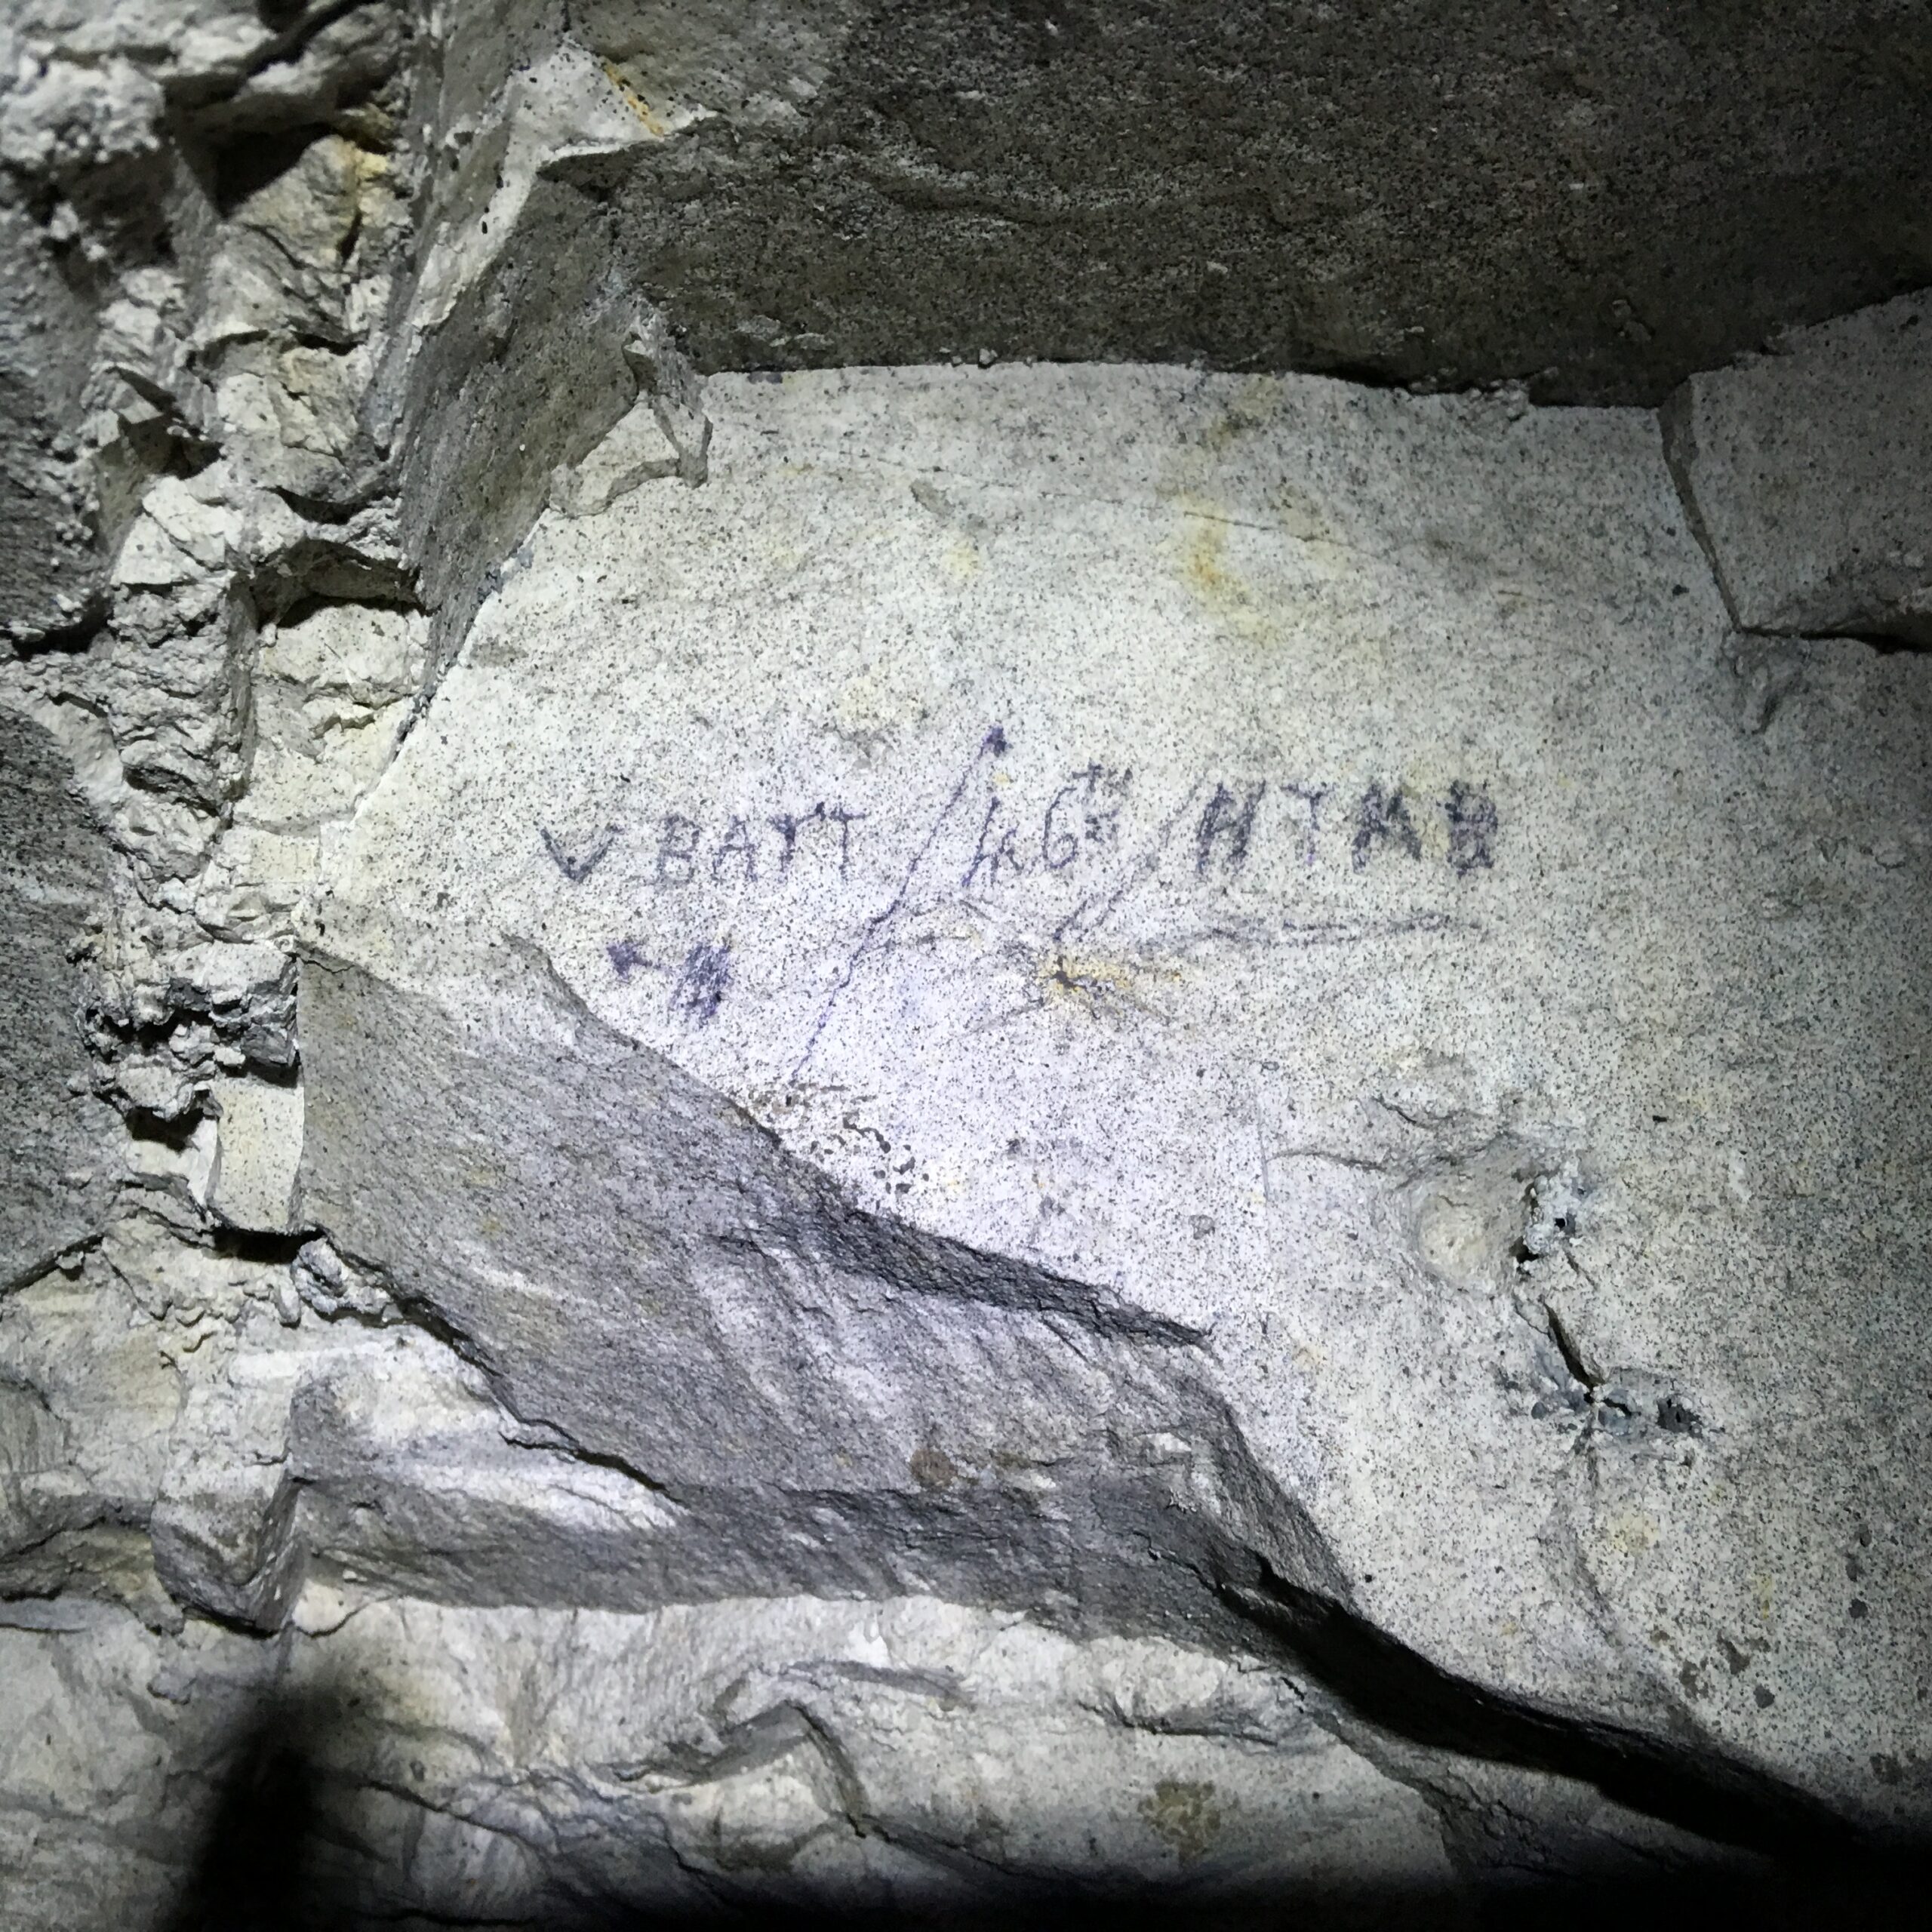
The network served both trench mortar emplacements (TME) and heavy trench mortar batteries (HTMB). These mortars fired shells in a high arc from positions close to the front, and their ammunition was dangerous to carry through an area under fire. Branch passages and short inclines led from the deeper railway towards the gun positions. Men and ammunition could travel under cover and be held in underground chambers until needed. A connected first aid post and machine-gun positions gave the subways further roles in the defence of the line.
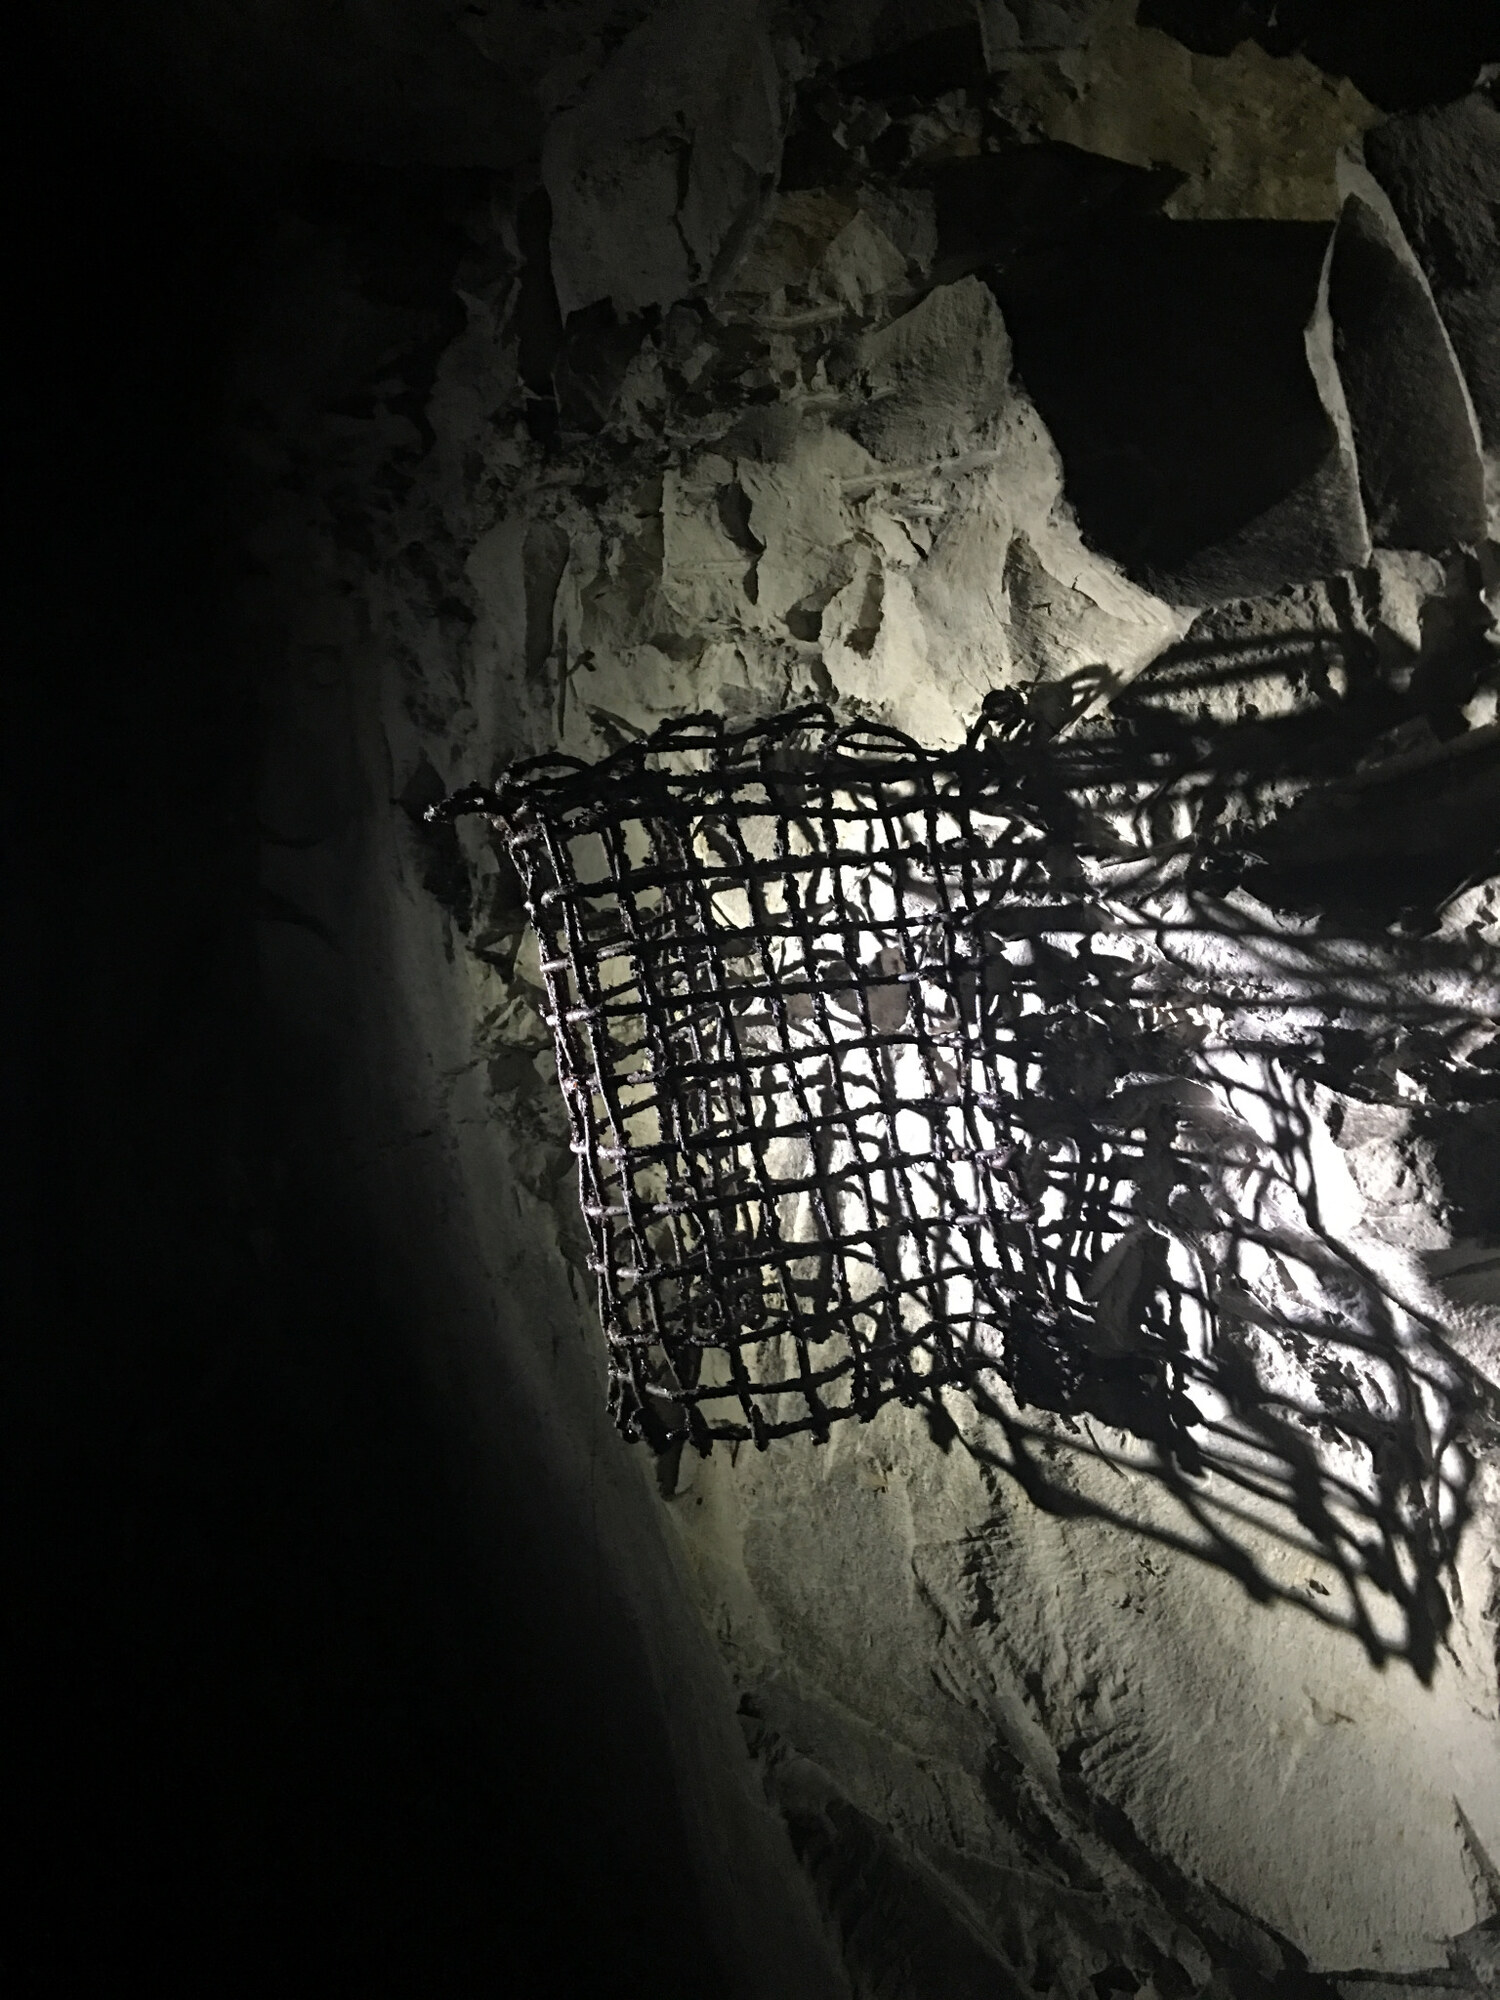
The passages also carried the services needed to make an underground position work. A power plant supplied electric lighting; brackets and nails along the walls held cables for electricity and communications. Protective wire cages kept bulbs from being struck by passing men or equipment, while candle niches, some marked by soot, offered another source of light. The rail junctions, passing places and cable routes show different aspects of the same problem: controlling traffic and keeping separate positions supplied and in contact beneath the battlefield.
The electrical and mechanical work required specialist support. The Australian Electrical and Mechanical Mining and Boring Company—usually known as the Alphabet Company—provided and operated power and lighting installations in the Givenchy–Hulluch area. Its men supplied generating equipment, cables, protected bulbs, pumps and ventilation machinery to underground positions. The surviving brackets, cable fixings and protected light fittings at Hulluch therefore belong to a wider system of technical support that kept the subways usable.
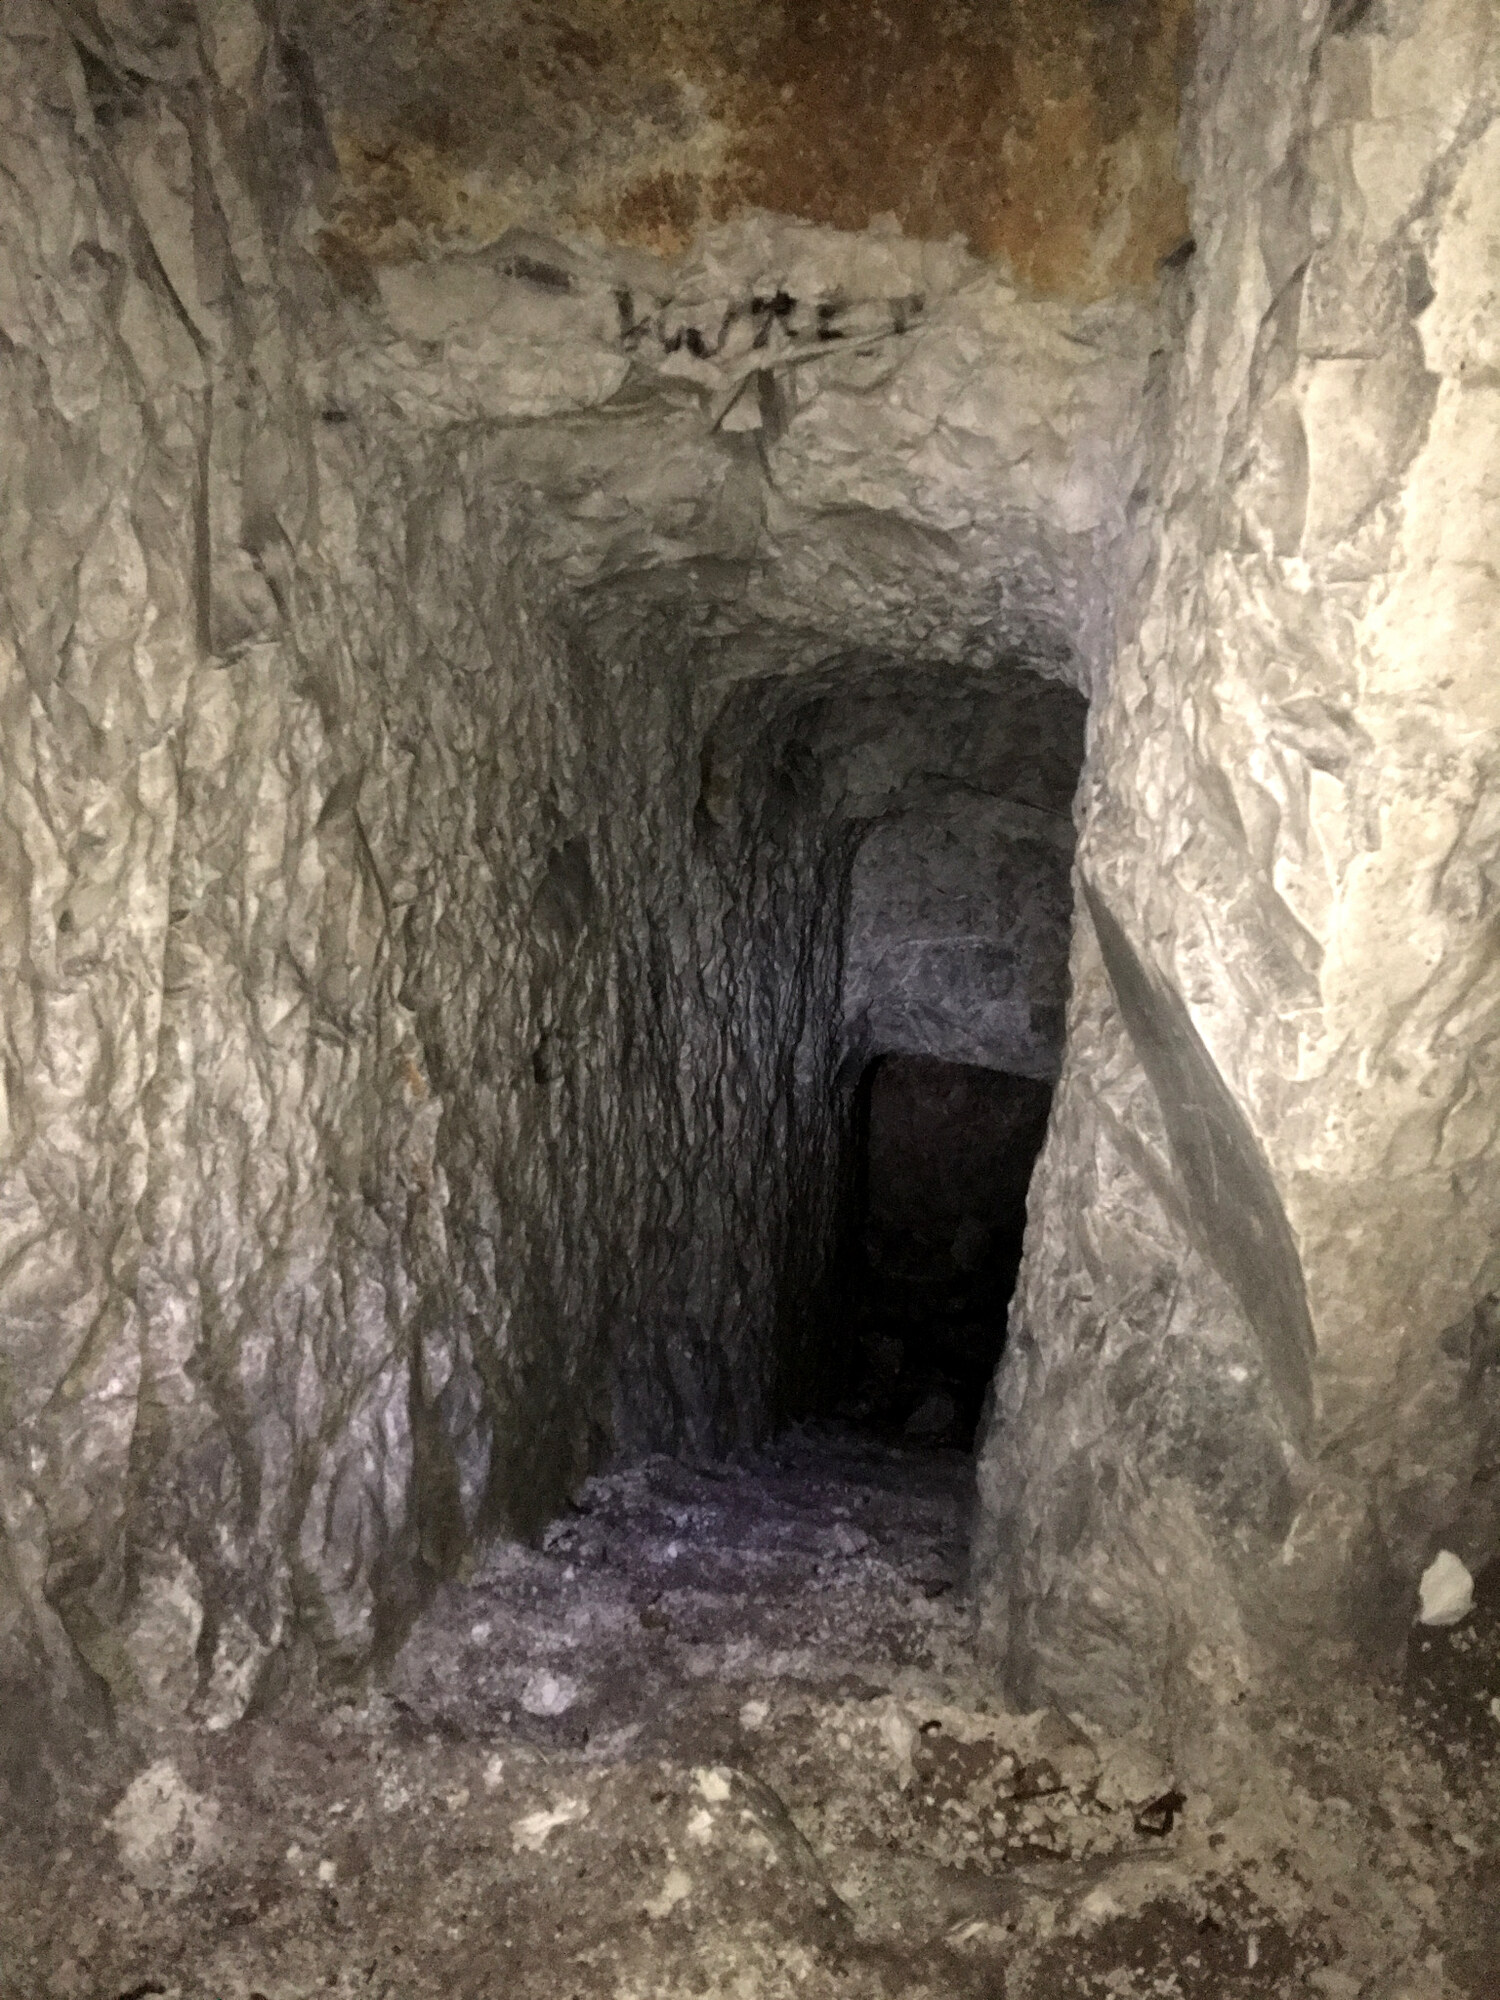
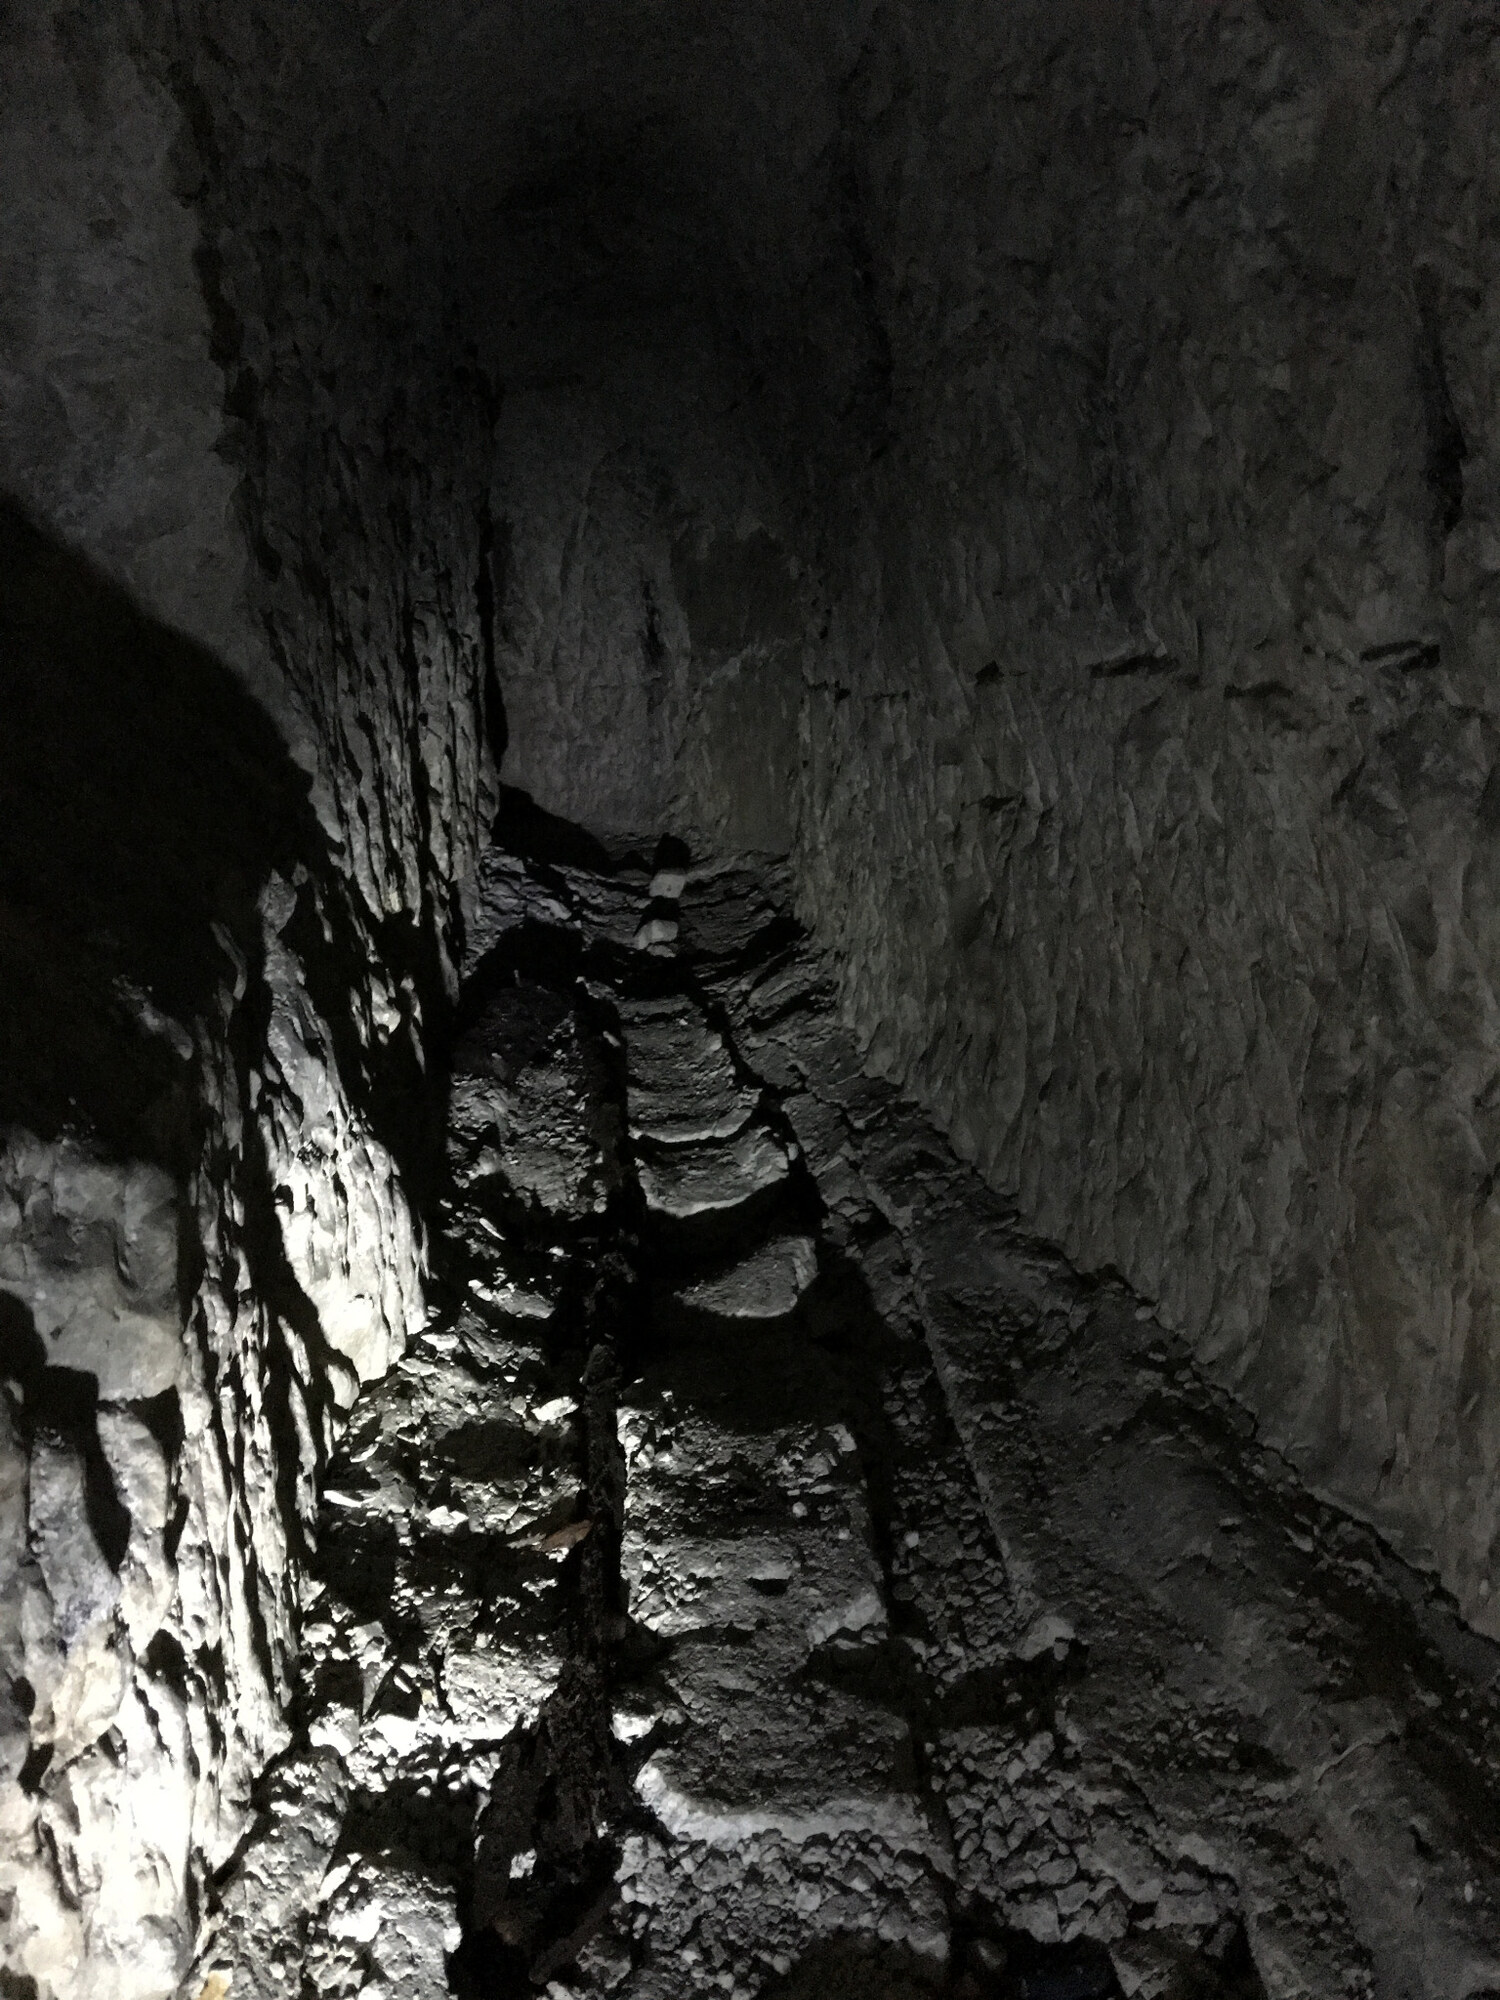
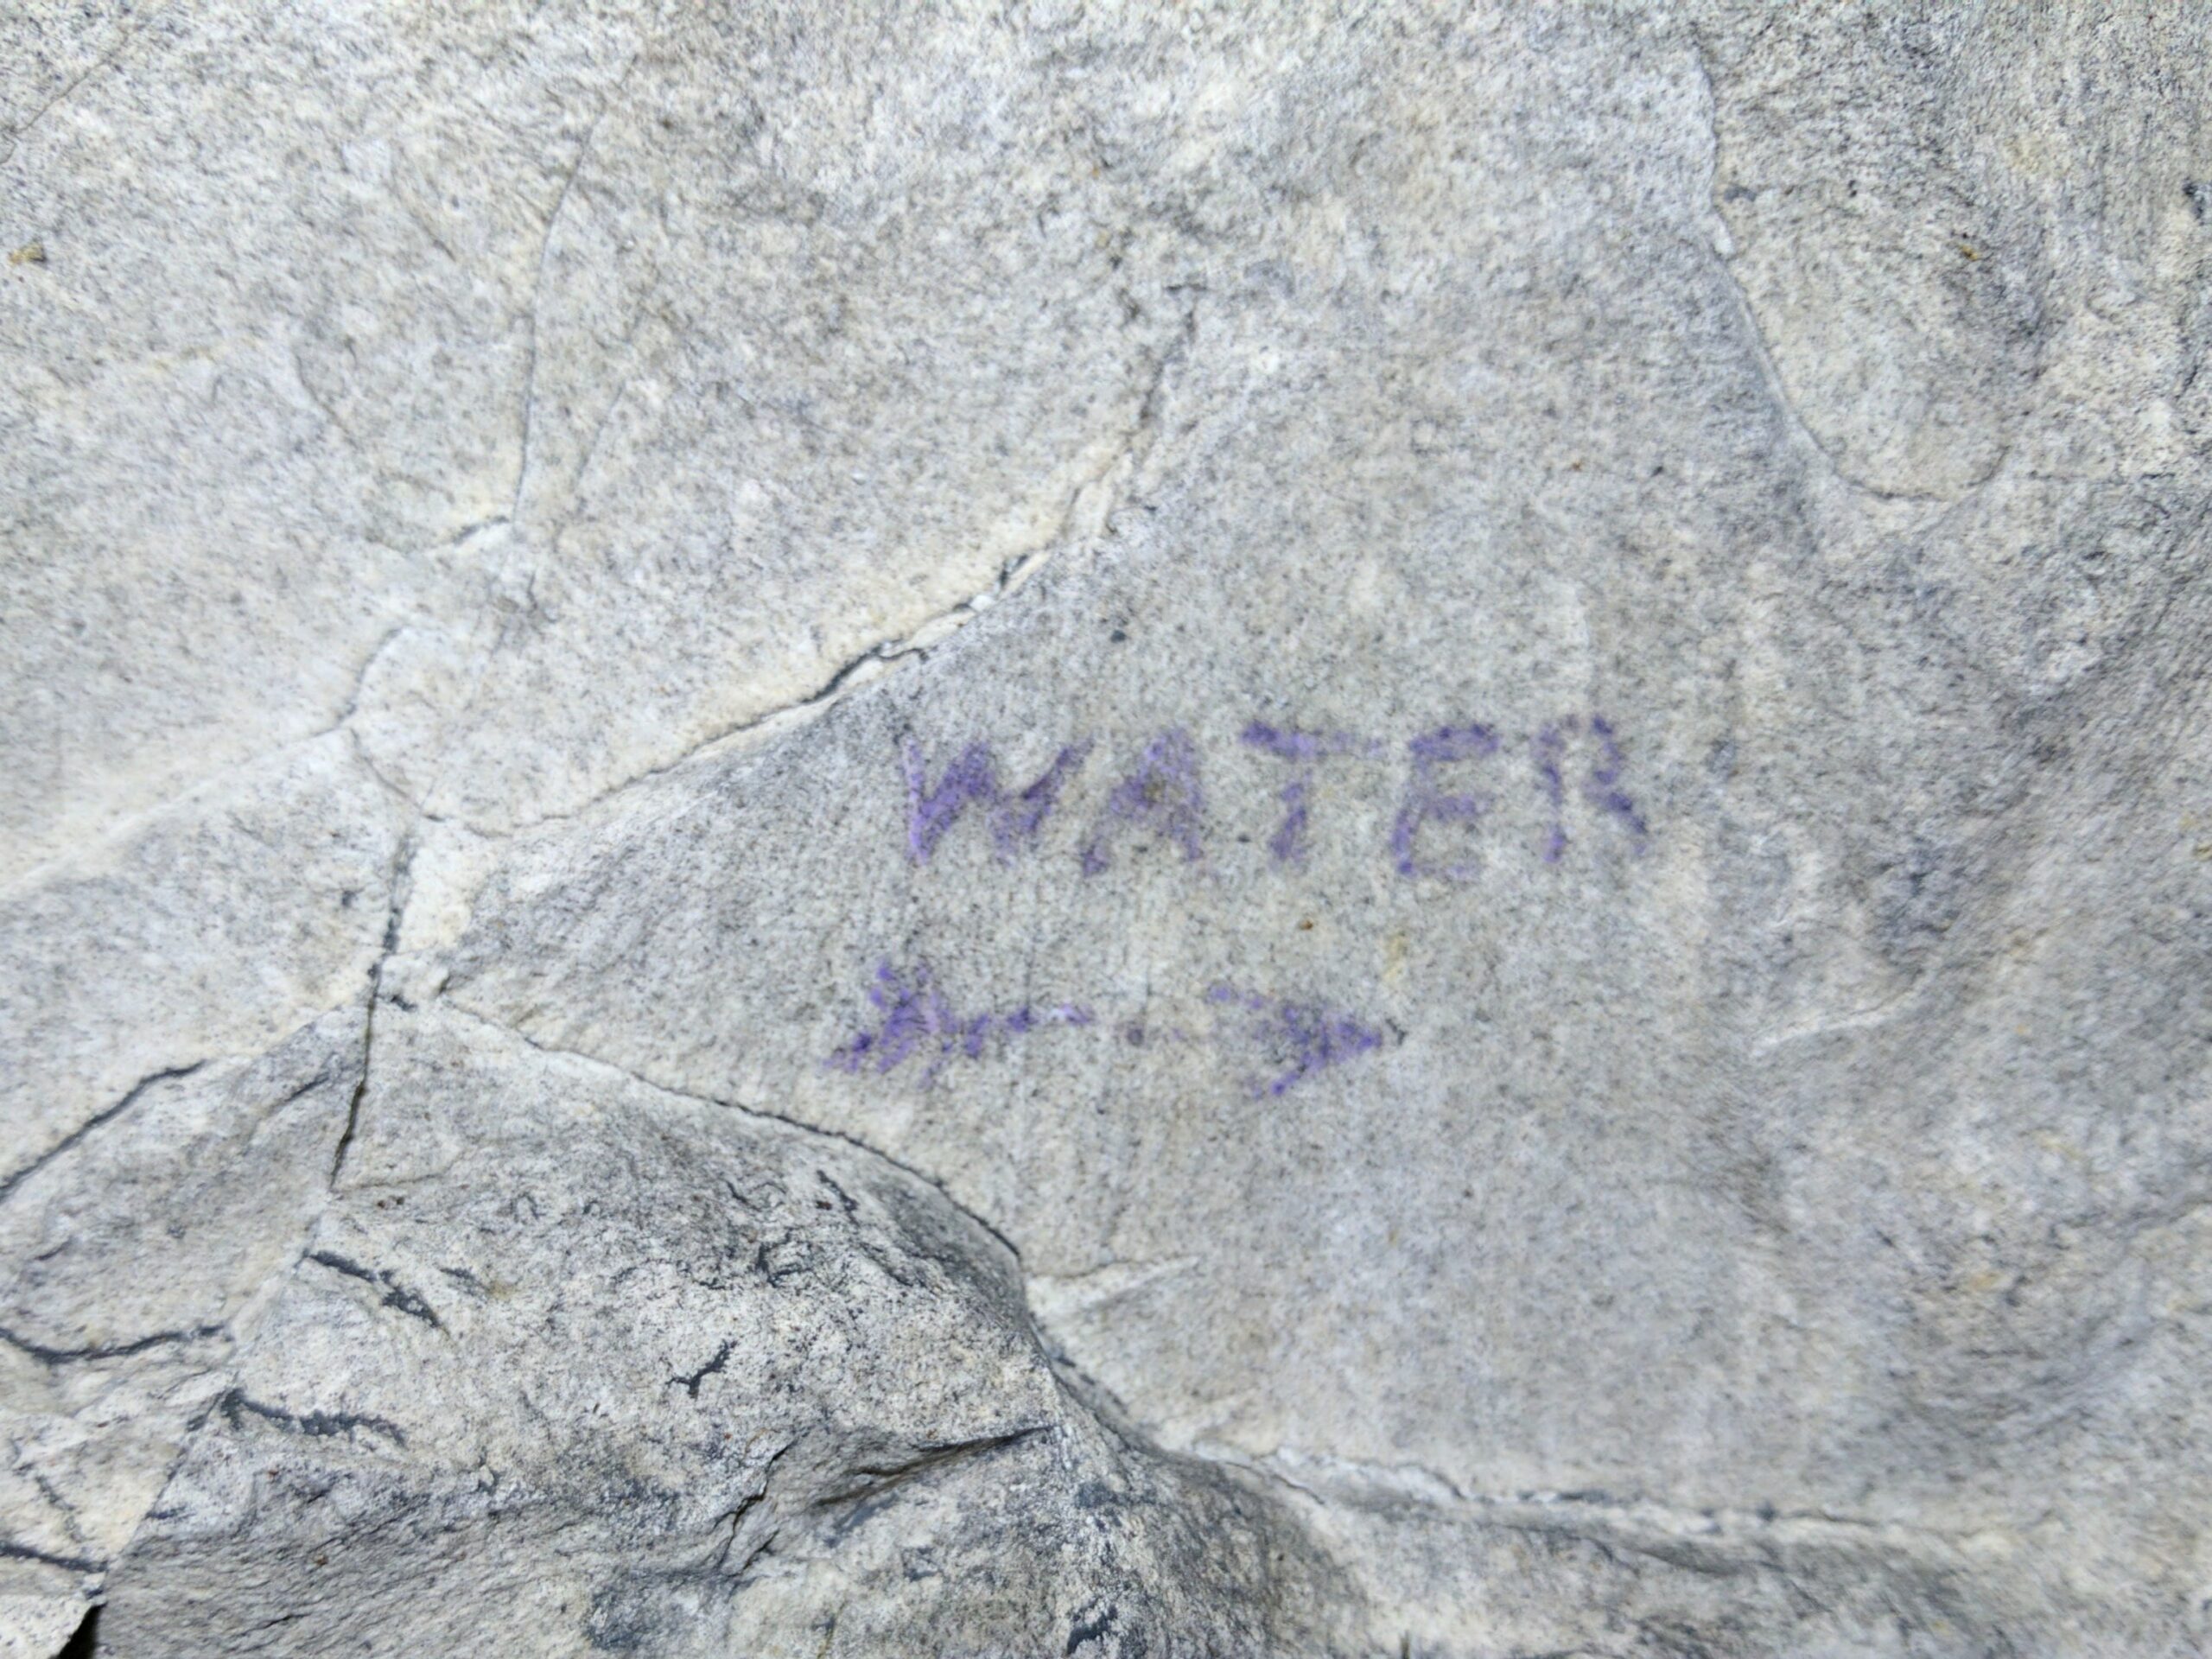
Water was just as important as ammunition. Underground wells and water tanks allowed men to collect and store water under cover rather than carry every container along a route exposed to shellfire. At one collection point, steps cut into the chalk descend towards a well where containers could be filled. Sumps, pits that collected unwanted water for pumping, served a different purpose; the Australian tunnellers later added a sump and ablution chamber to the well complex. The water point drew men back repeatedly to fill containers, making it a natural place to pause and meet others underground. Its walls carry a particularly dense collection of graffiti, left in a place that saw regular use across the life of the system.
In July 1917, the 253rd Company recorded three passing places in the Hulluch Tunnel and preparations to install 30 seismophones, instruments used to detect vibrations from enemy digging. It repaired exits damaged by shell and trench-mortar fire. Other entries describe a first aid post in Dump Tunnel, work on 10th Avenue and a heavy trench-mortar emplacement connected to the subway. Listening to the enemy and supporting the troops above ground had become parts of the same operation.
Australian tunnellers expand the system
The 3rd Australian Tunnelling Company took over work in the Hulluch–St Elie sector in August 1917. They inherited a working network, with rails, water points and mine galleries that still needed maintenance. Historian Damien Finlayson’s account of the Australian tunnelling companies places their move to the Hulluch and St Elie tunnels after the fighting at Hill 70. A contemporary photograph shows Australian tunnellers among rails and trolley wheels at a Hulluch location called Charing Cross—another name for a point within the system.
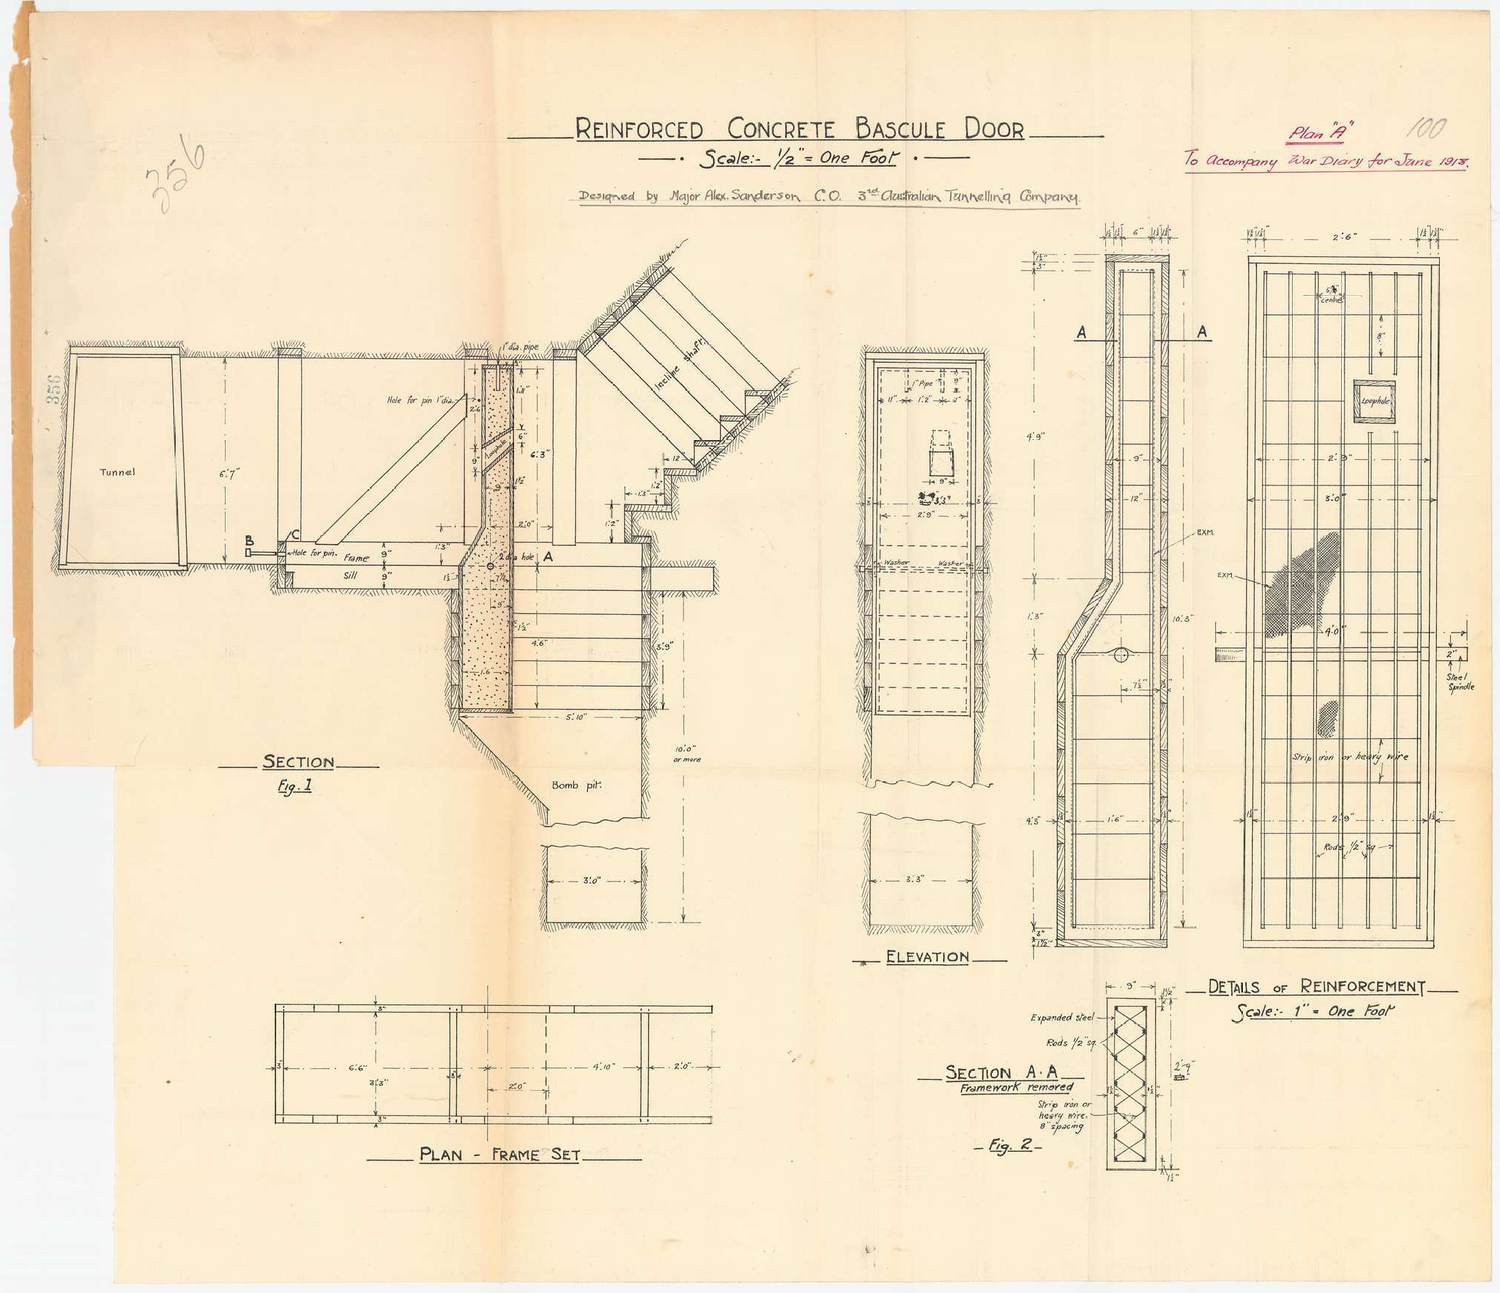
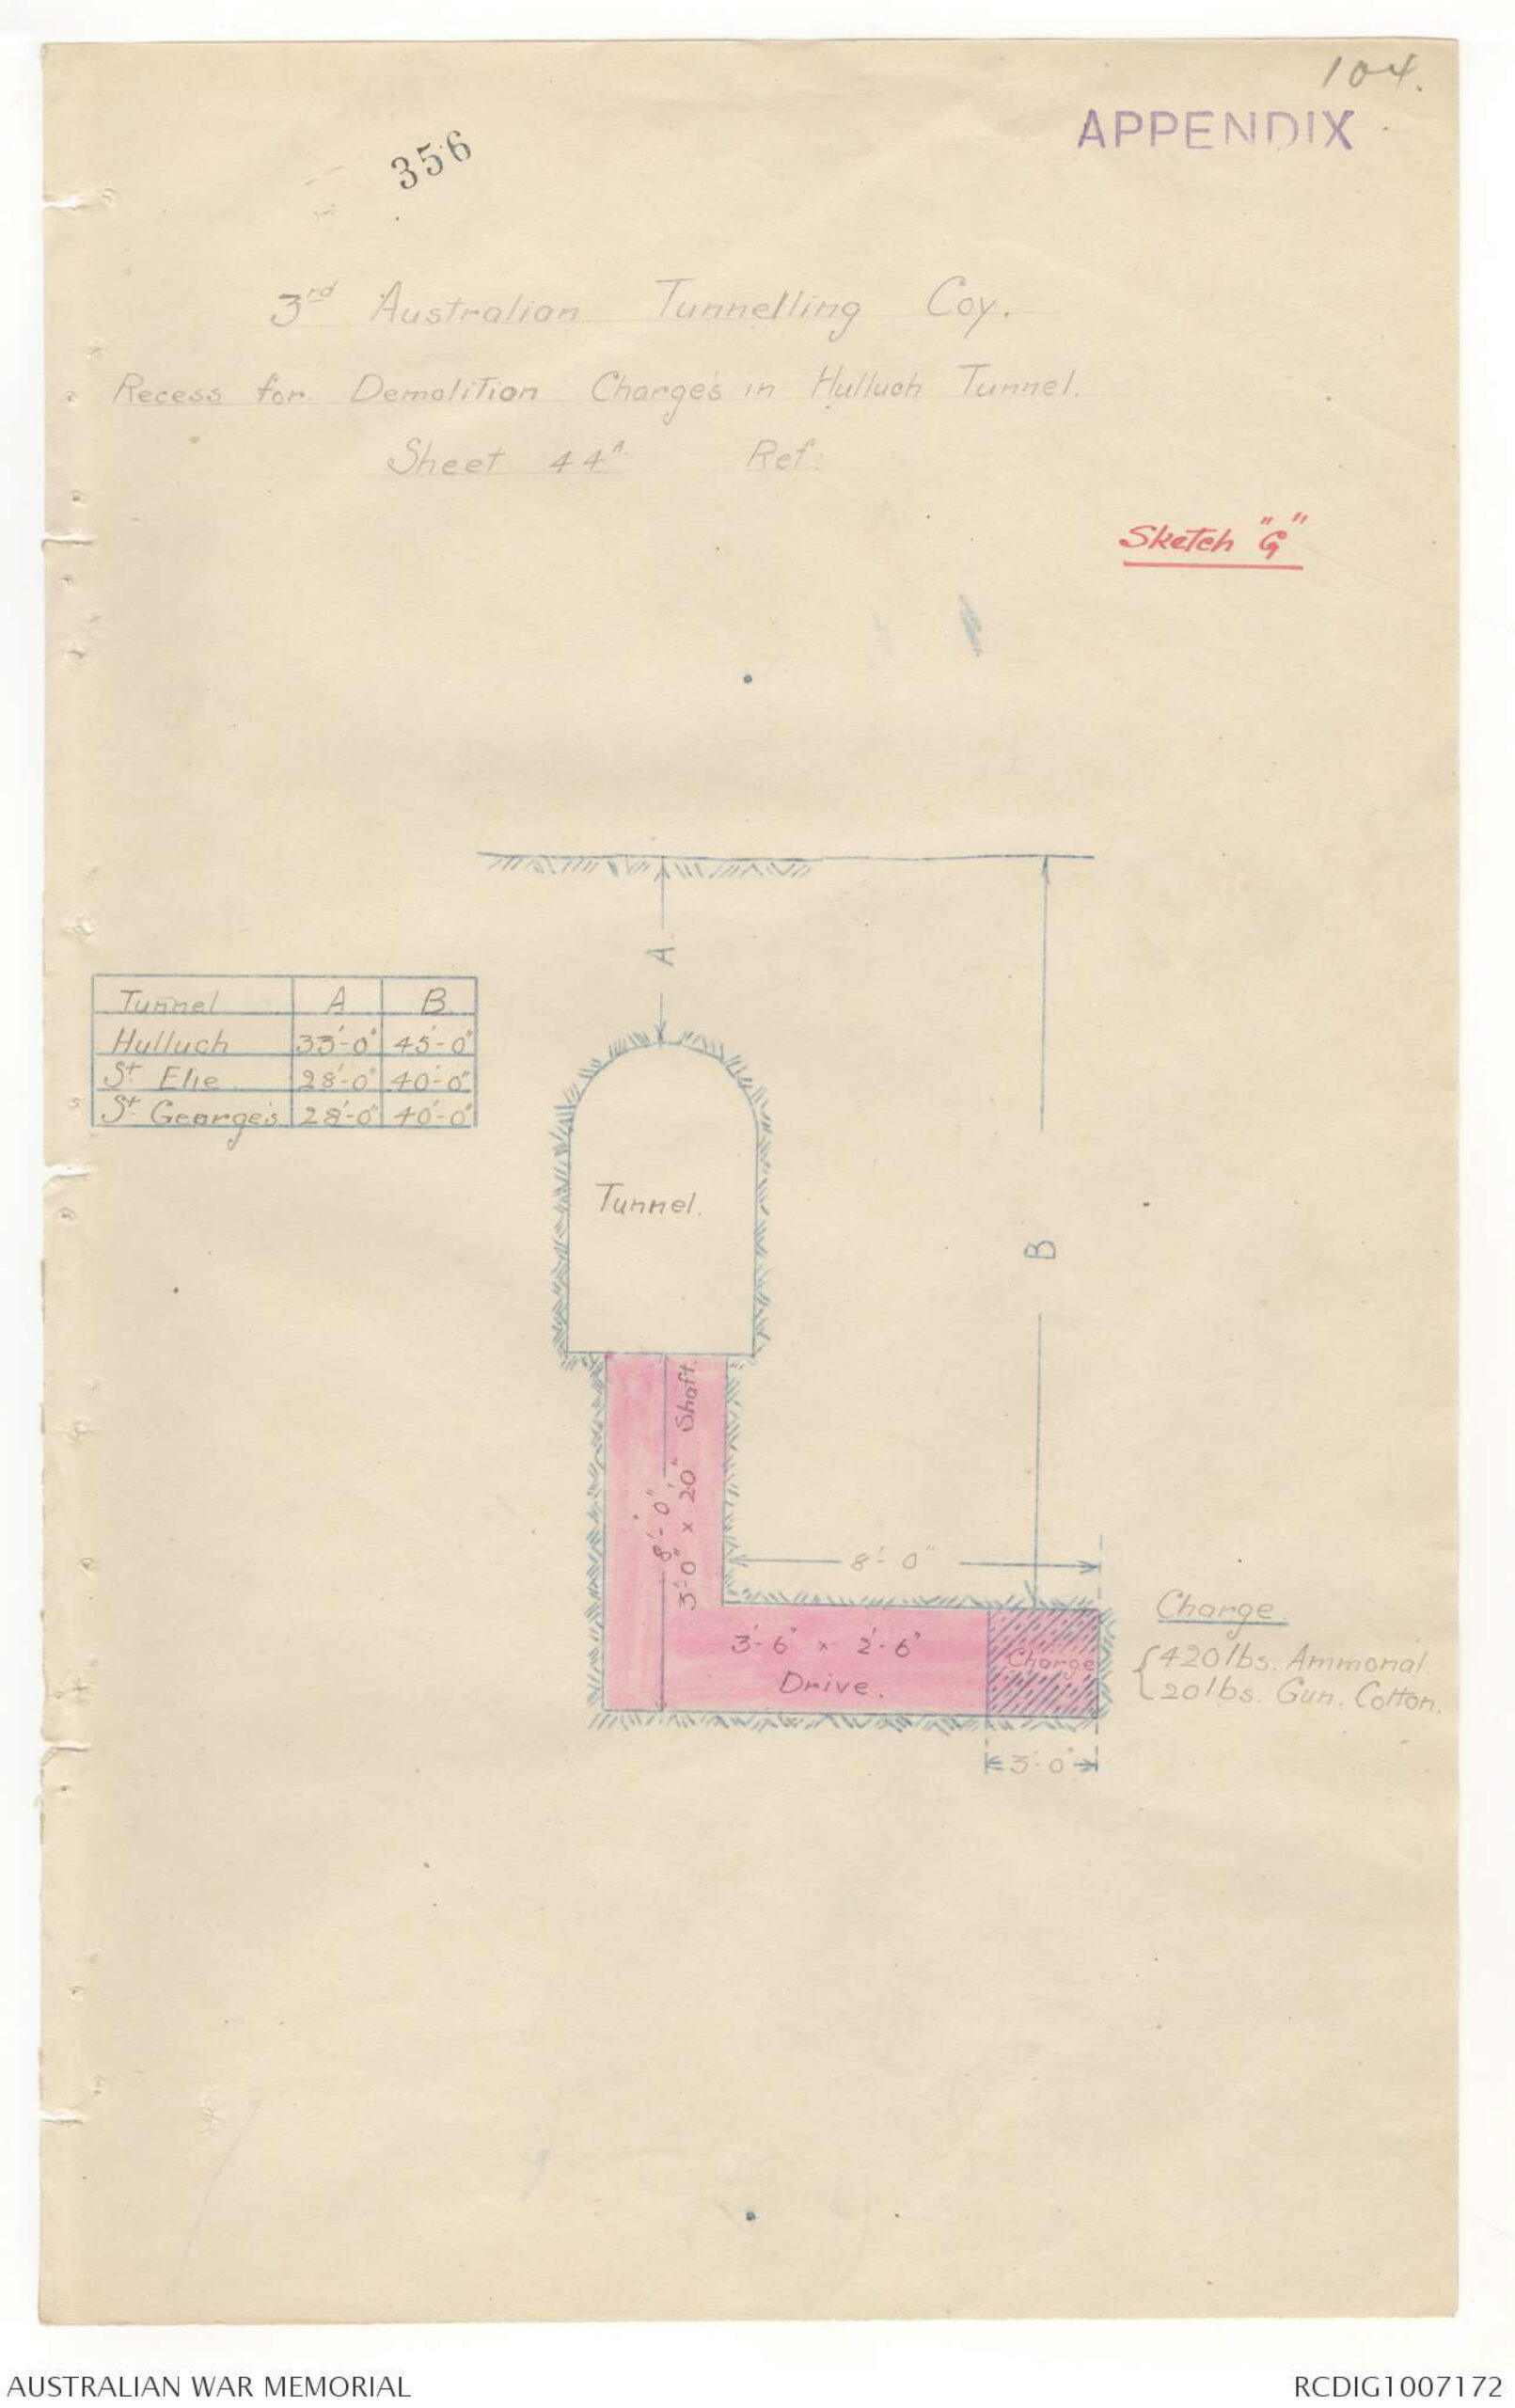
Sanderson assumed command in July 1917, bringing experience gained in the mining operations around Hill 70. At Hulluch, the company developed an underground position rather than a collection of isolated workings. The subway was linked to light railway and telephone systems, while lighting and ventilation supported rooms, gun positions and connecting galleries. Sliding doors with firing loopholes, pivoting bascule doors and prepared demolition charges allowed sections of the network to be isolated or denied if an entrance was taken.
Under Major Sanderson, the company enlarged the facilities and improved the connections. Its November 1917 diary records a well near the St Elie power plant, 300 feet of rail track, a cookhouse and new ventilation openings. The men also worked on a lateral towards the Hulluch–St Elie mining system, repaired a surface trench, improved the curve of the track in Dump Drive and surveyed connections between tunnels and mine laterals. Within Hulluch Tunnel they added a sump, a pump, an ablution chamber and further dugouts.
Work continued into 1918. The February diary records an enlarged mine rescue station, the movement of Proto breathing apparatus and repairs after shellfire damaged a tunnel associated with a heavy trench-mortar battery. The protected route still depended on vulnerable entrances and links to the positions above. Bean’s account of his visit with Sanderson describes the extensive underground front these successive improvements had produced.
Preparing for a German offensive, 1918
British commanders anticipated a major German offensive in 1918. The underground network was valuable precisely because its many branches joined one another, but those same connections created a defensive problem. If an enemy attack reached an entrance or broke into a gallery, the passages could offer a route into the rest of the system. Sanderson’s company strengthened the means of controlling access. Gas doors could isolate branches from one another, helping prevent contaminated air from spreading; blocks provided barriers against an intruder. The defences therefore served the men who continued to use the subway as well as the troops holding the ground above it.
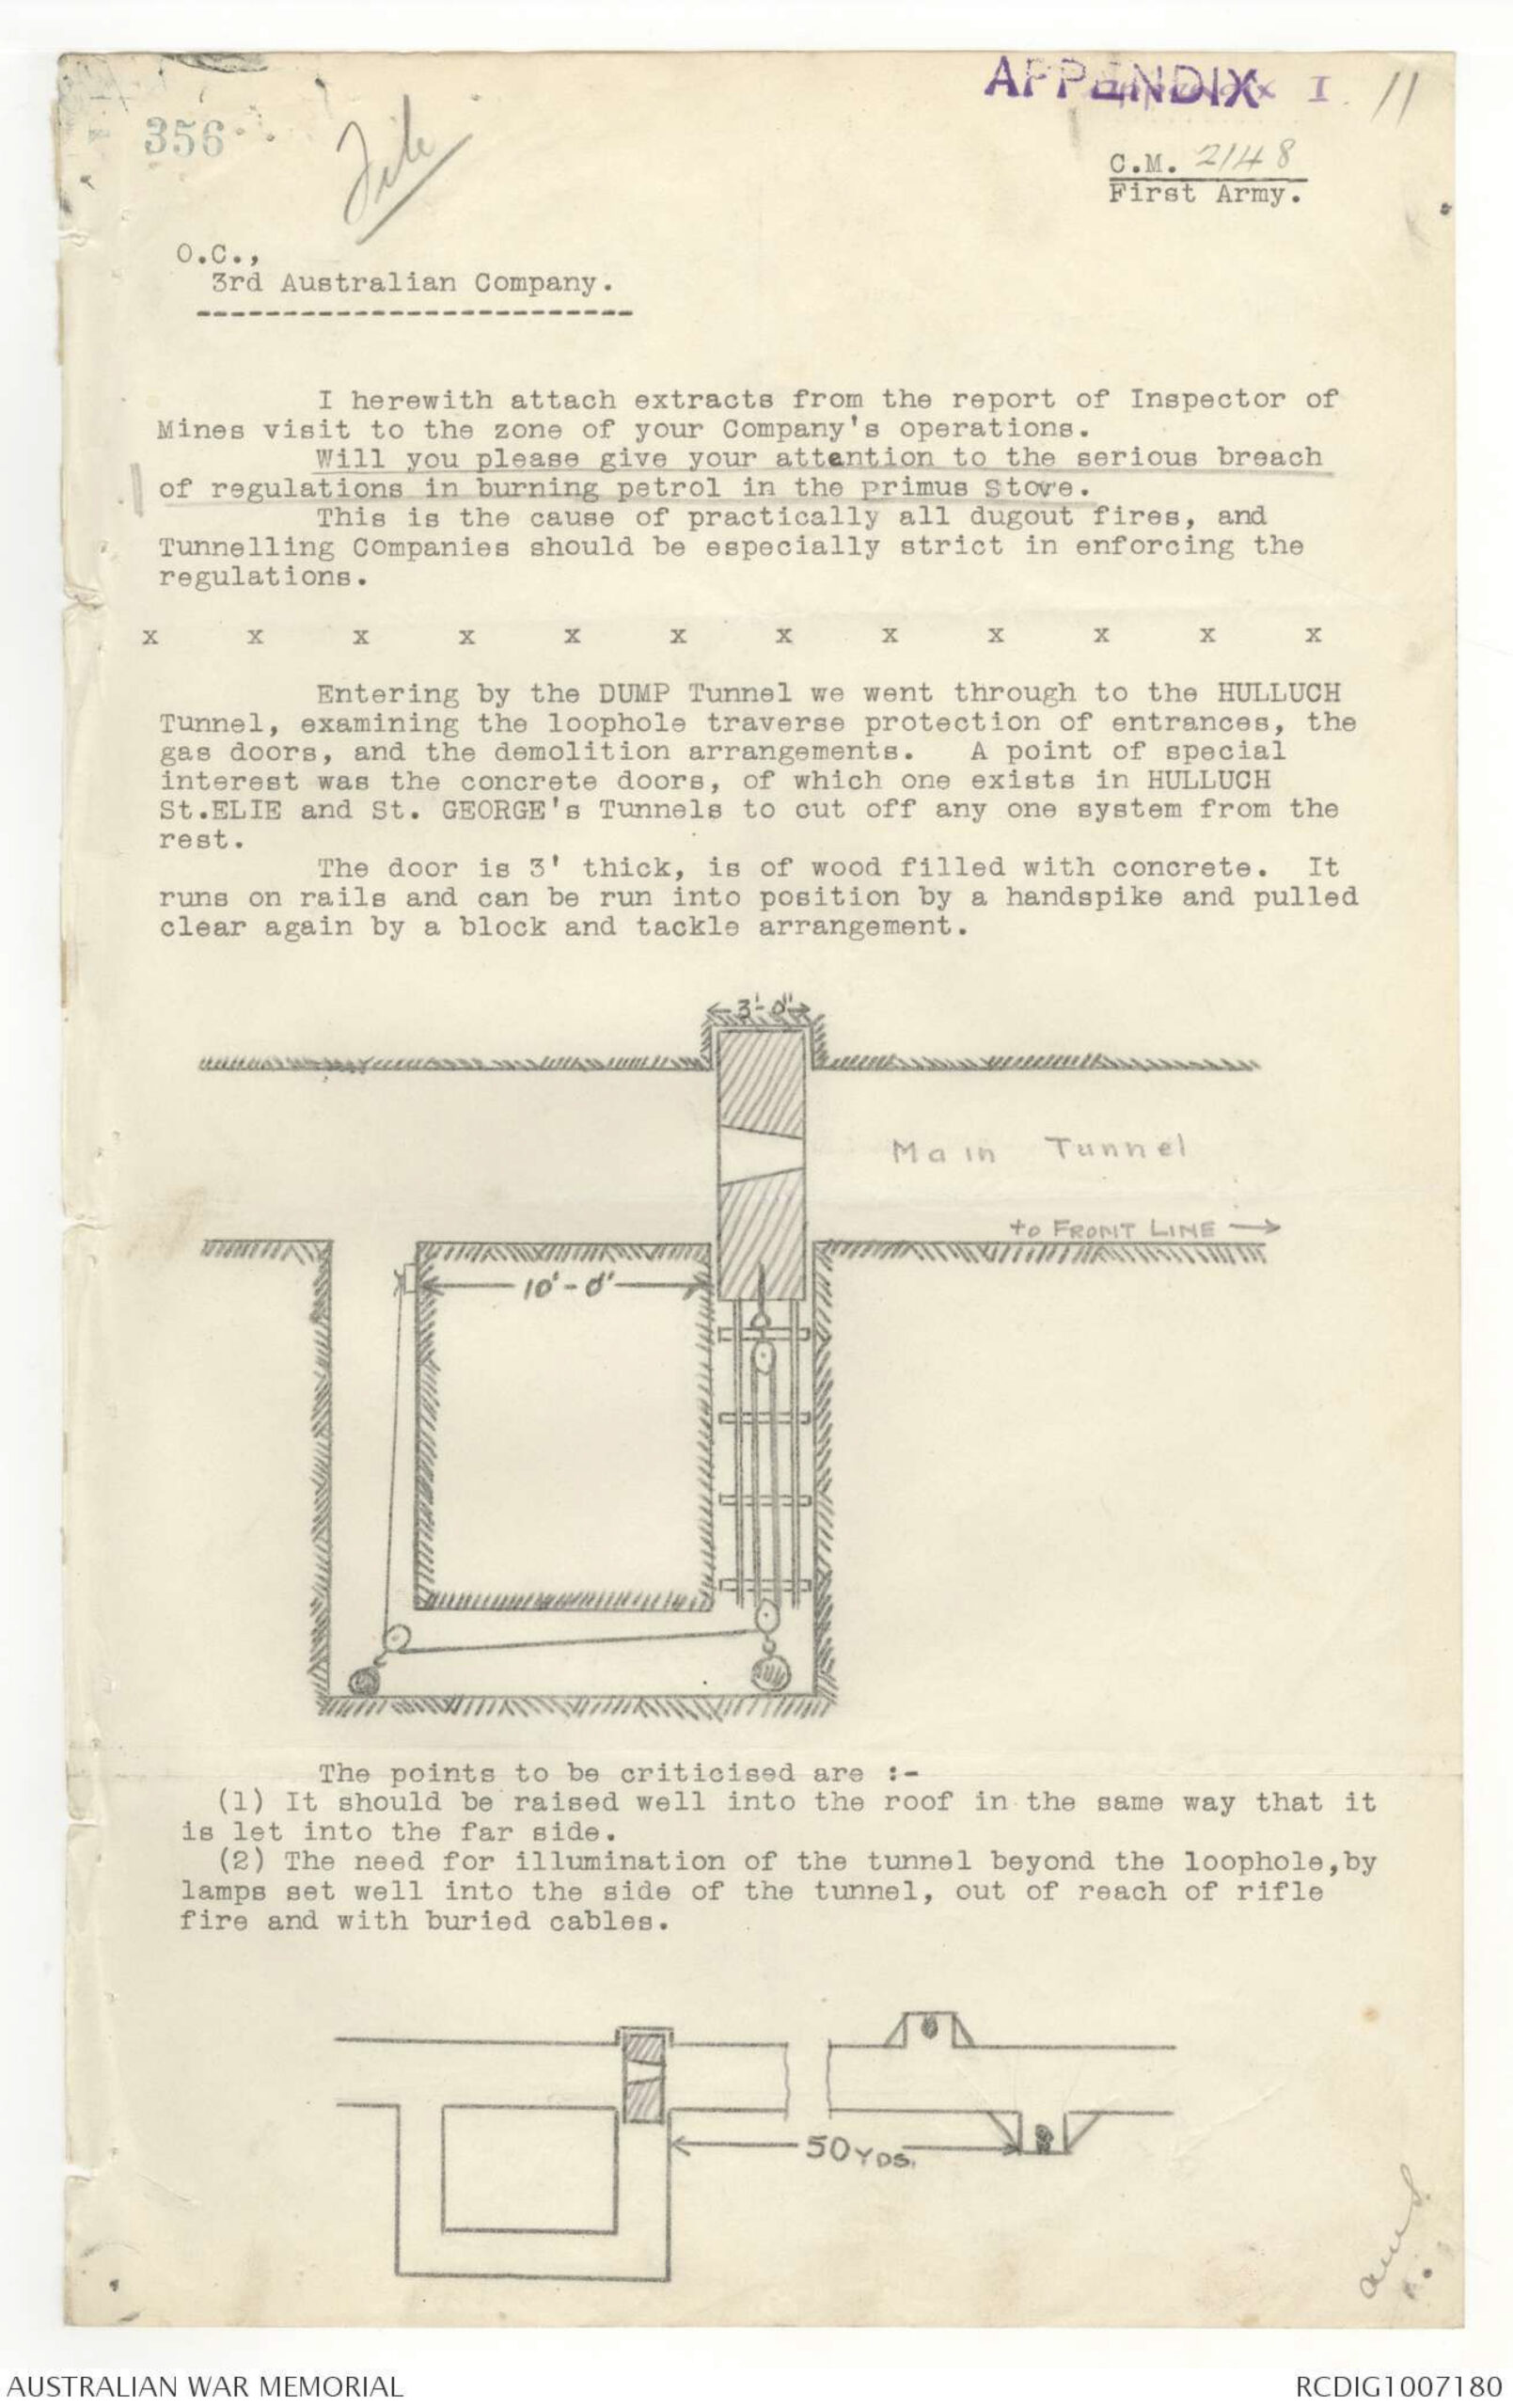
The most substantial barrier still stands in the Hulluch passage. Its brick and concrete defensive structure houses a heavy movable door on rails. A period Inspector of Mines described the door as timber filled with concrete, about three feet thick: men could push it across the main tunnel with a handspike and pull it clear with block and tackle. Once closed, its narrow firing port, or loophole, allowed defenders to aim down the passage at anyone approaching from the threatened side. The protected position thus served as both a barrier and a point from which to hold the route. The Inspector also recorded gas doors and demolition arrangements. If a position could no longer be held, prepared charges could collapse a passage and deny it to the enemy.
Other entrances required a different form of control. A contemporary drawing of the new Devon incline, begun on 28 June 1918 and completed on 24 July, labels a bascule door: a pivoting barrier intended to close an approach between the surface and the deeper passage. The drawing notes that the door still had to be fixed when excavation reached full length on 18 July. Together with the sliding concrete door, gas doors and demolition provision, it shows how the Australians adapted a useful network for defence while keeping routes open for the people and supplies moving through it.
Defensive features in detail
A headquarters beneath Hulluch, 1939–40
In December 1939, as the British Expeditionary Force prepared for a possible German offensive, engineers of 240 Field Company, Royal Engineers, and II Corps examined the surviving subways west of Wingles and Hulluch for use as a rear headquarters. When reconnaissance parties first entered in January 1940, many of the old inclines were blocked by spoil and debris. They compared possible routes through Northern Tunnel, the St Elie mining lateral and Hay Alley before selecting the confluence of the Hulluch, Dump and St Elie systems, including Cross Cut.
The existing chambers were not considered suitable for a modern headquarters without extensive alteration. The scheme therefore proposed three adjoining grids—Main, Signals and Men’s—containing 38 rooms linked by wider passages described as roads. Wings Way and St Elie inclines were to be reopened, with additional entrances near Freund’s Shaft and K Tunnel. Boreholes would ventilate the underground latrines, power plant, cookhouse and working rooms.
Most of the heavy work fell to 240 Field Company, supported by the reconstituted 170th Tunnelling Company and the forming 171st, 172nd and 173rd companies. By mid-March four additional inclines had been opened, and by April 11 ventilation boreholes had been completed. Royal Signals personnel installed wall-mounted communications cables, while engineers prepared foundations for a power plant and transformer equipment. These works produced the strongest physical transformation of the First World War system.
The volume of excavated chalk created a persistent disposal problem. Freshly broken material occupied more space than the solid chalk from which it came, so old chambers were filled and spoil was taken progressively farther into St George’s, Dump and St Elie tunnels and towards Hay Alley. These deposits help explain some of the blocked passages and later accumulations now encountered underground. The conversion was nearly complete when the German offensive began in May 1940. Work stopped as II Corps moved to meet the advance and British forces withdrew; the headquarters was never brought into operation. Hulluch therefore preserves a second, unfinished transformation within the larger First World War network.
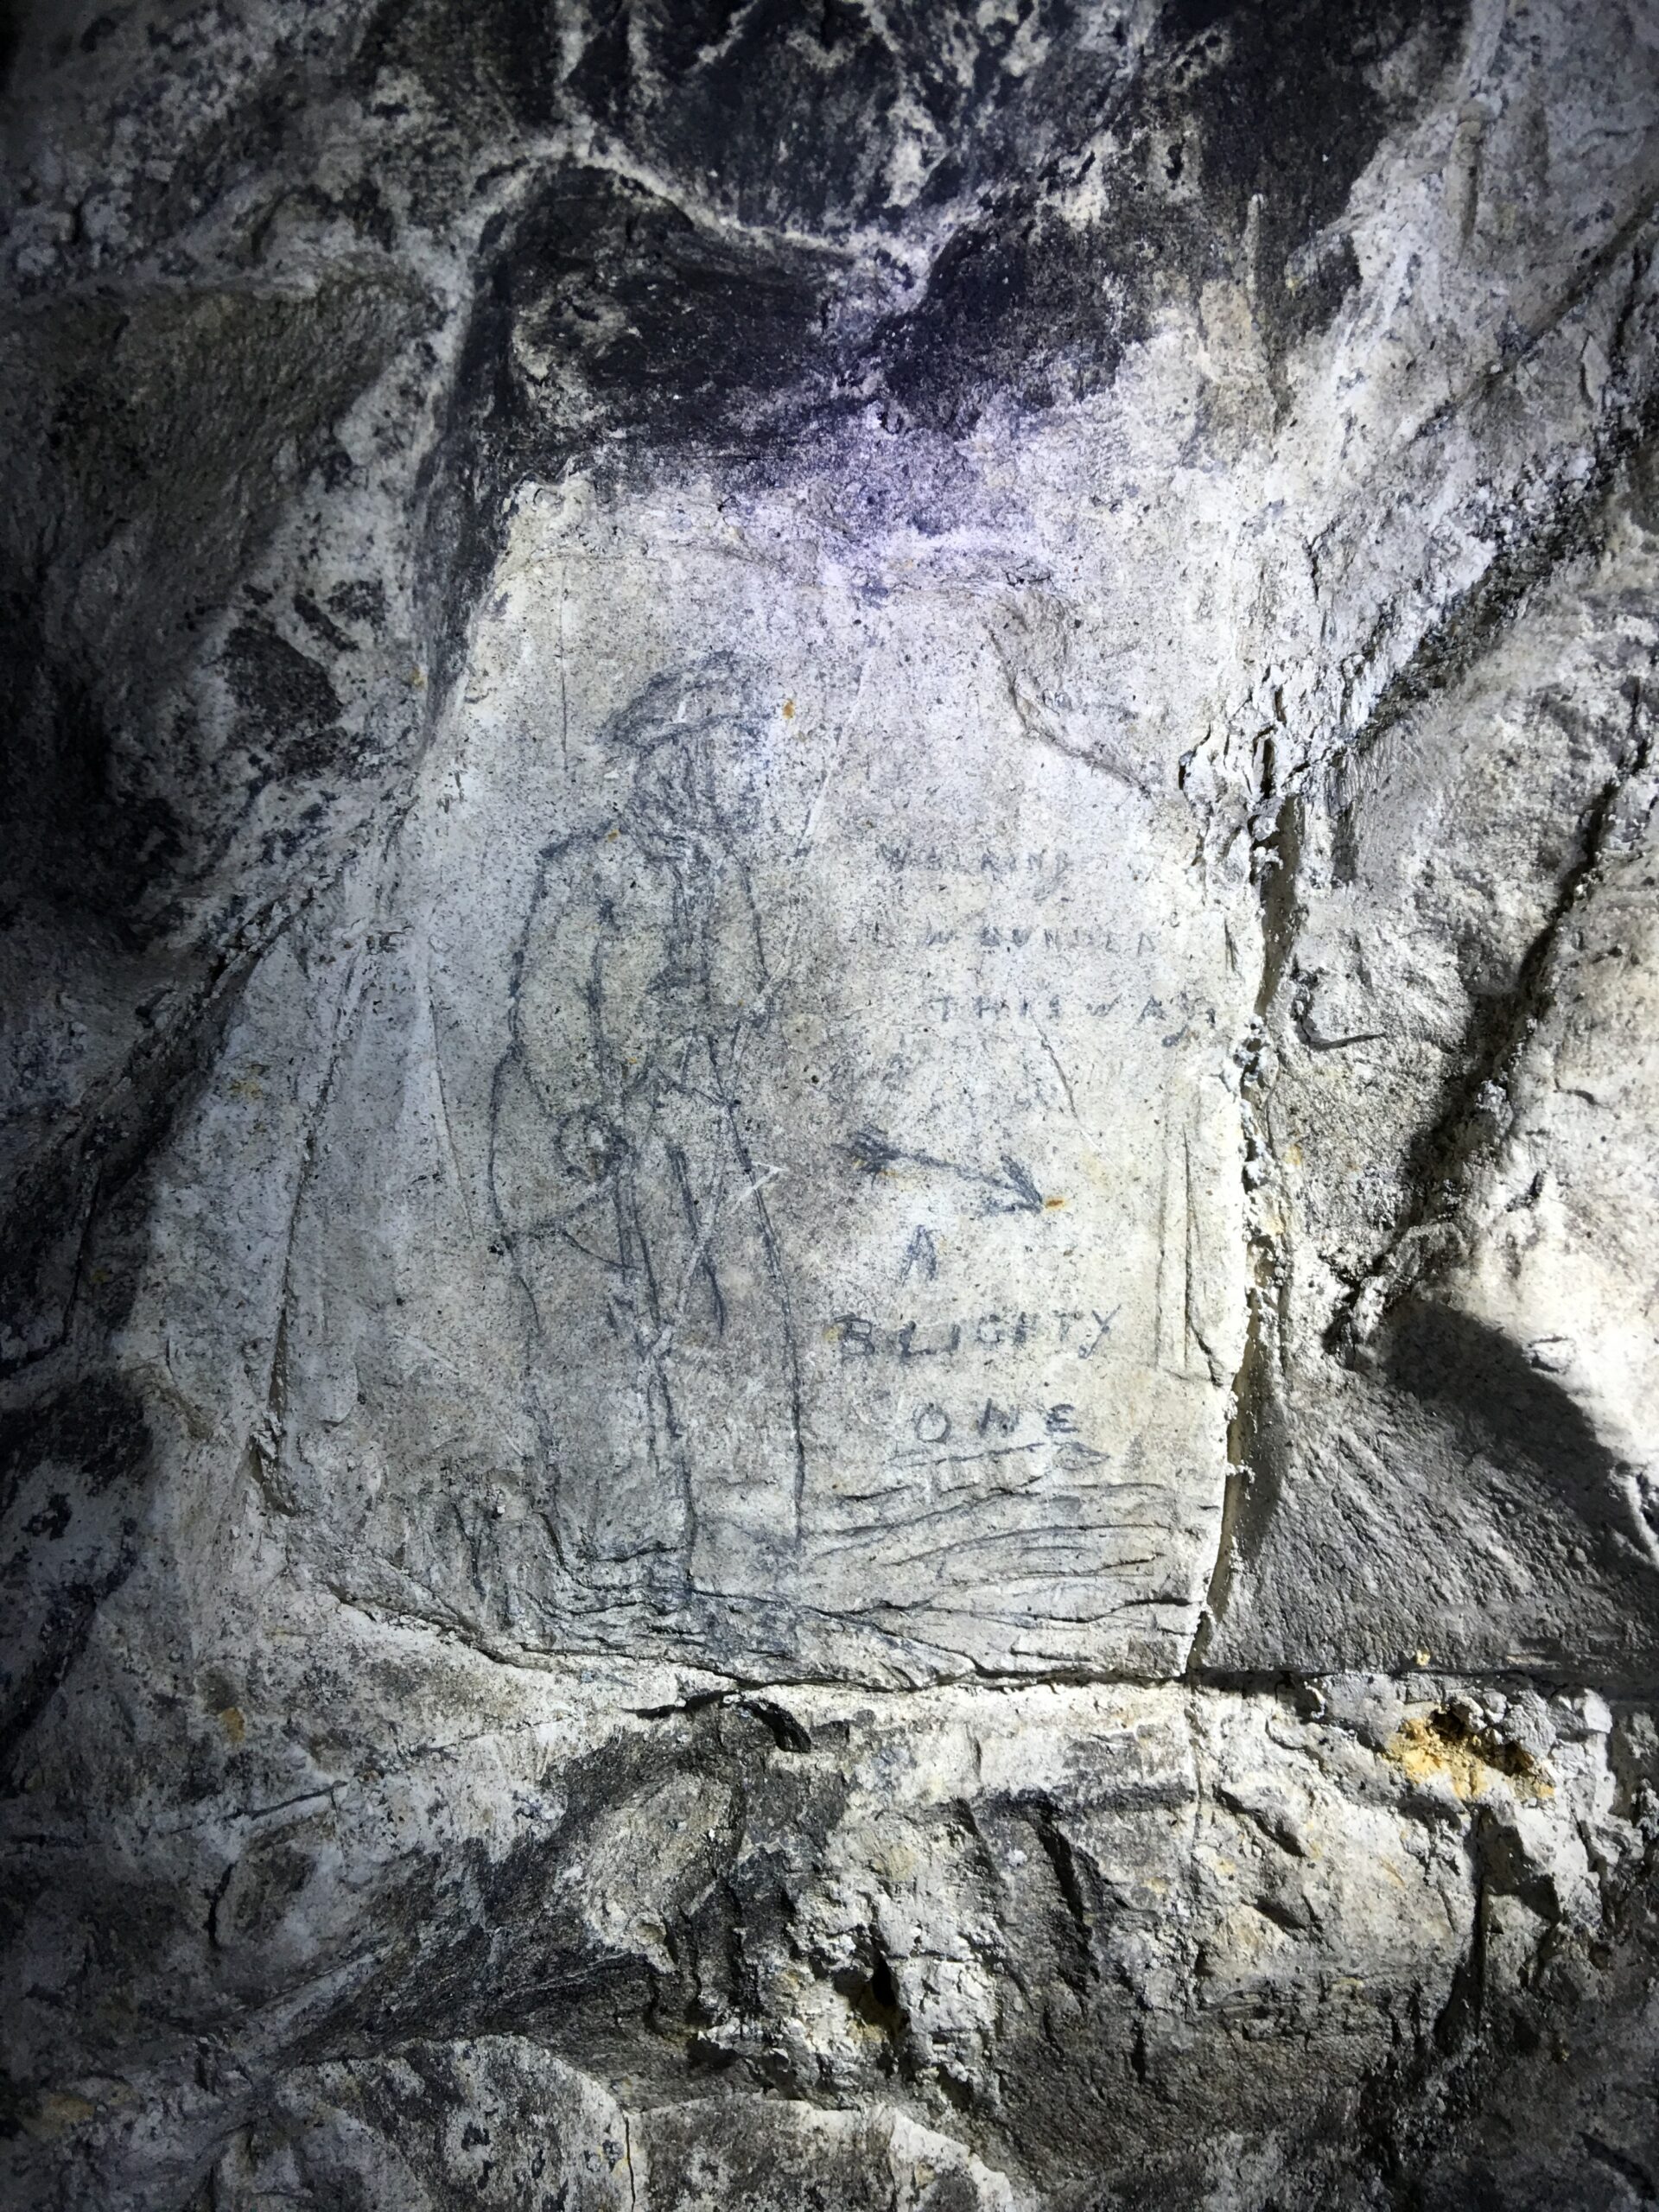
Reading the system today
The Durand Group’s investigations found passages shown on the military plans, as well as further galleries, and reached the connected deep Hulluch–St Elie mining system. Some historic entrances and individual branches are blocked, while the connected mining workings remain accessible from the subway. Its walls preserve another record of the people who used it.
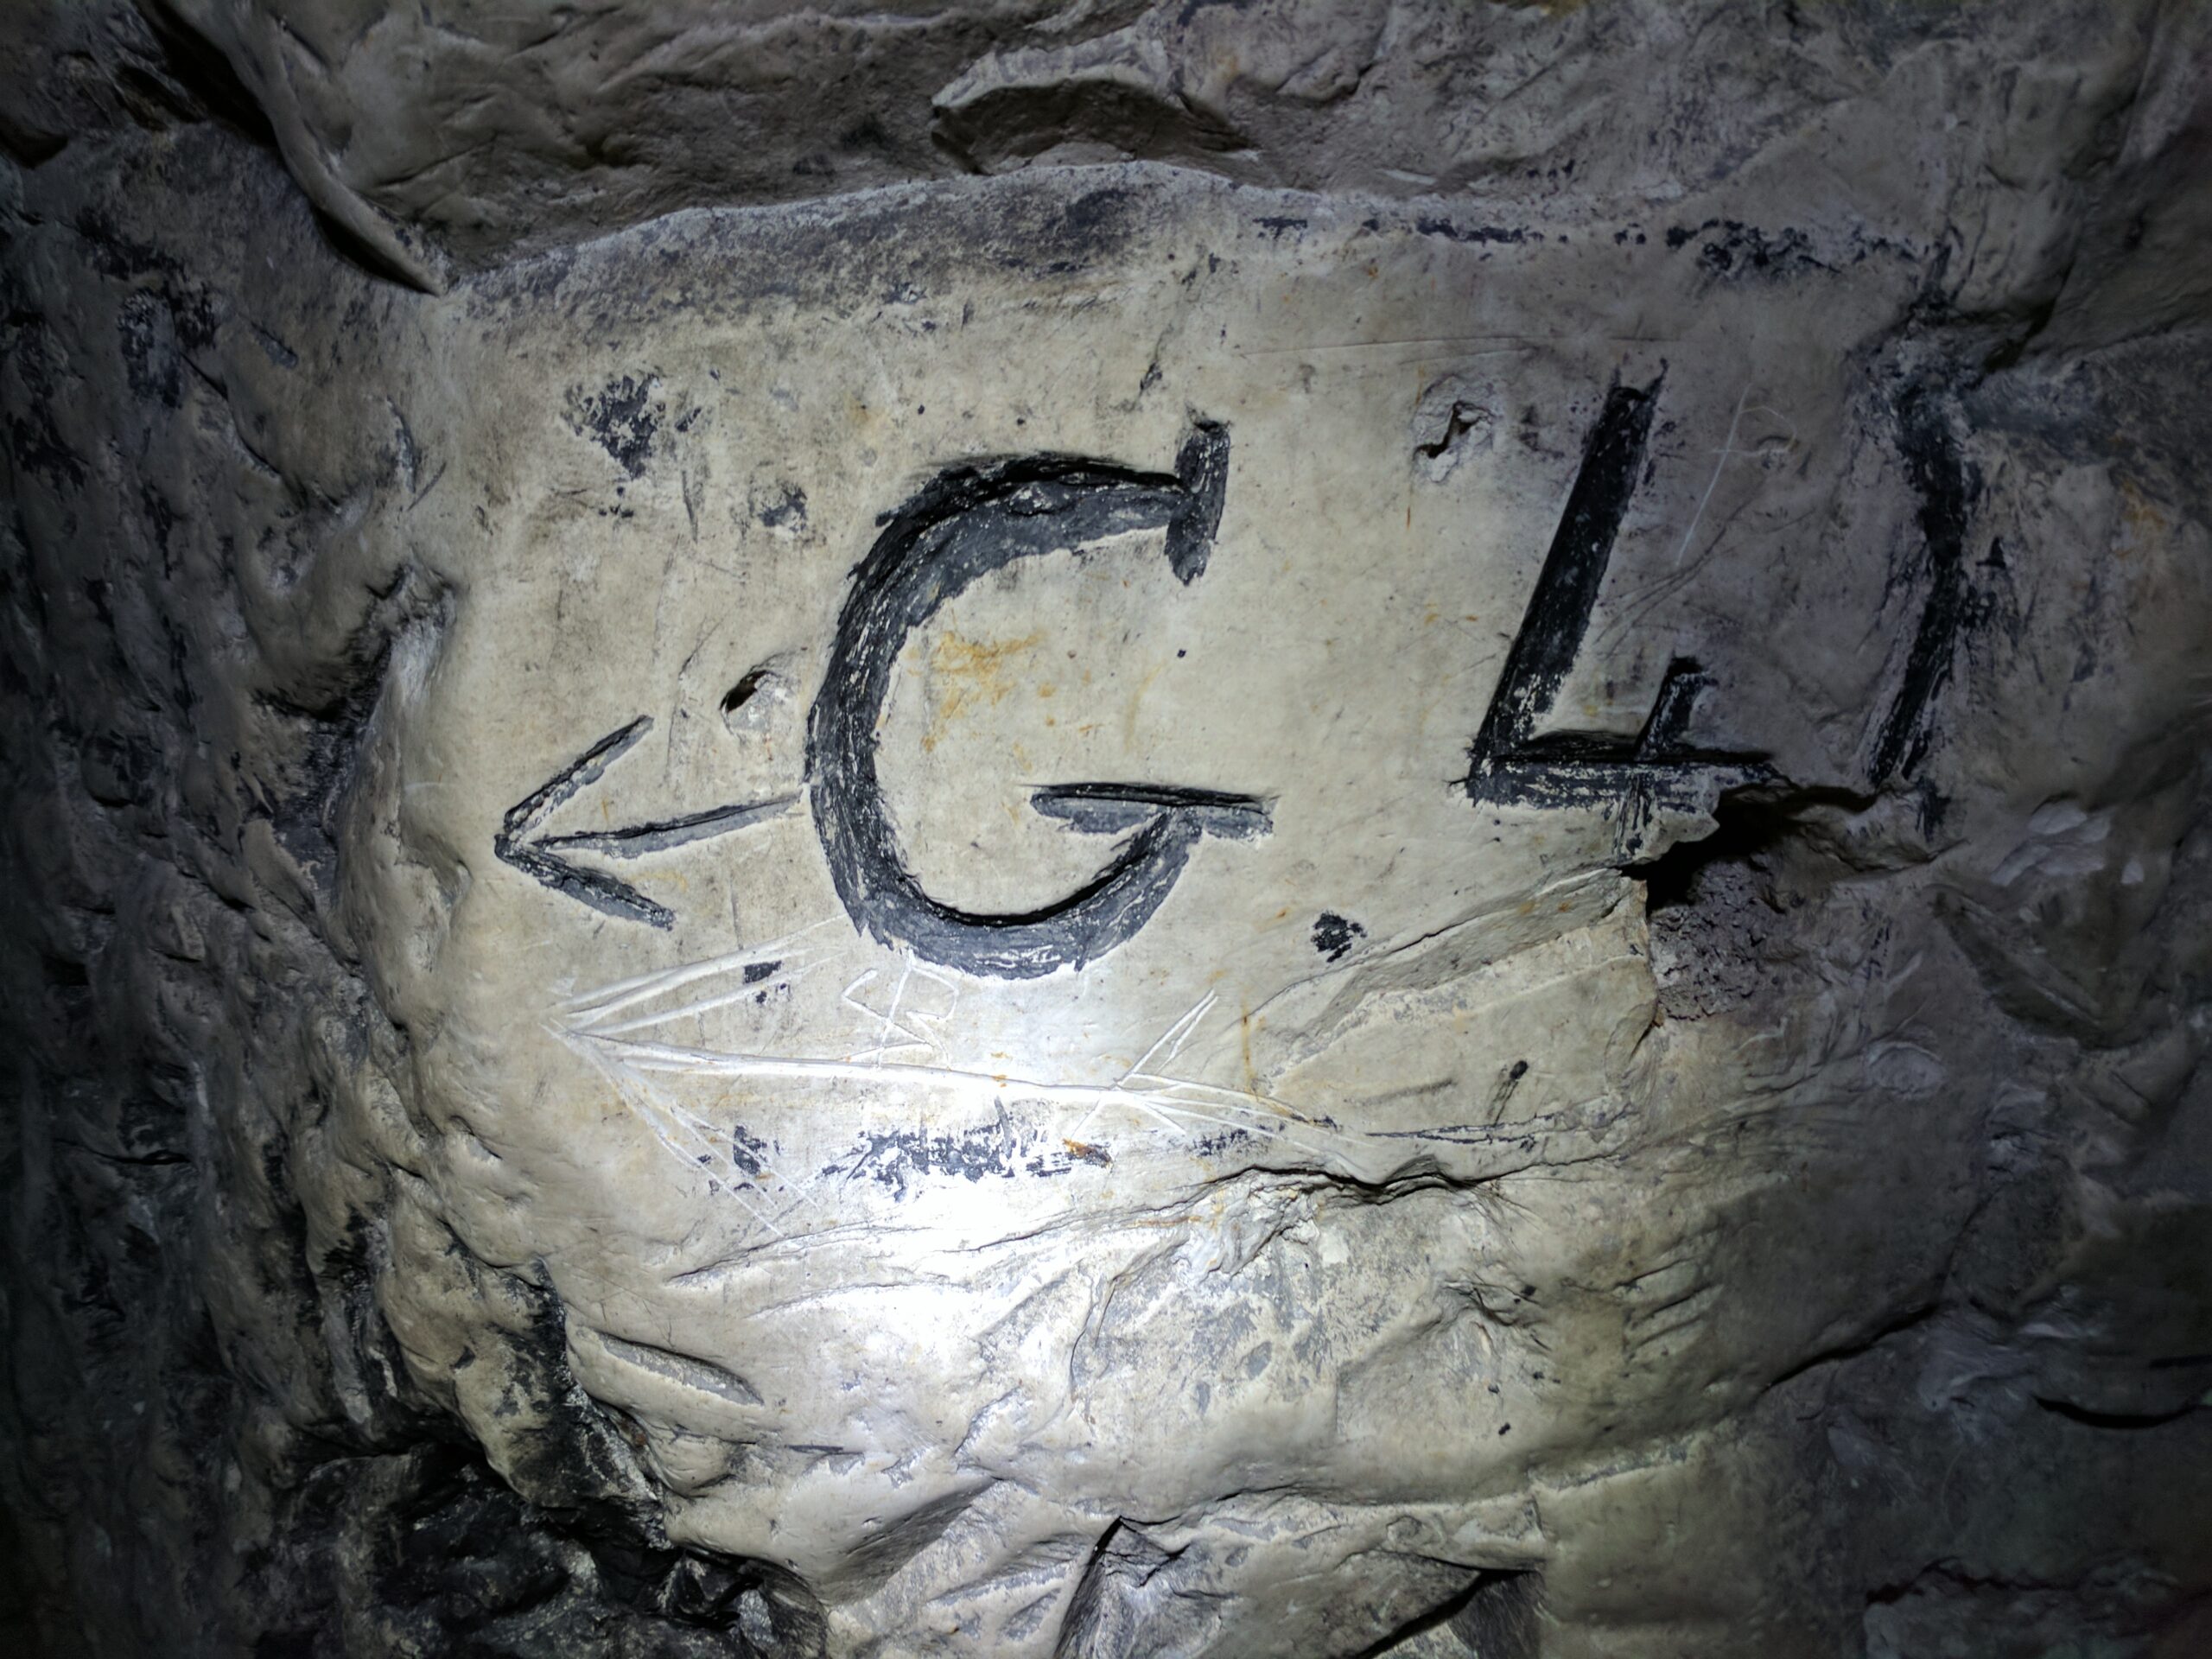
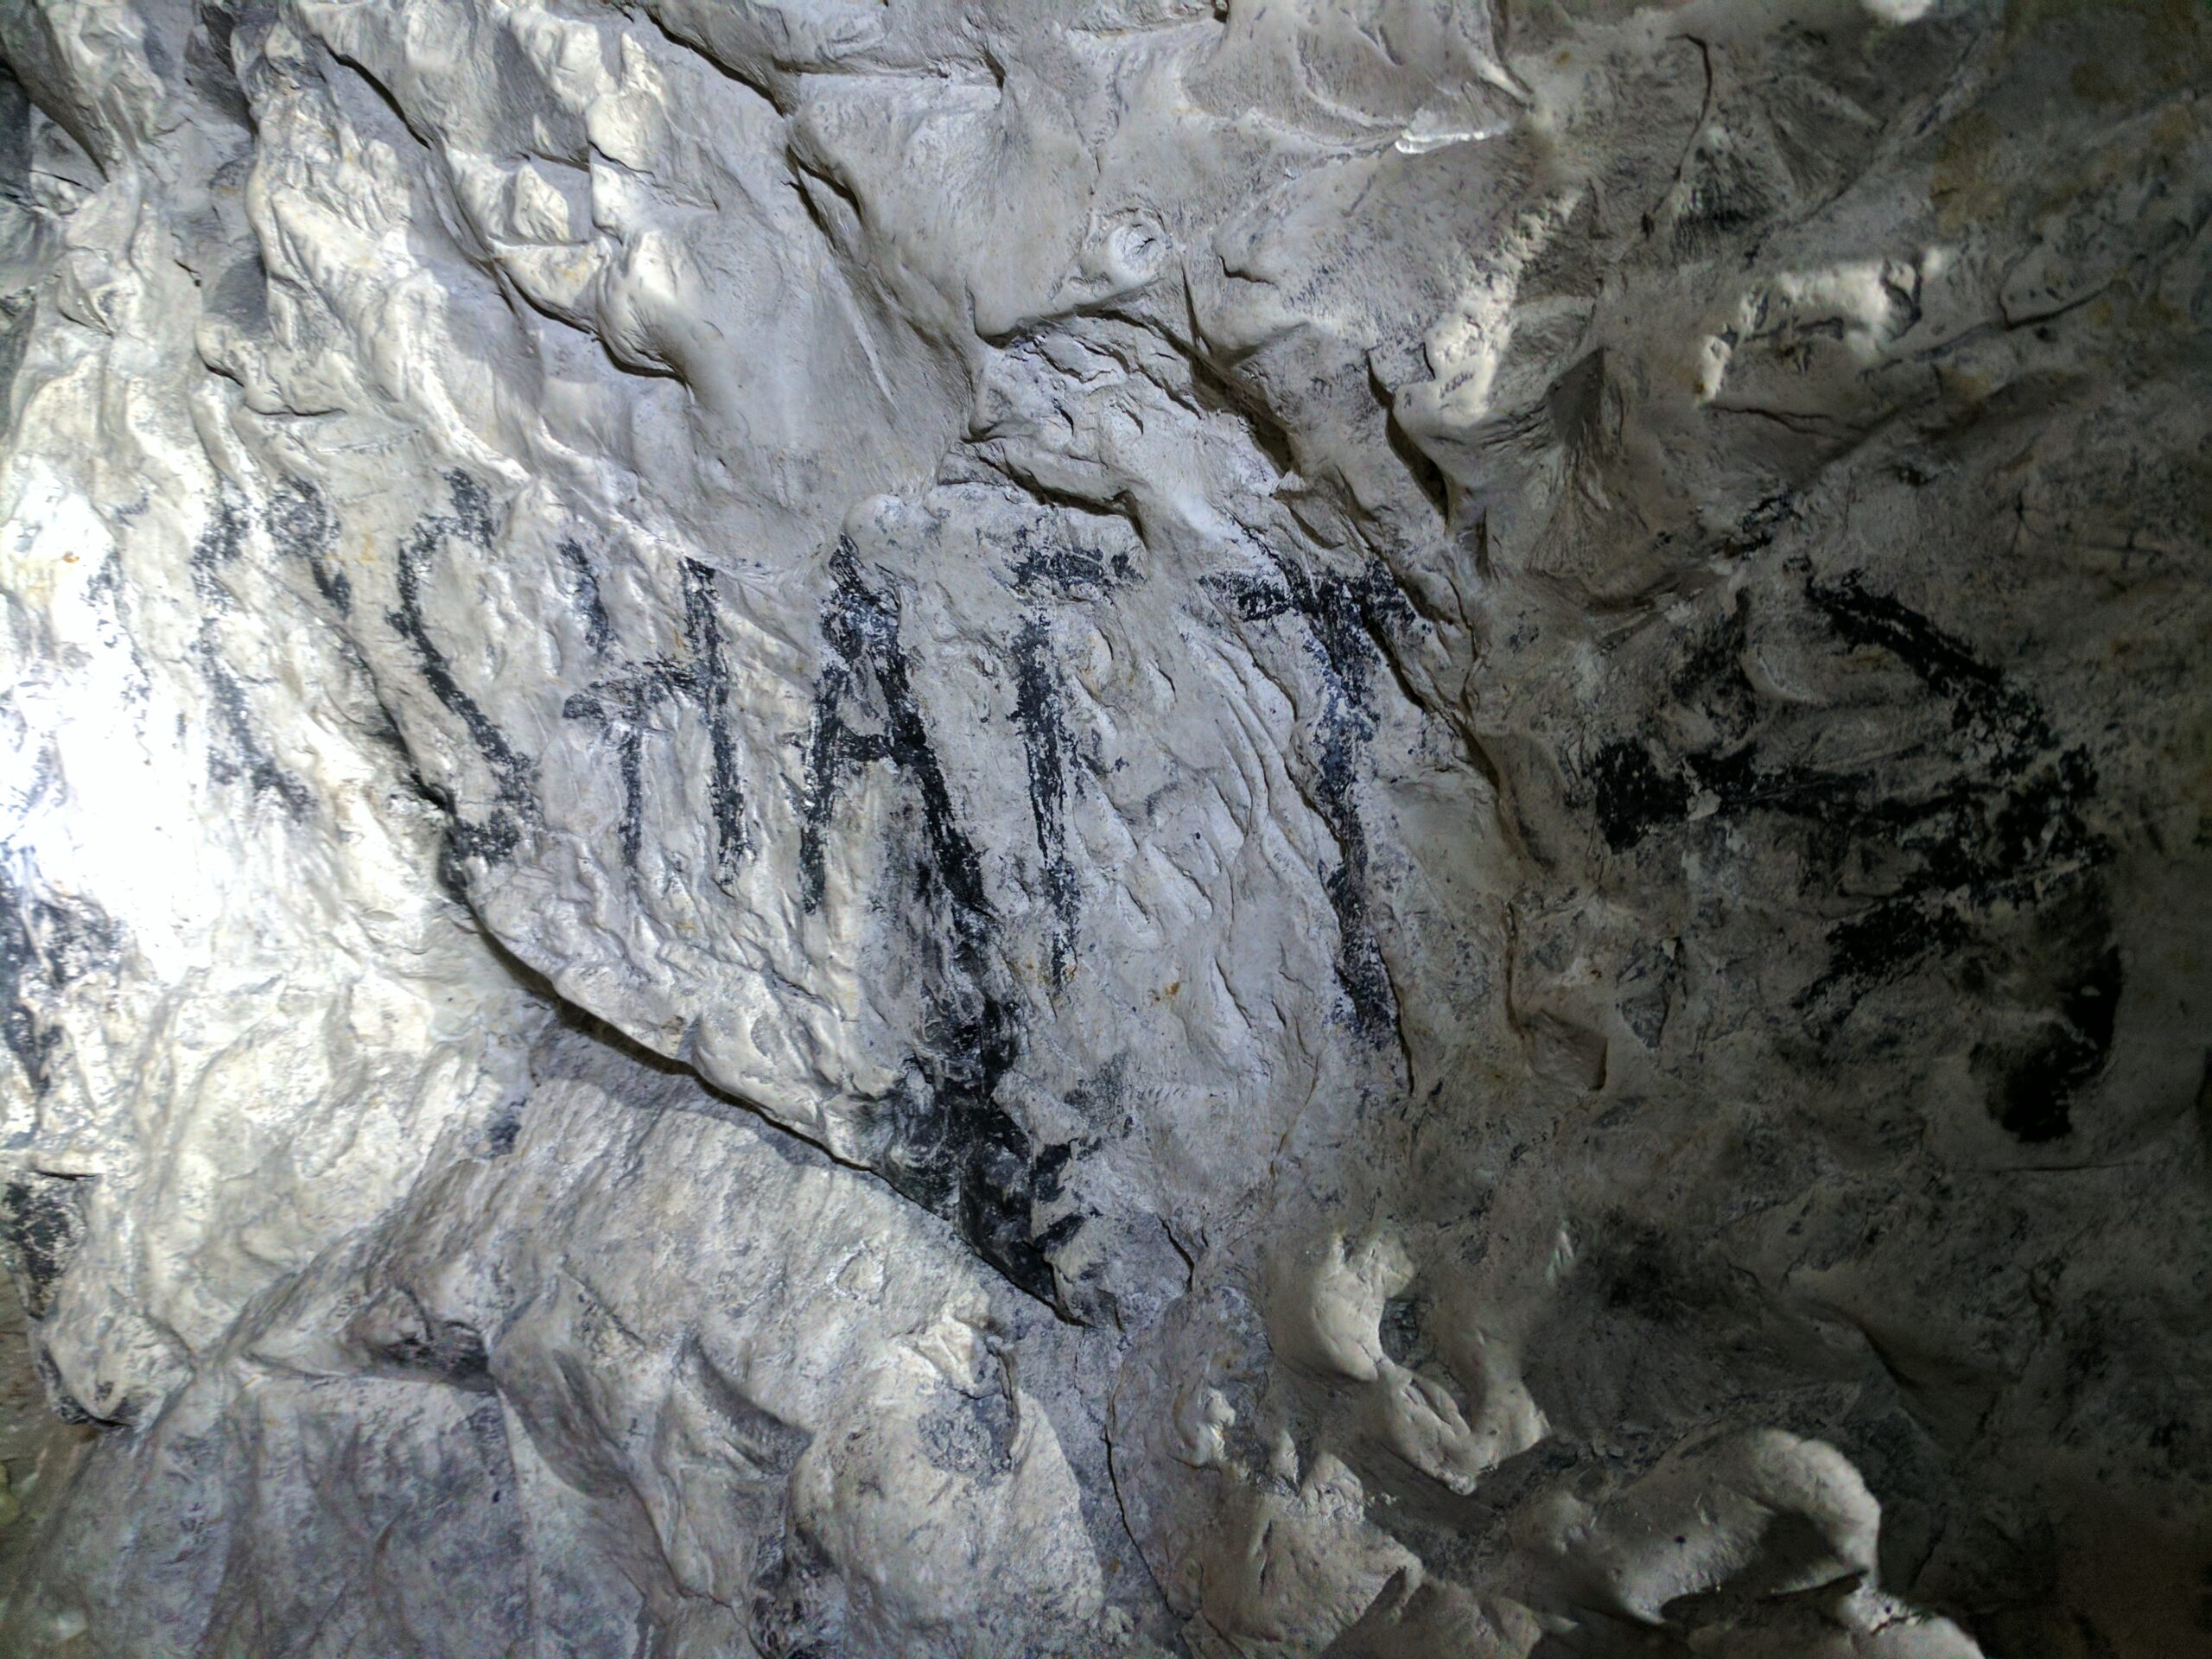
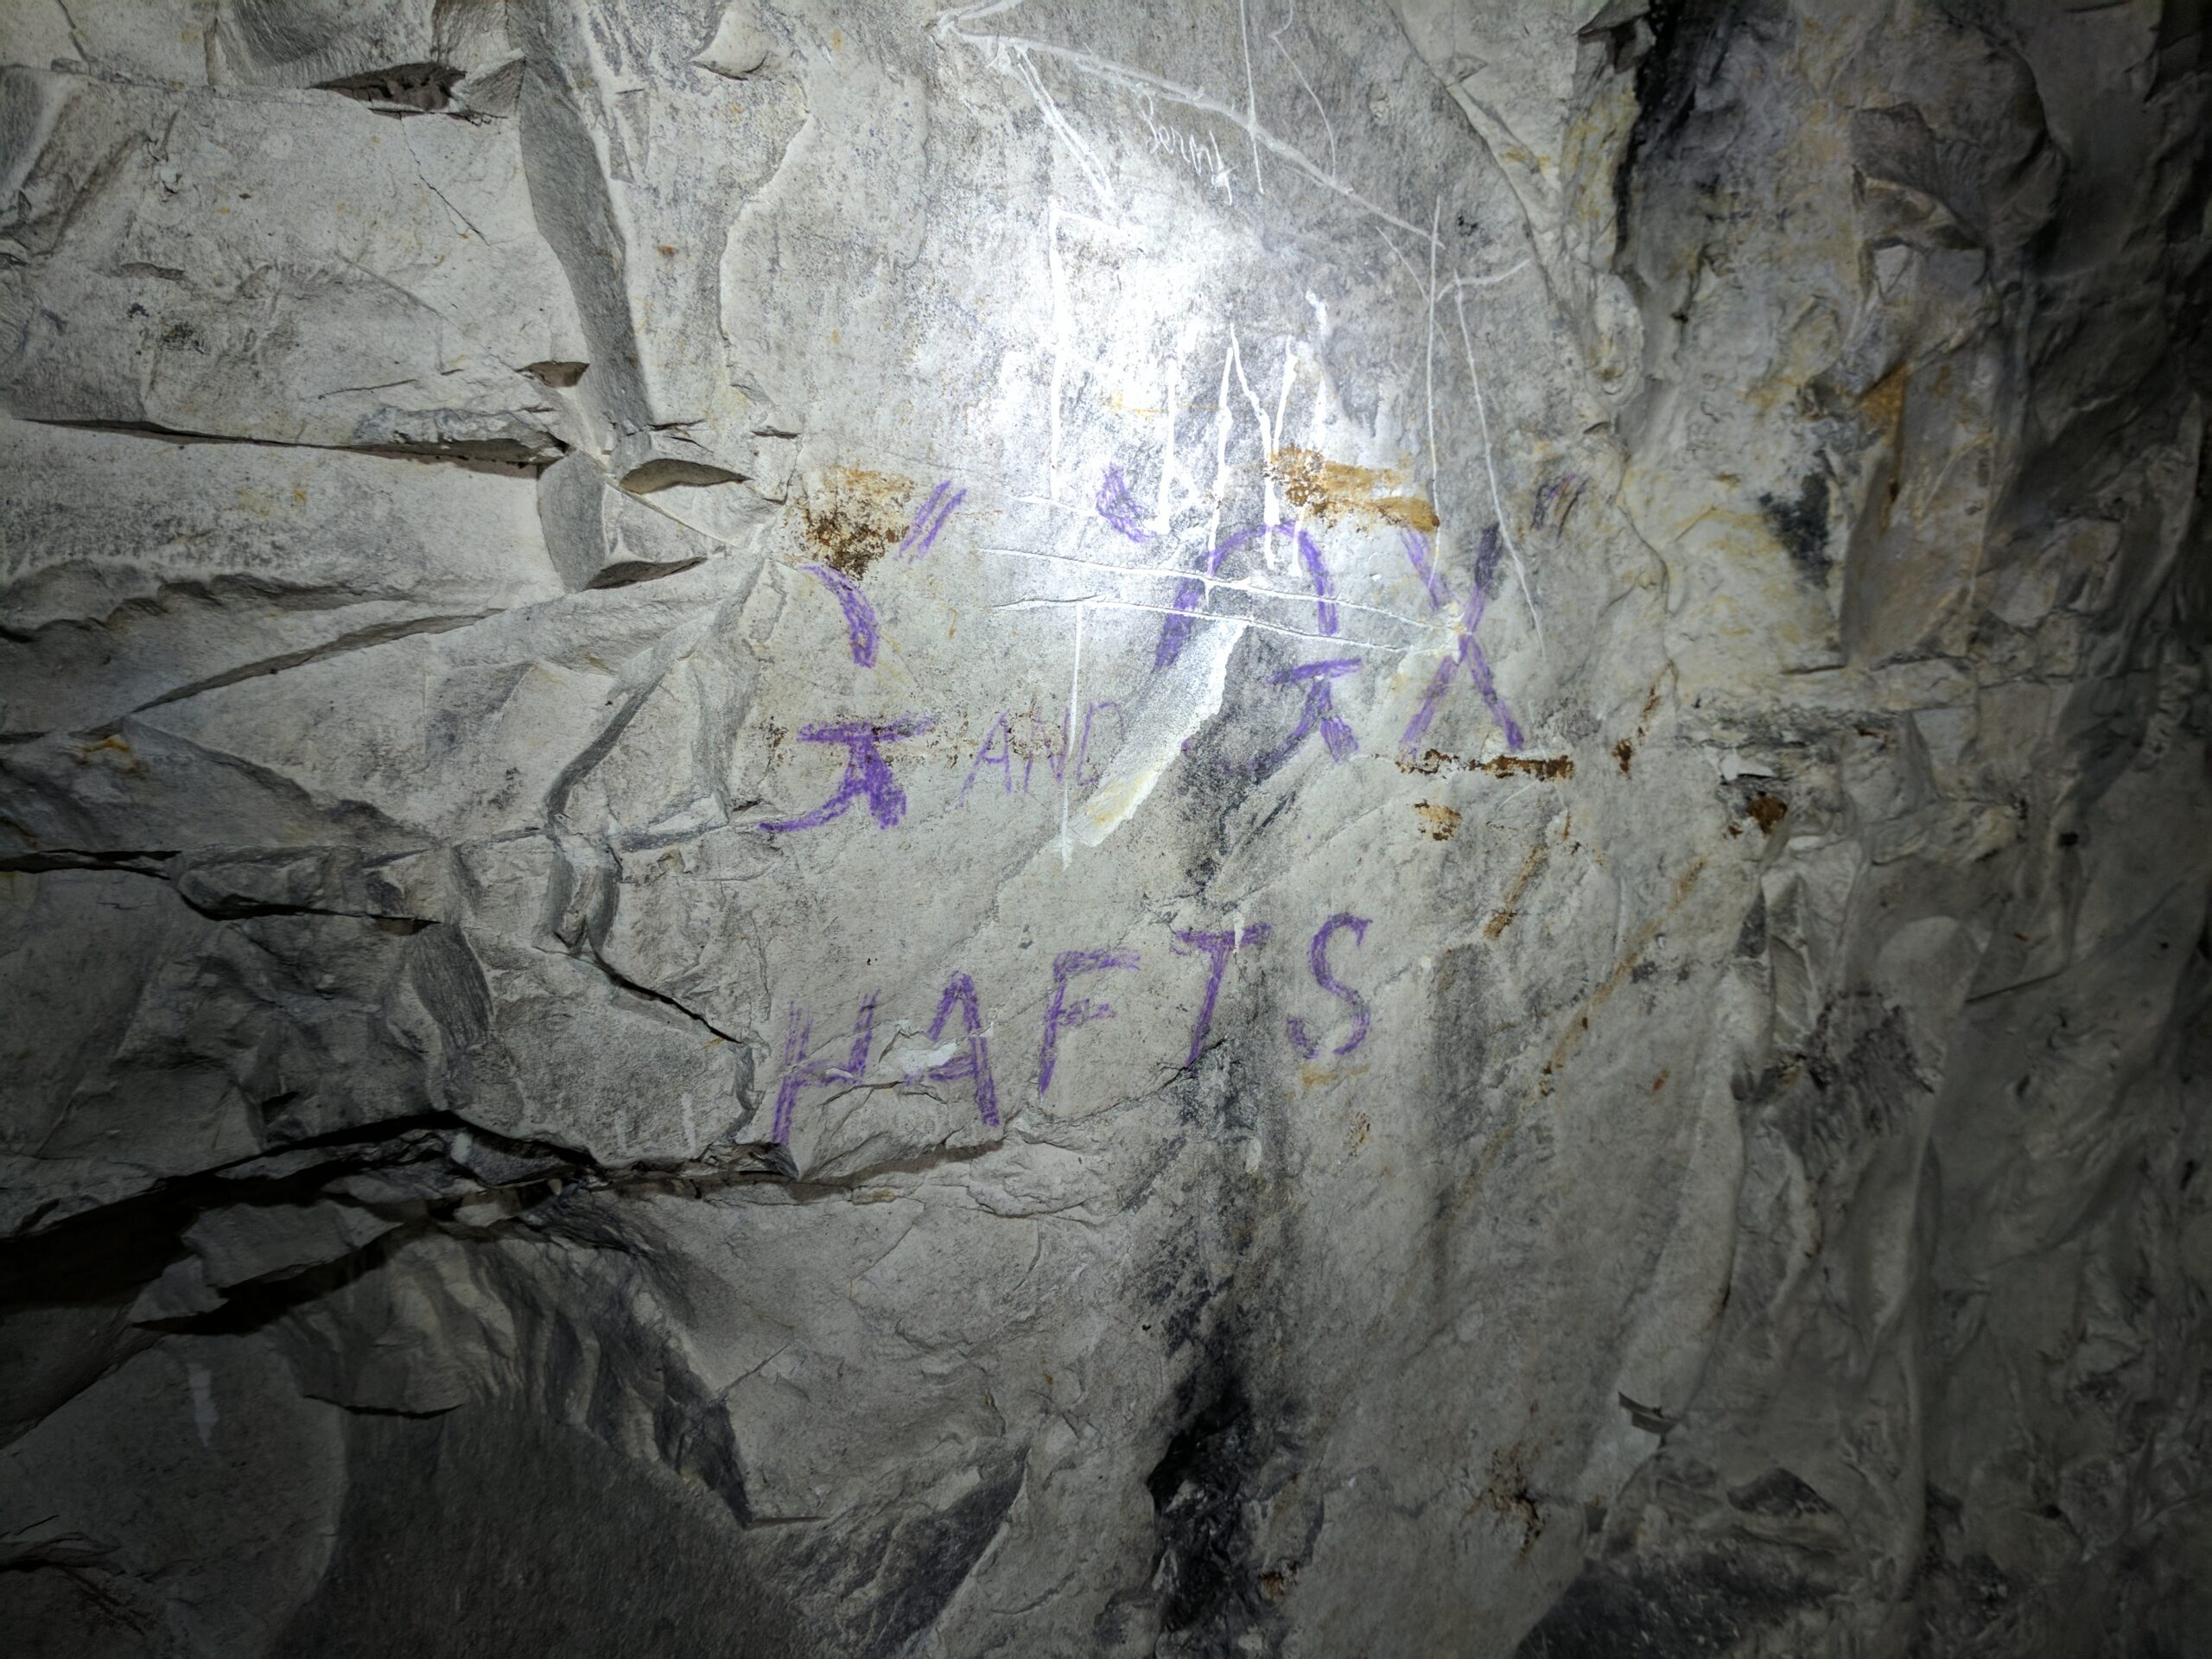
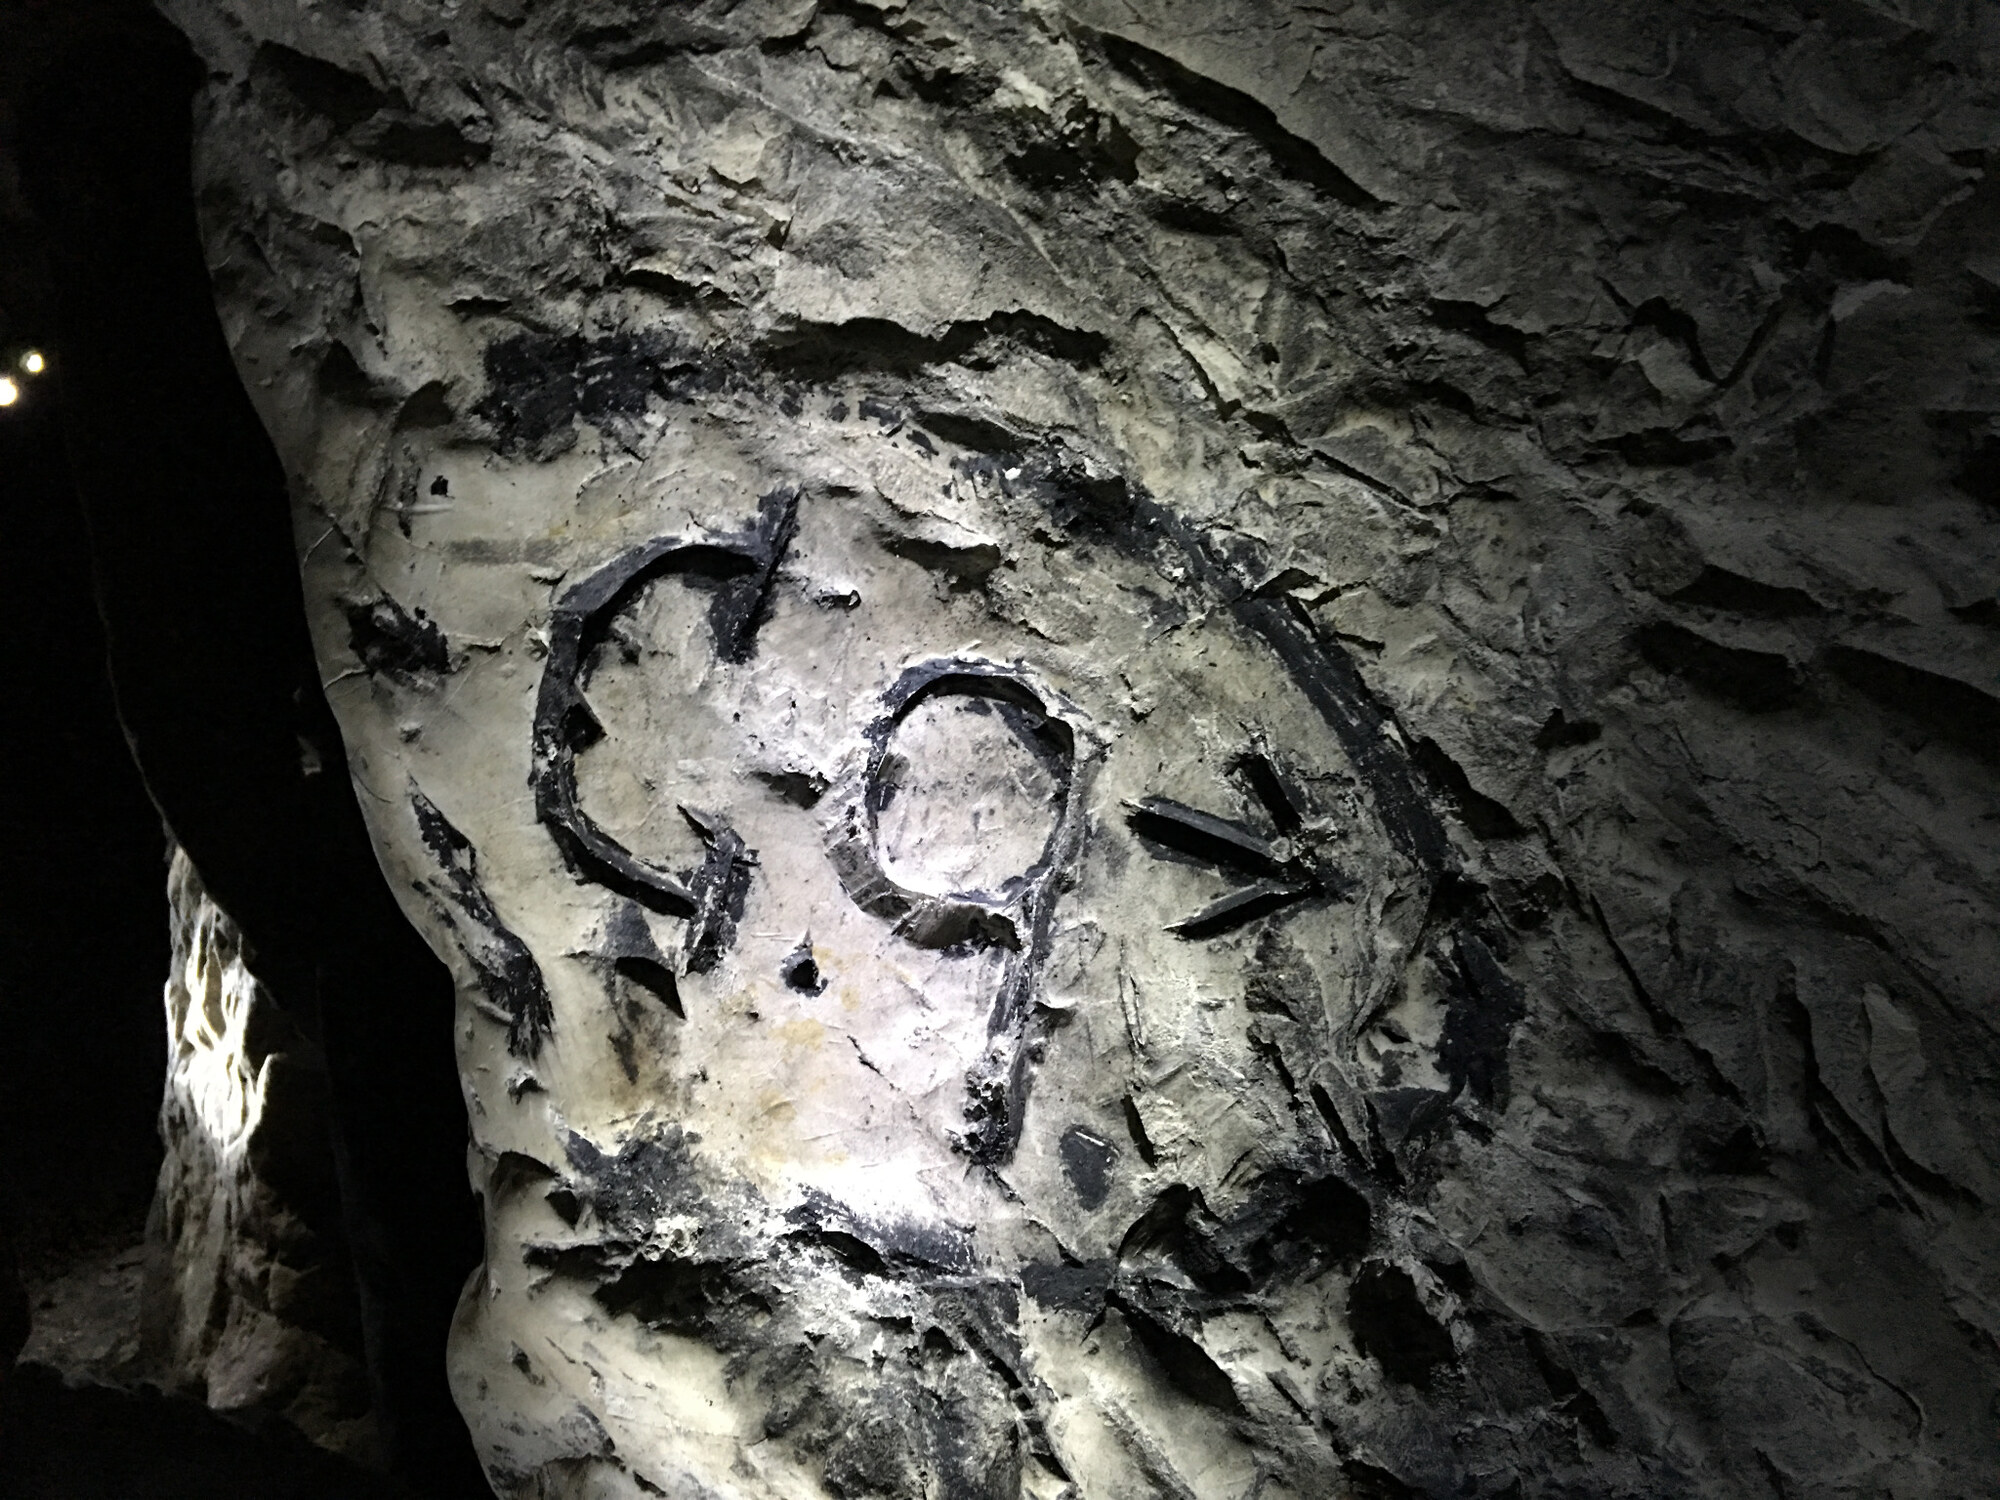
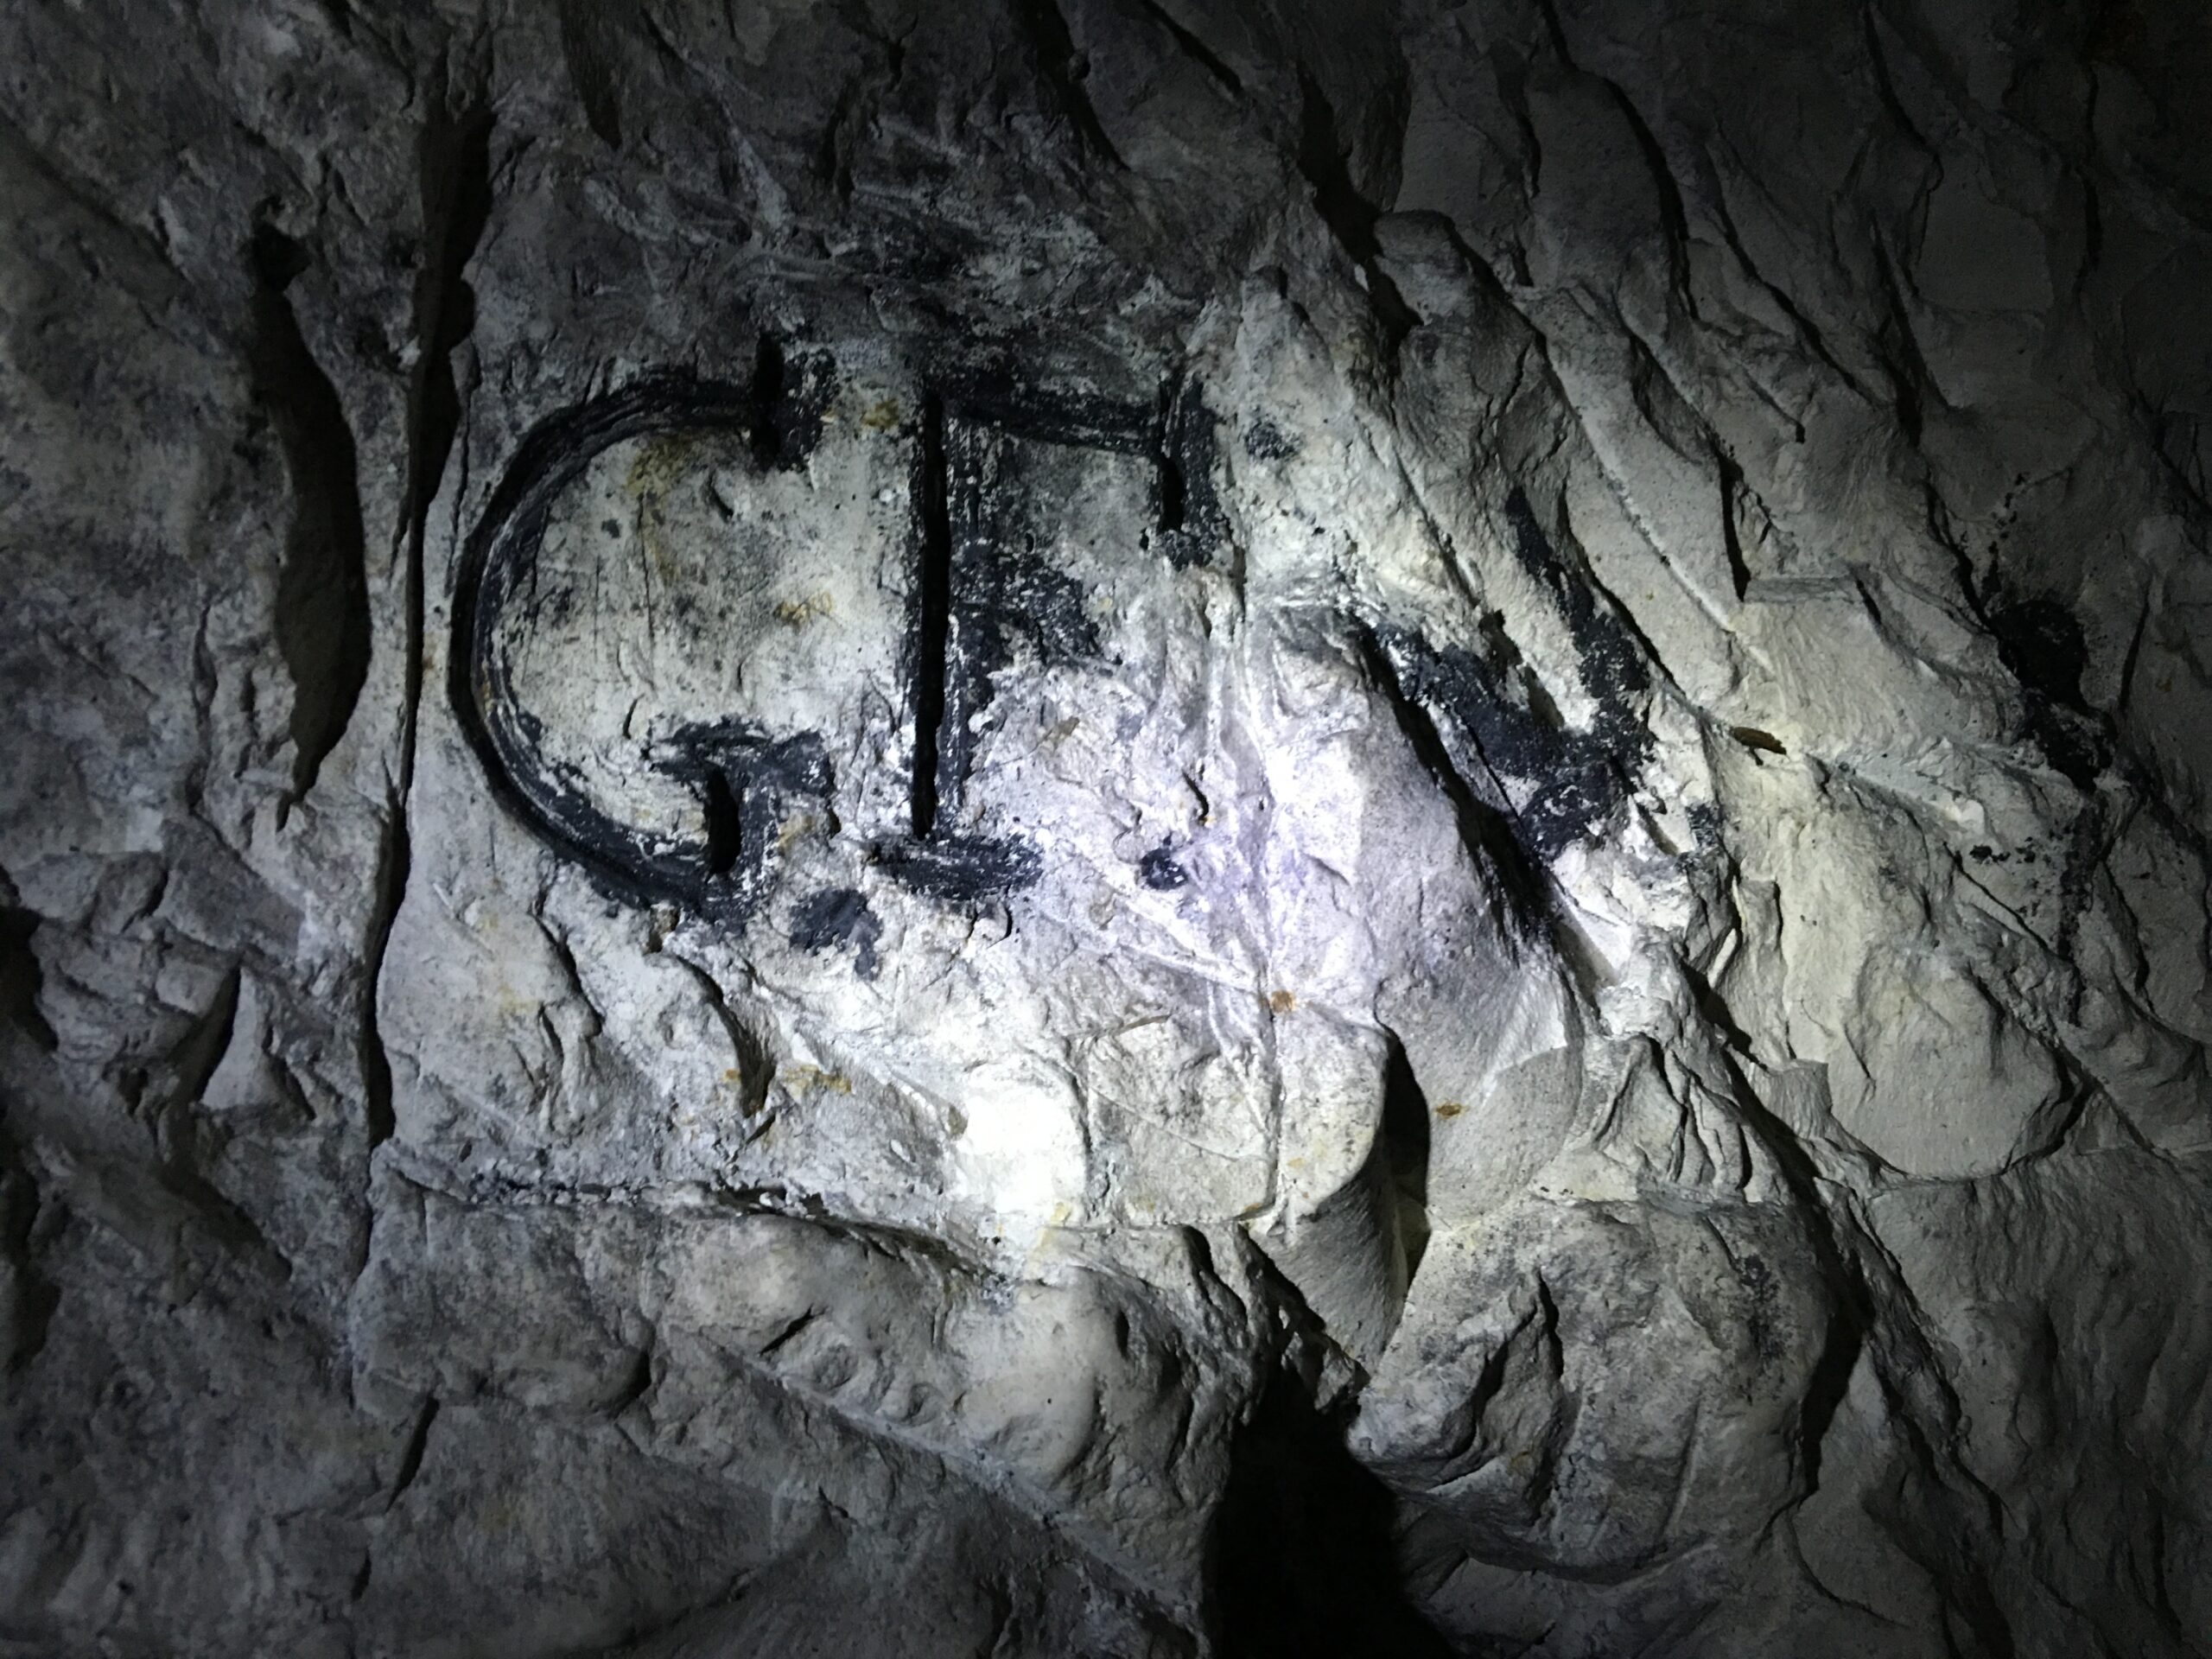
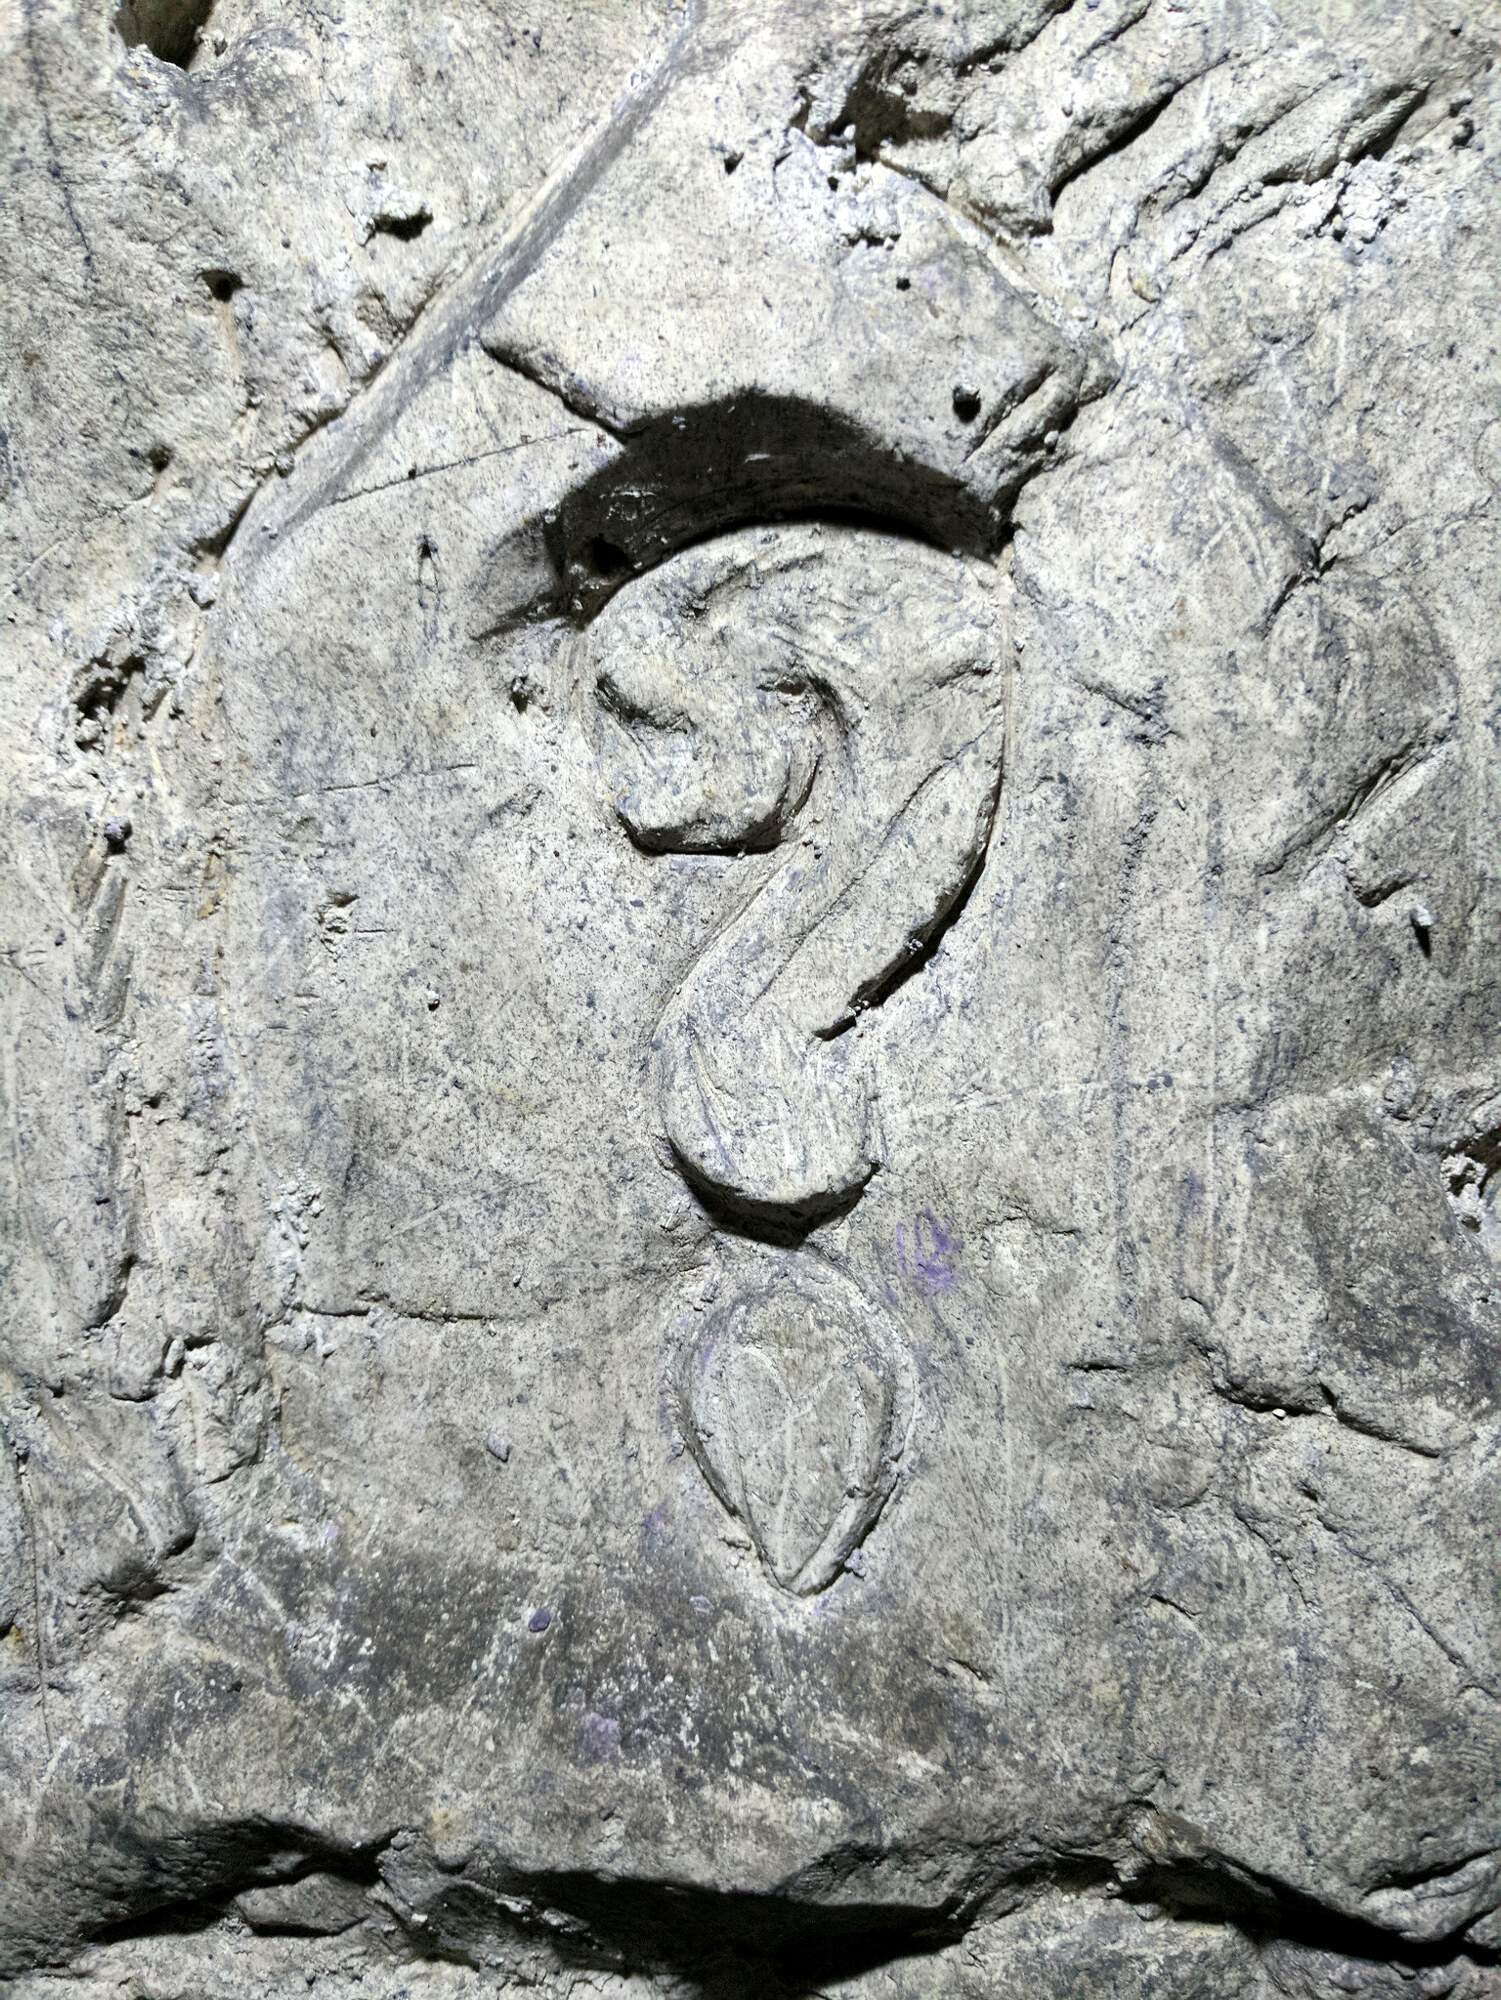
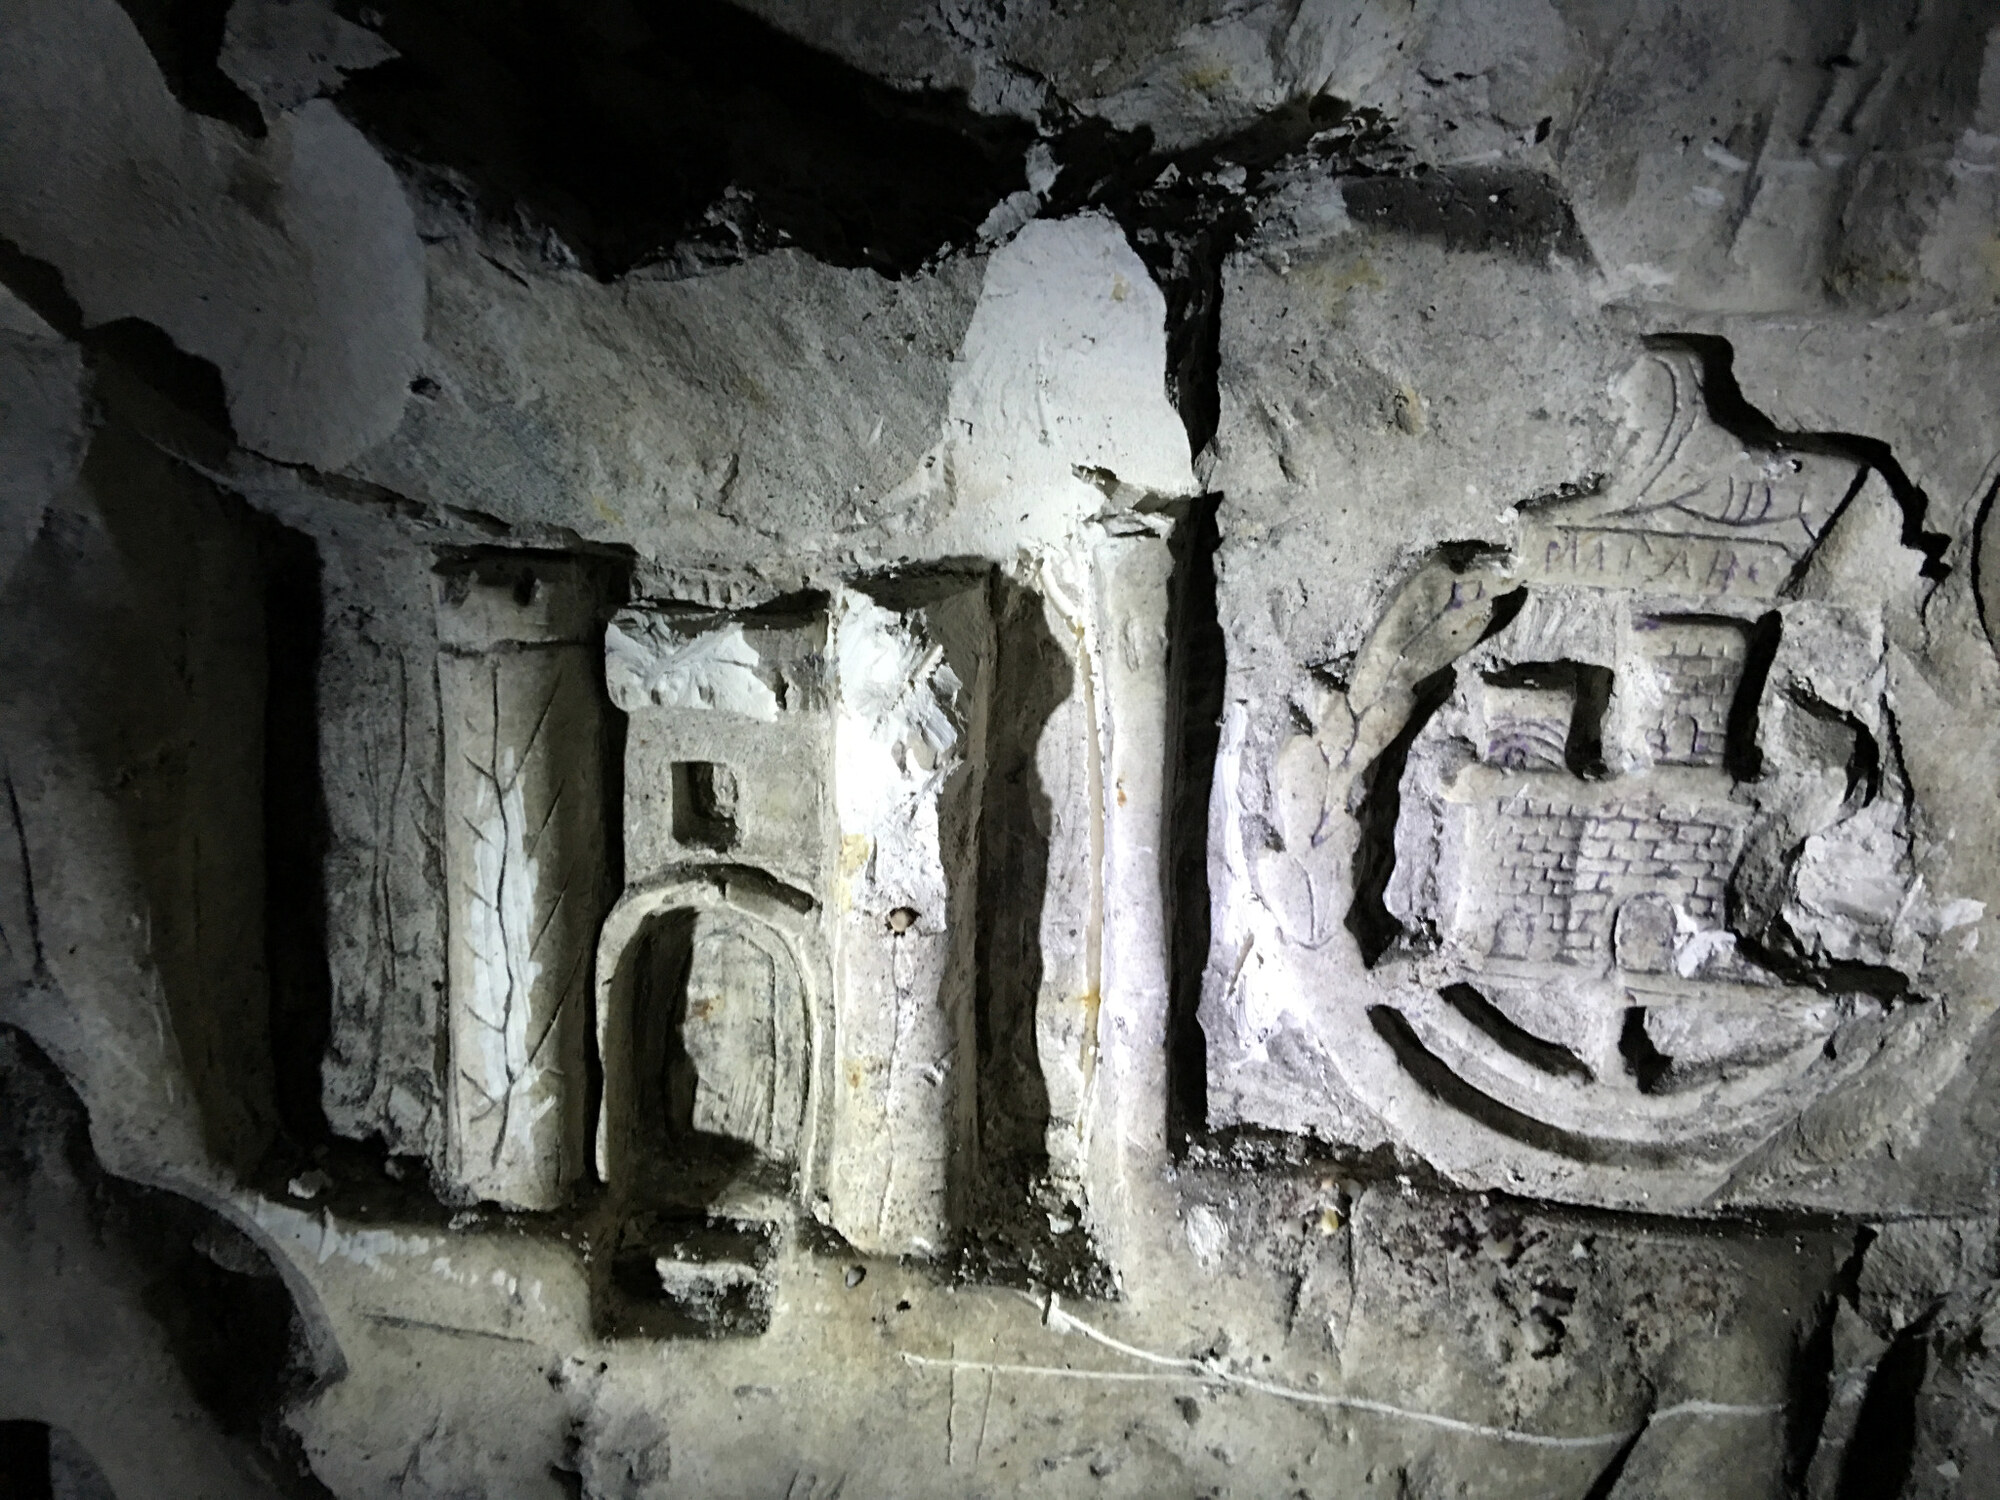
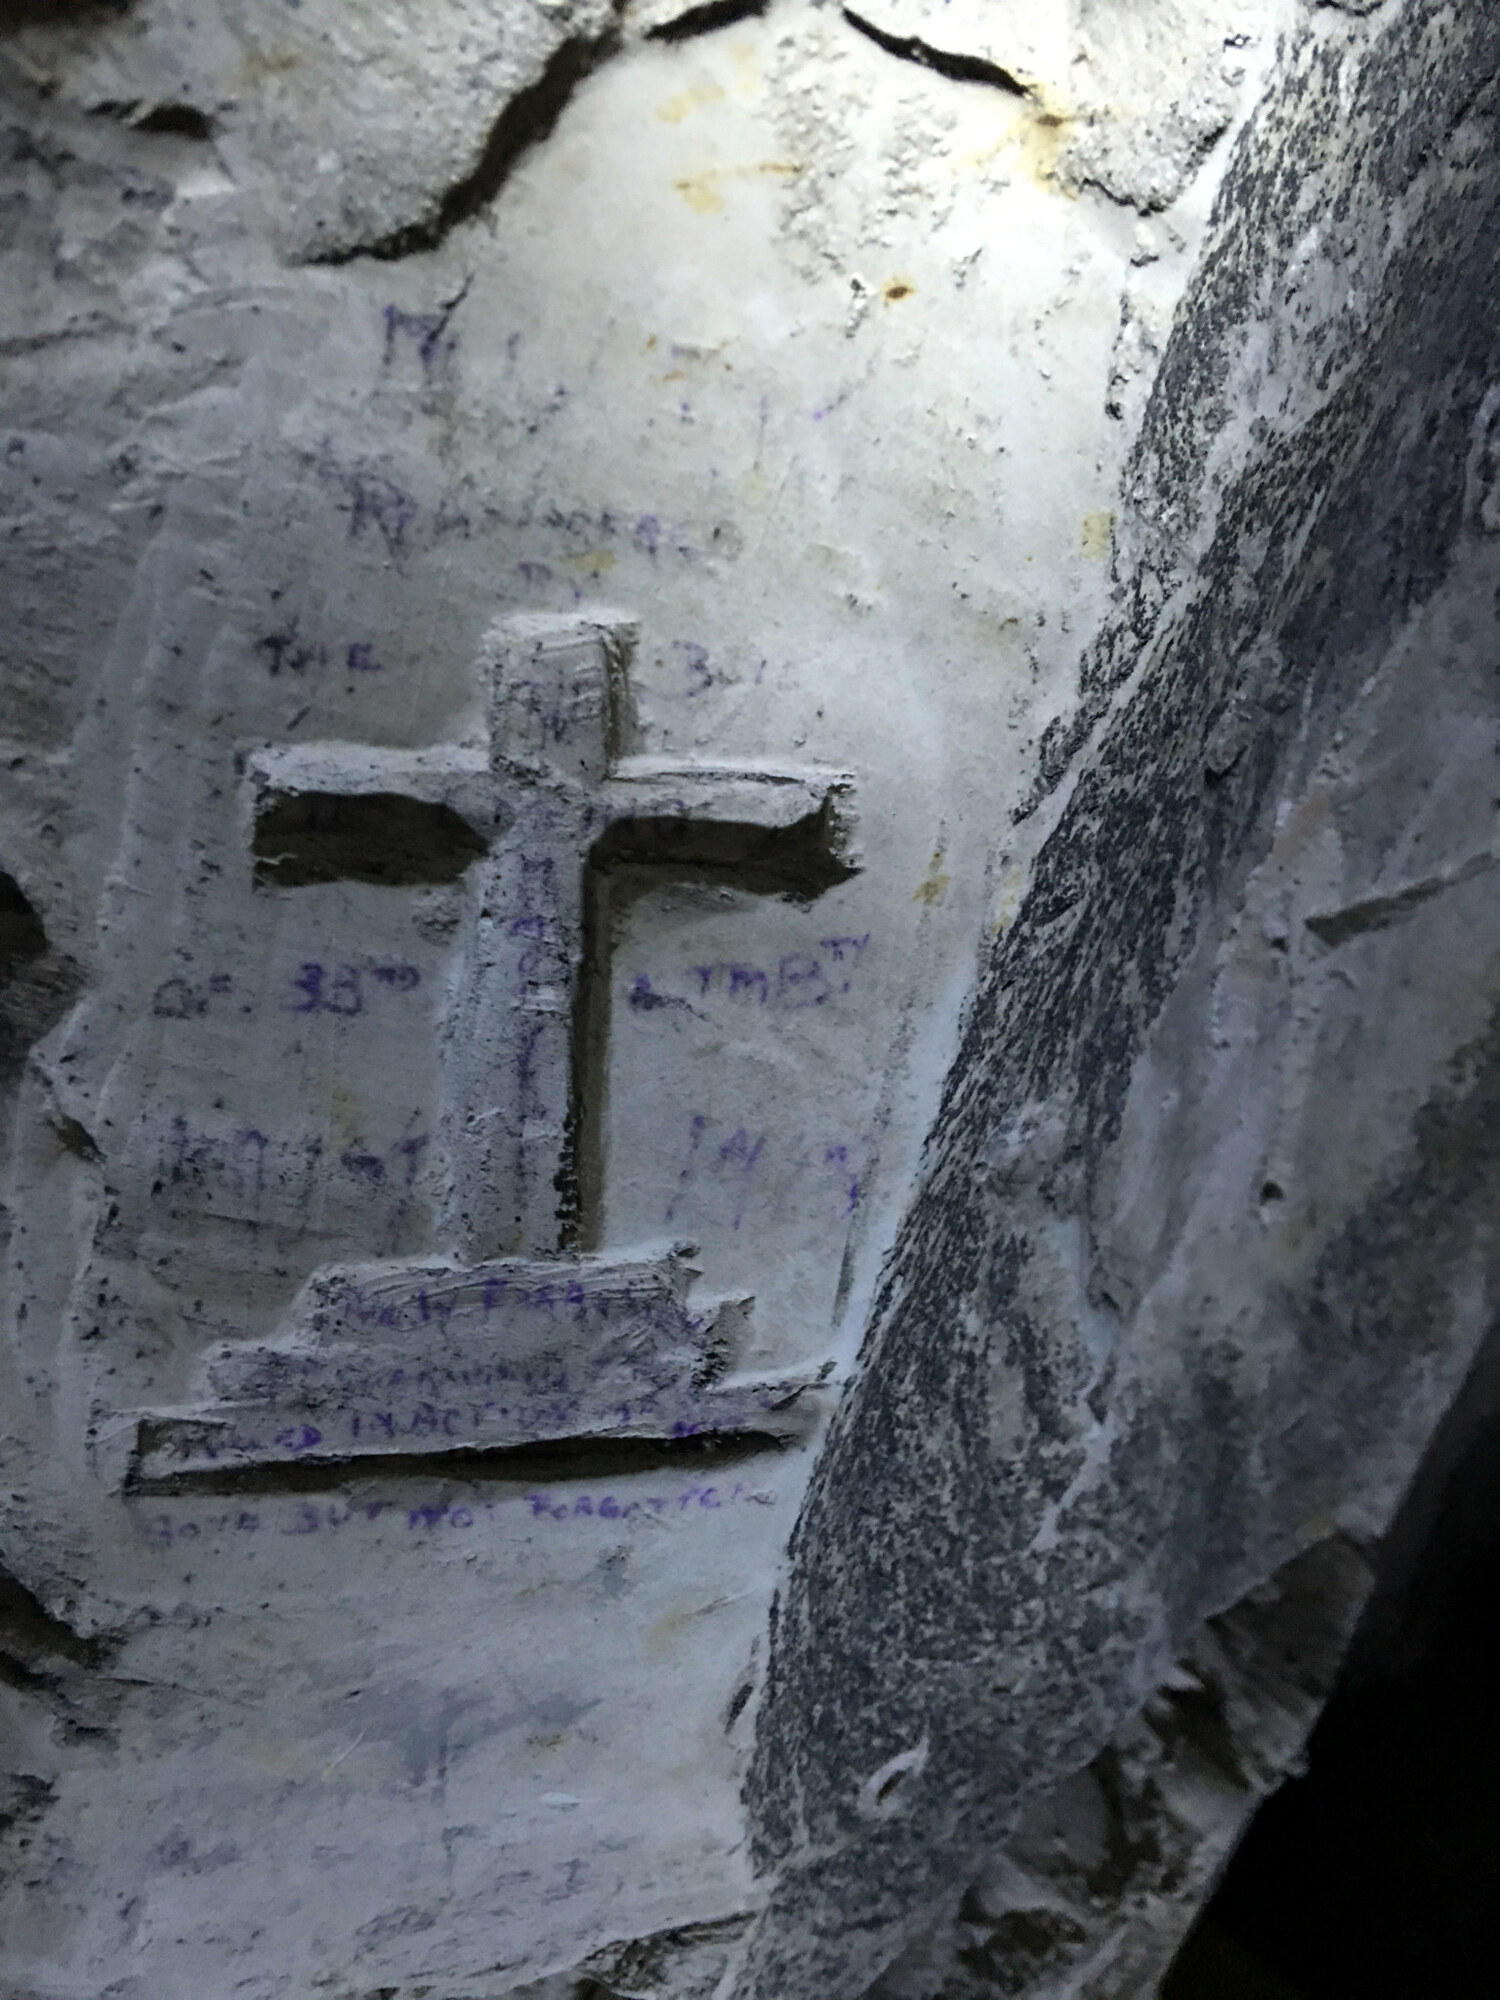
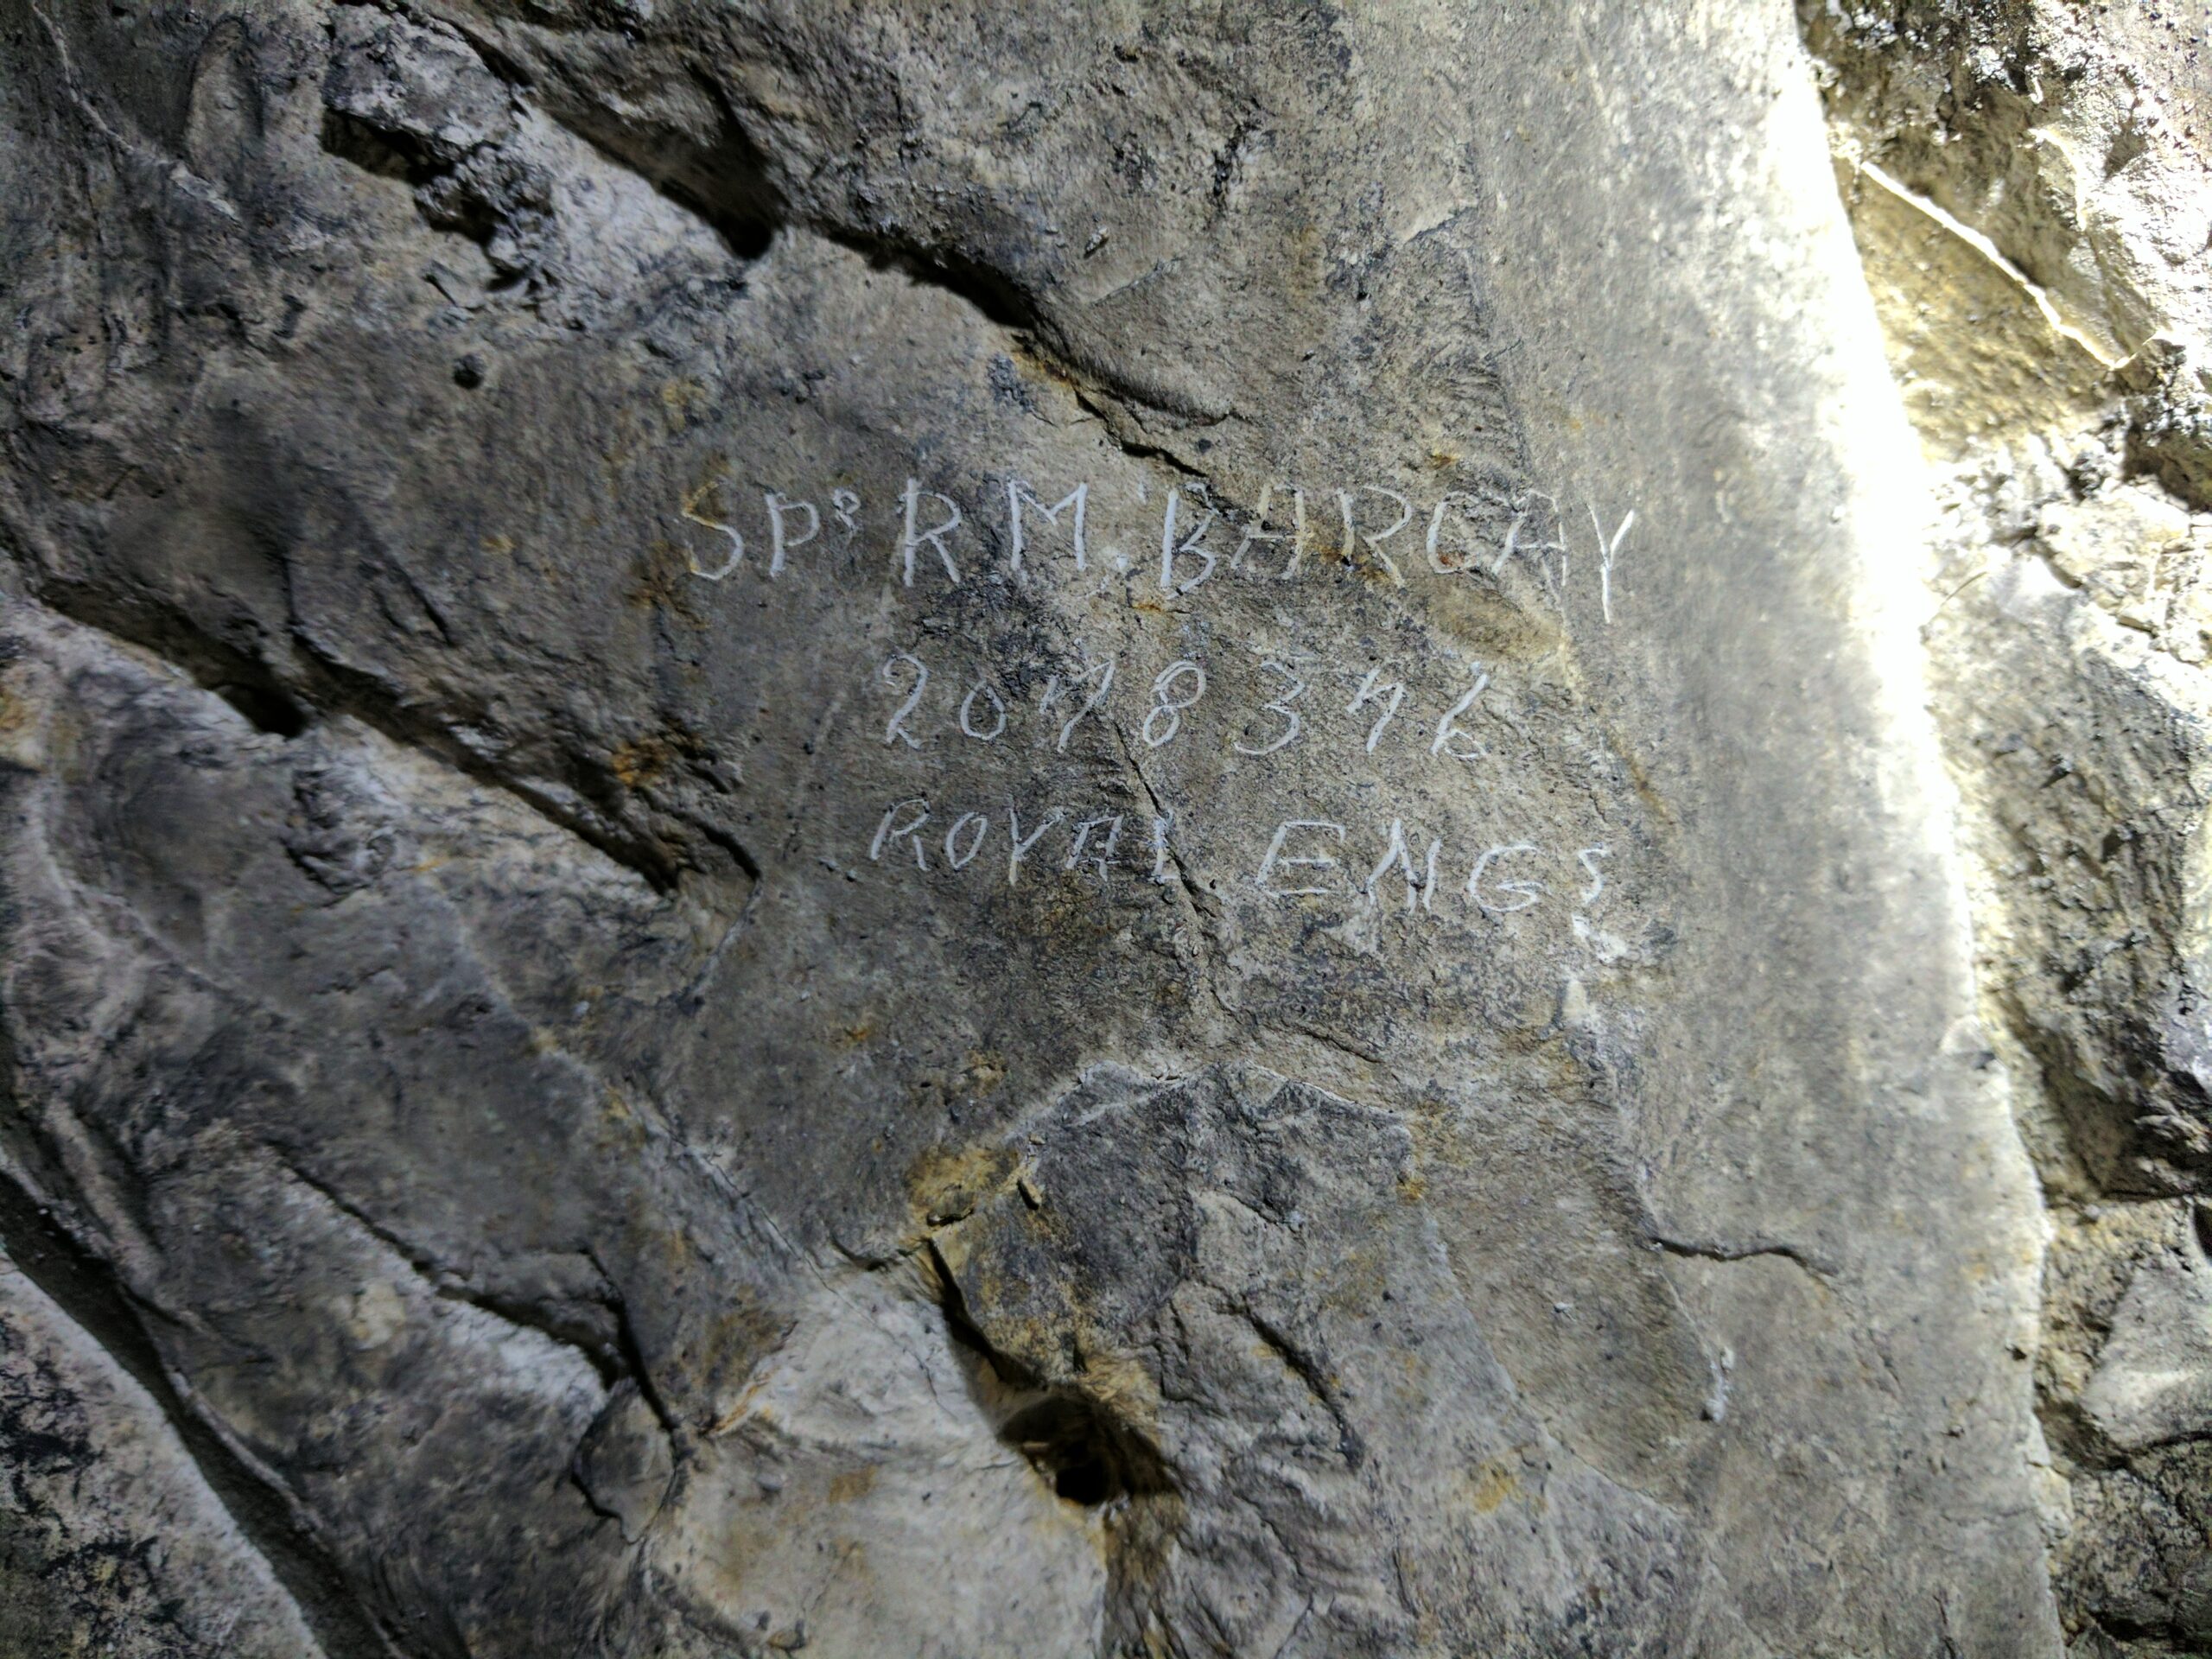
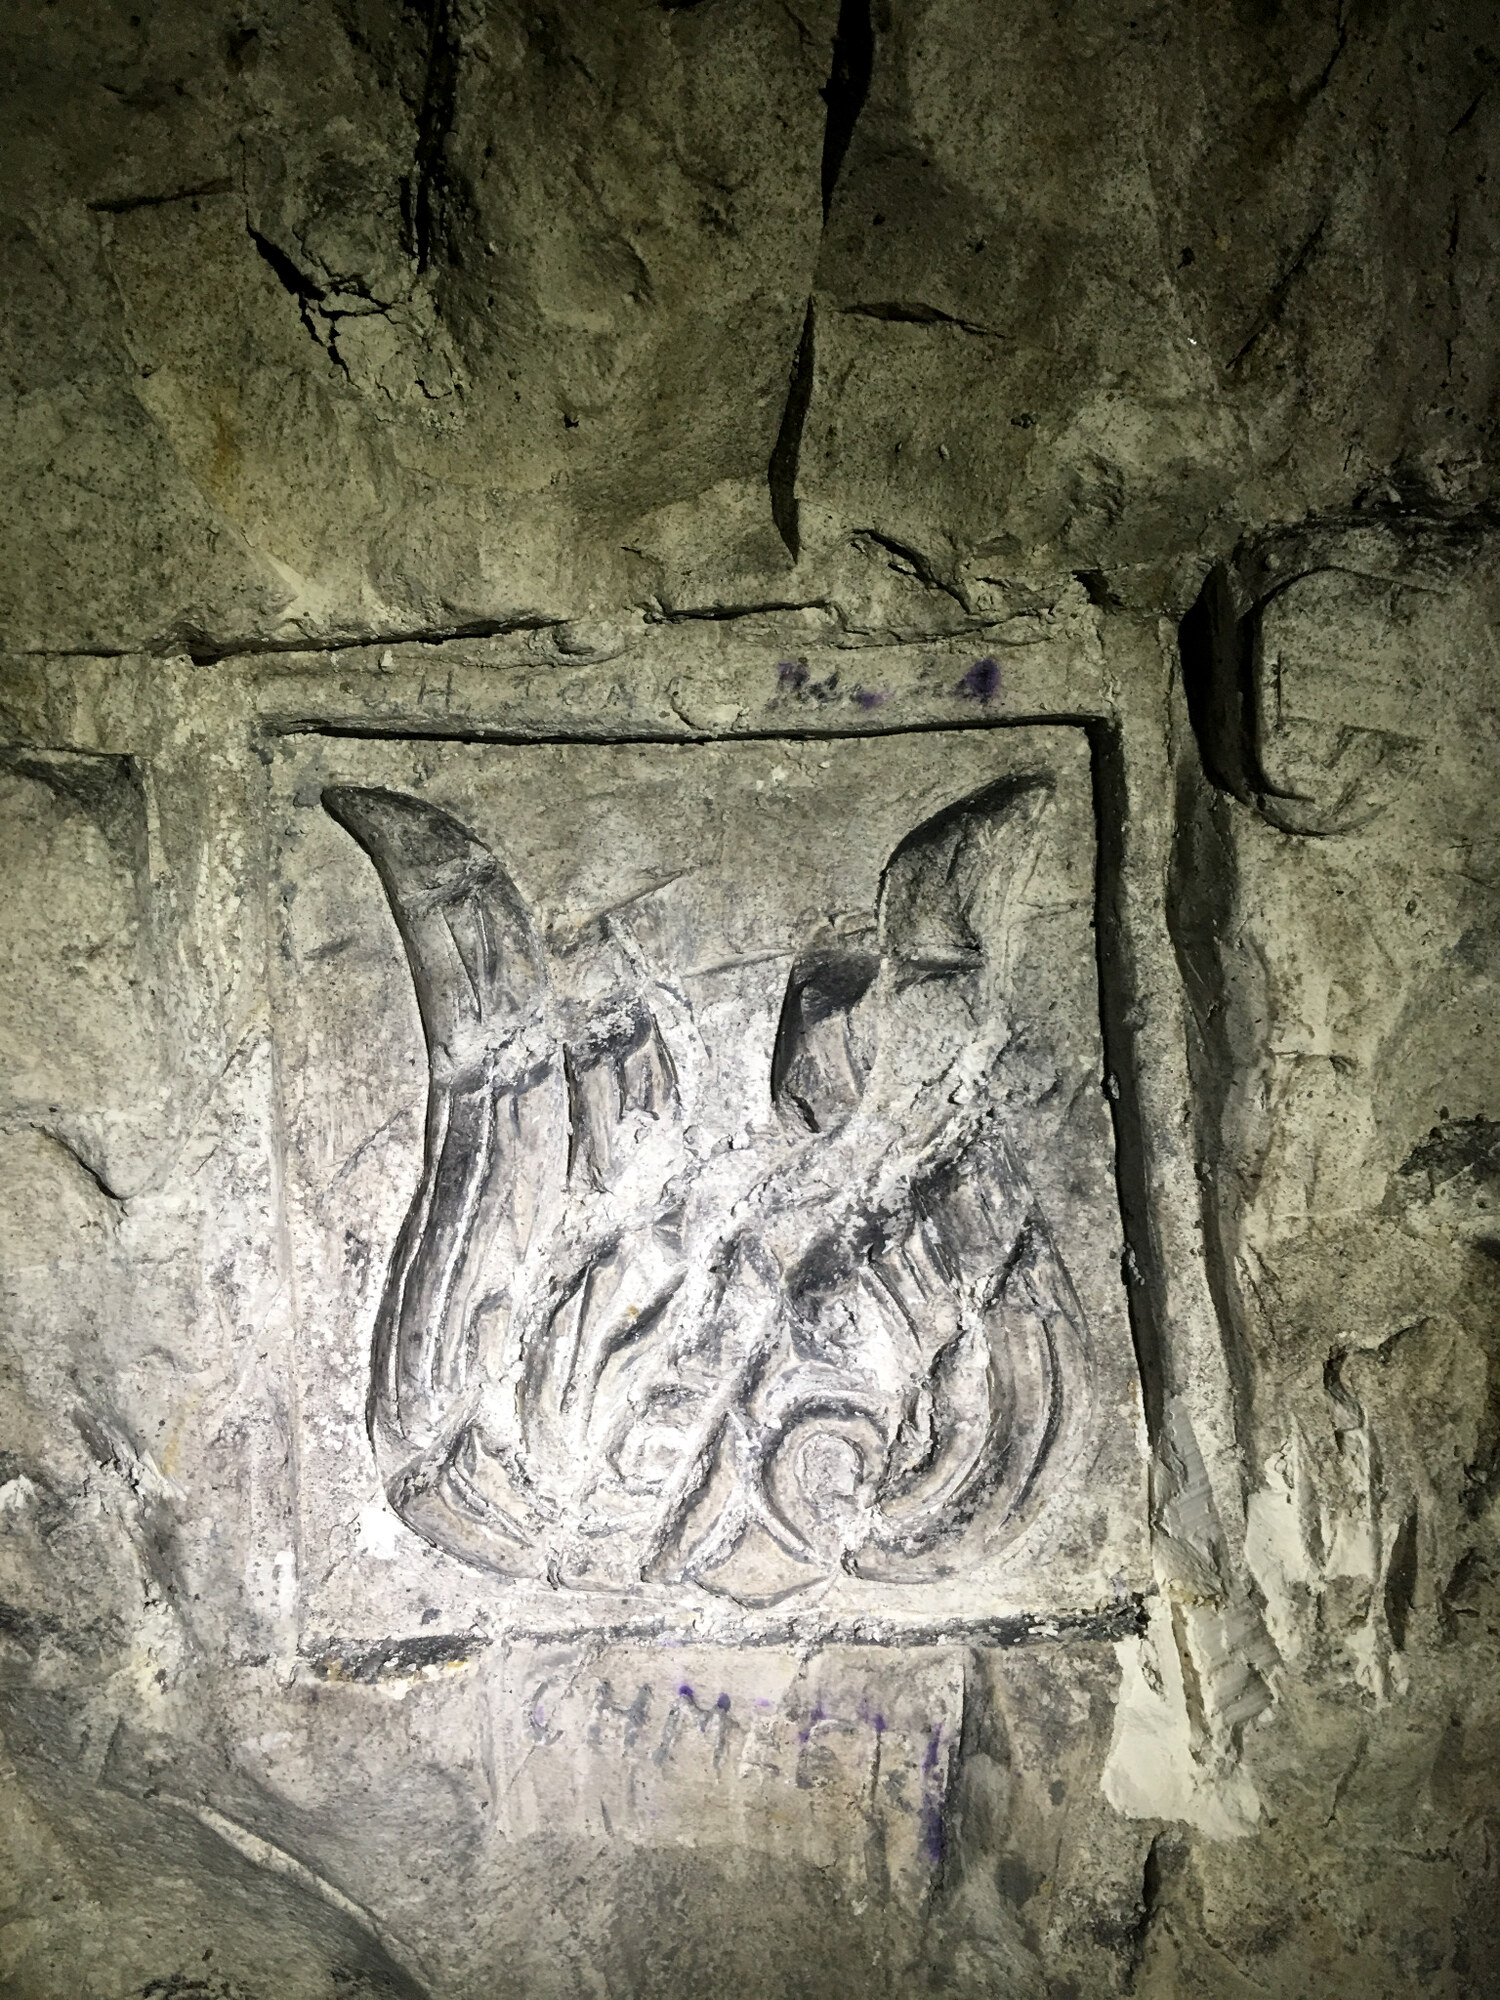
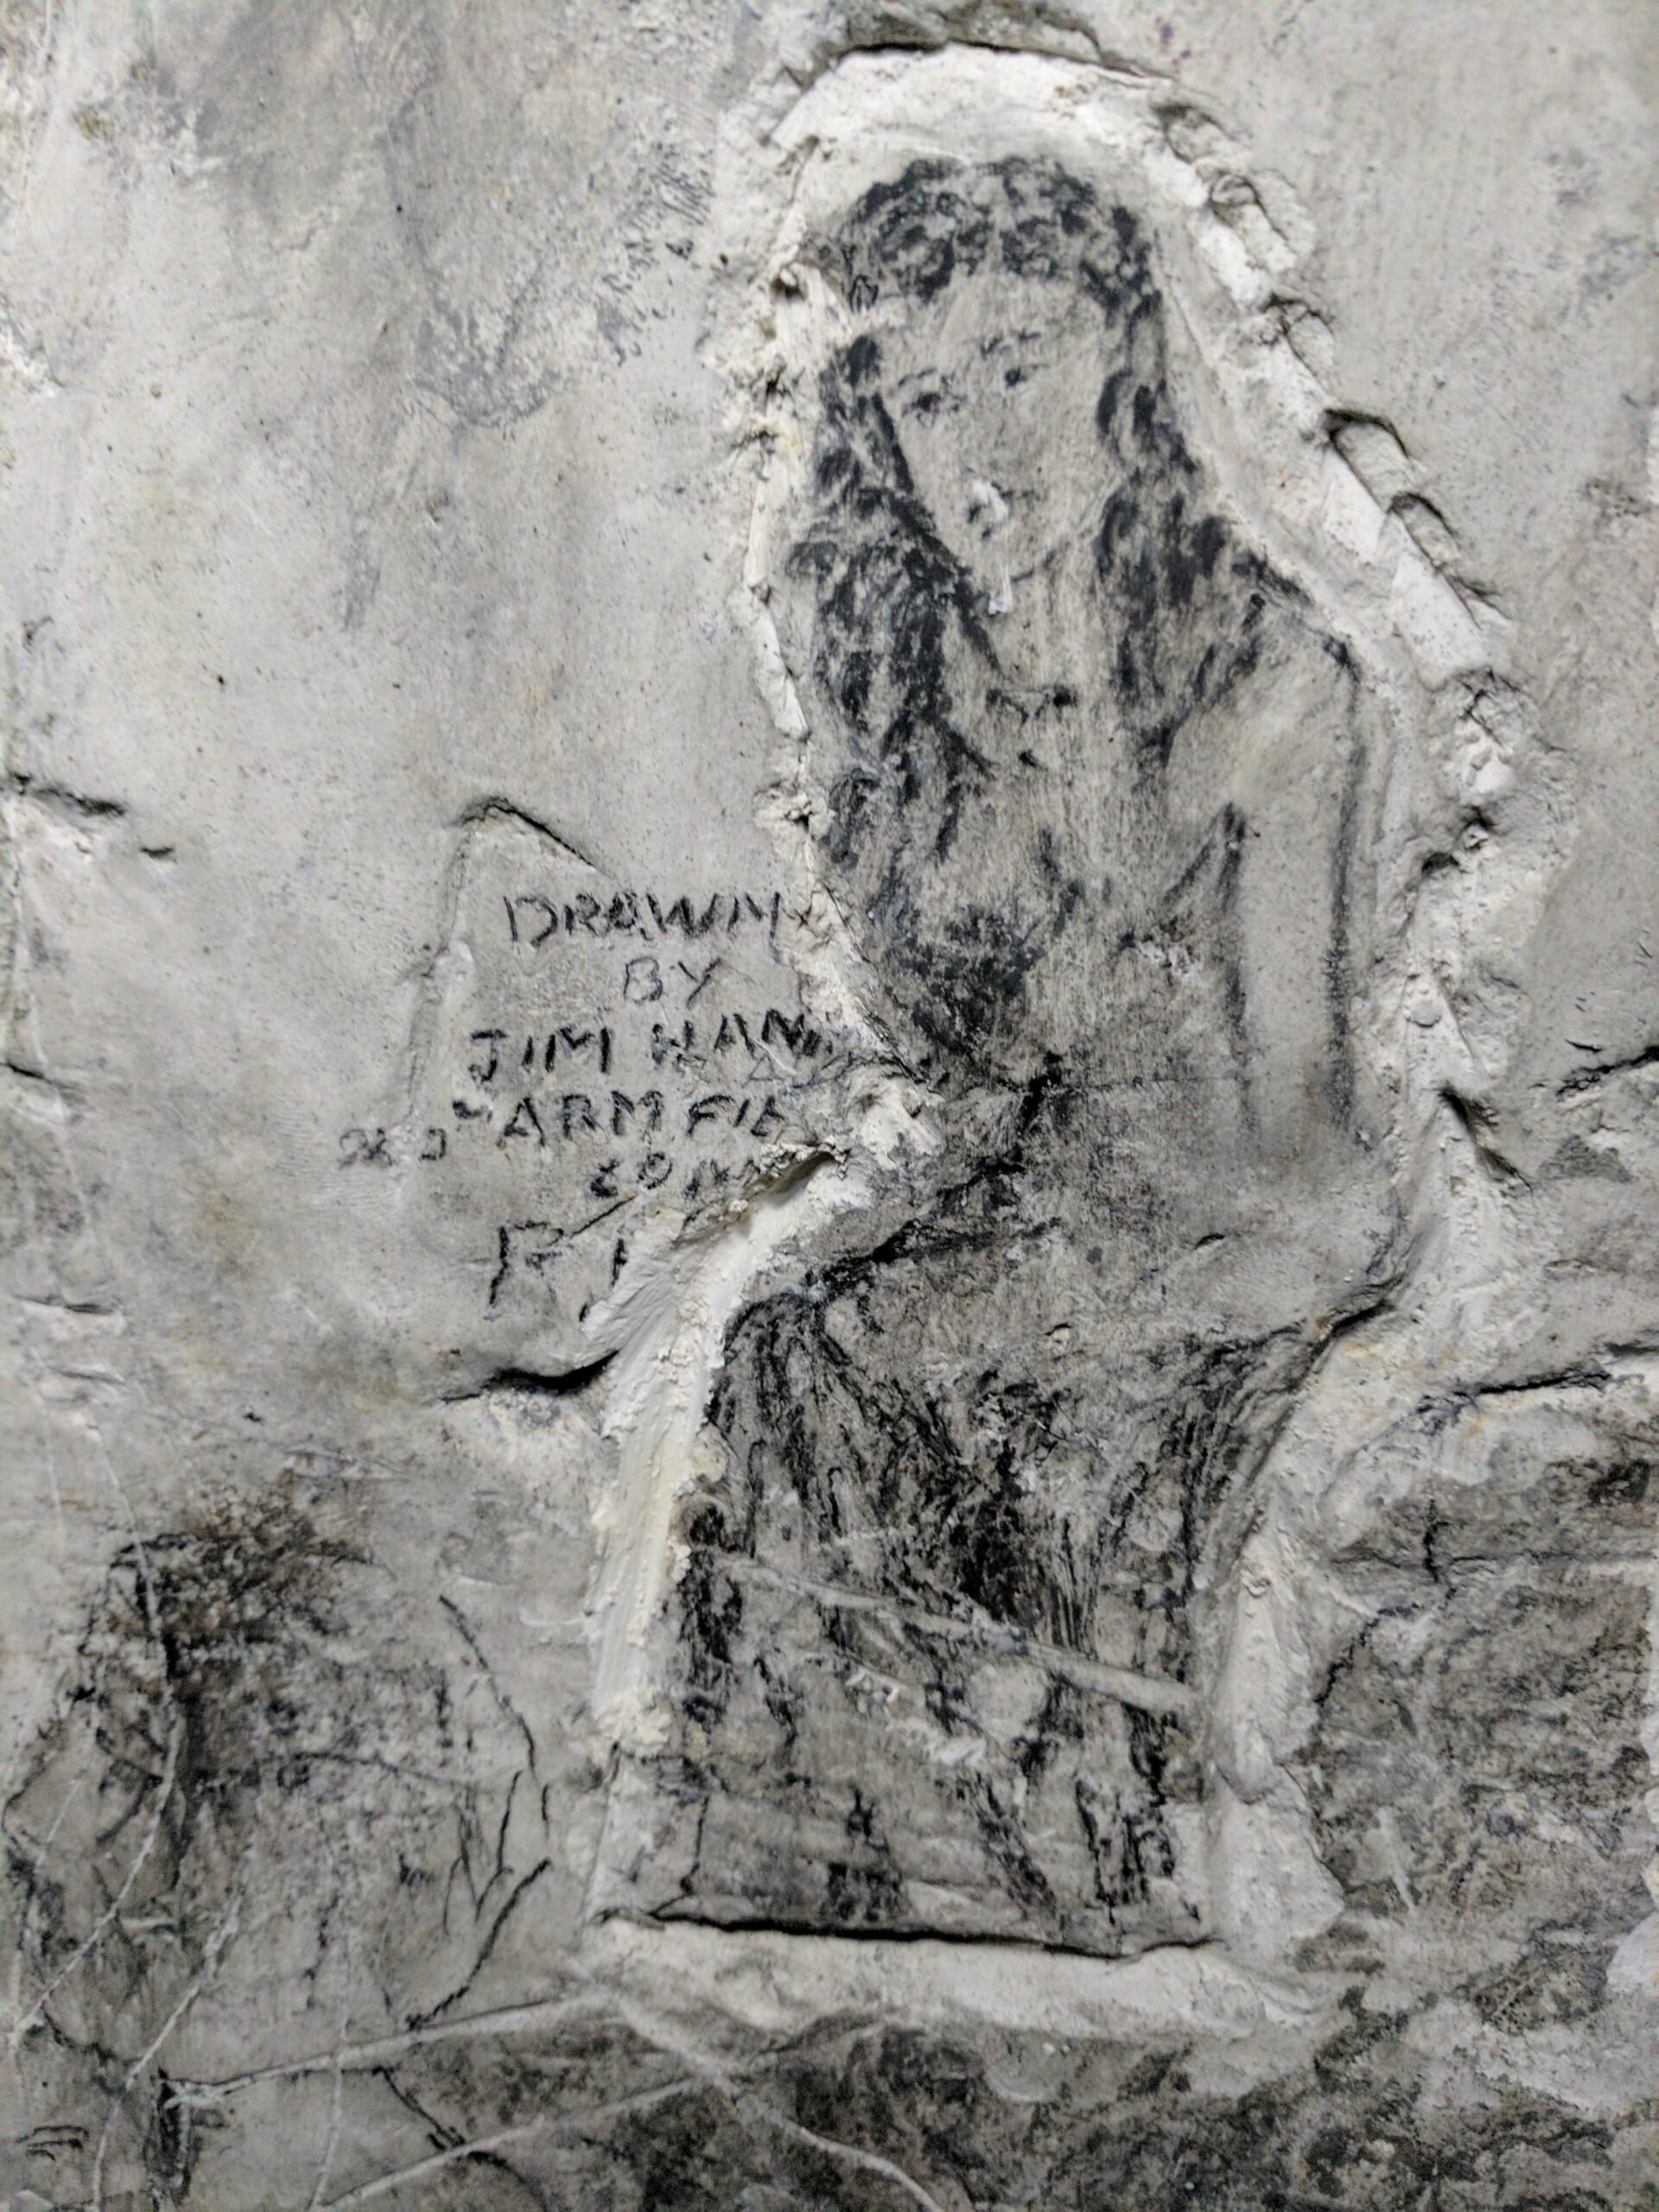
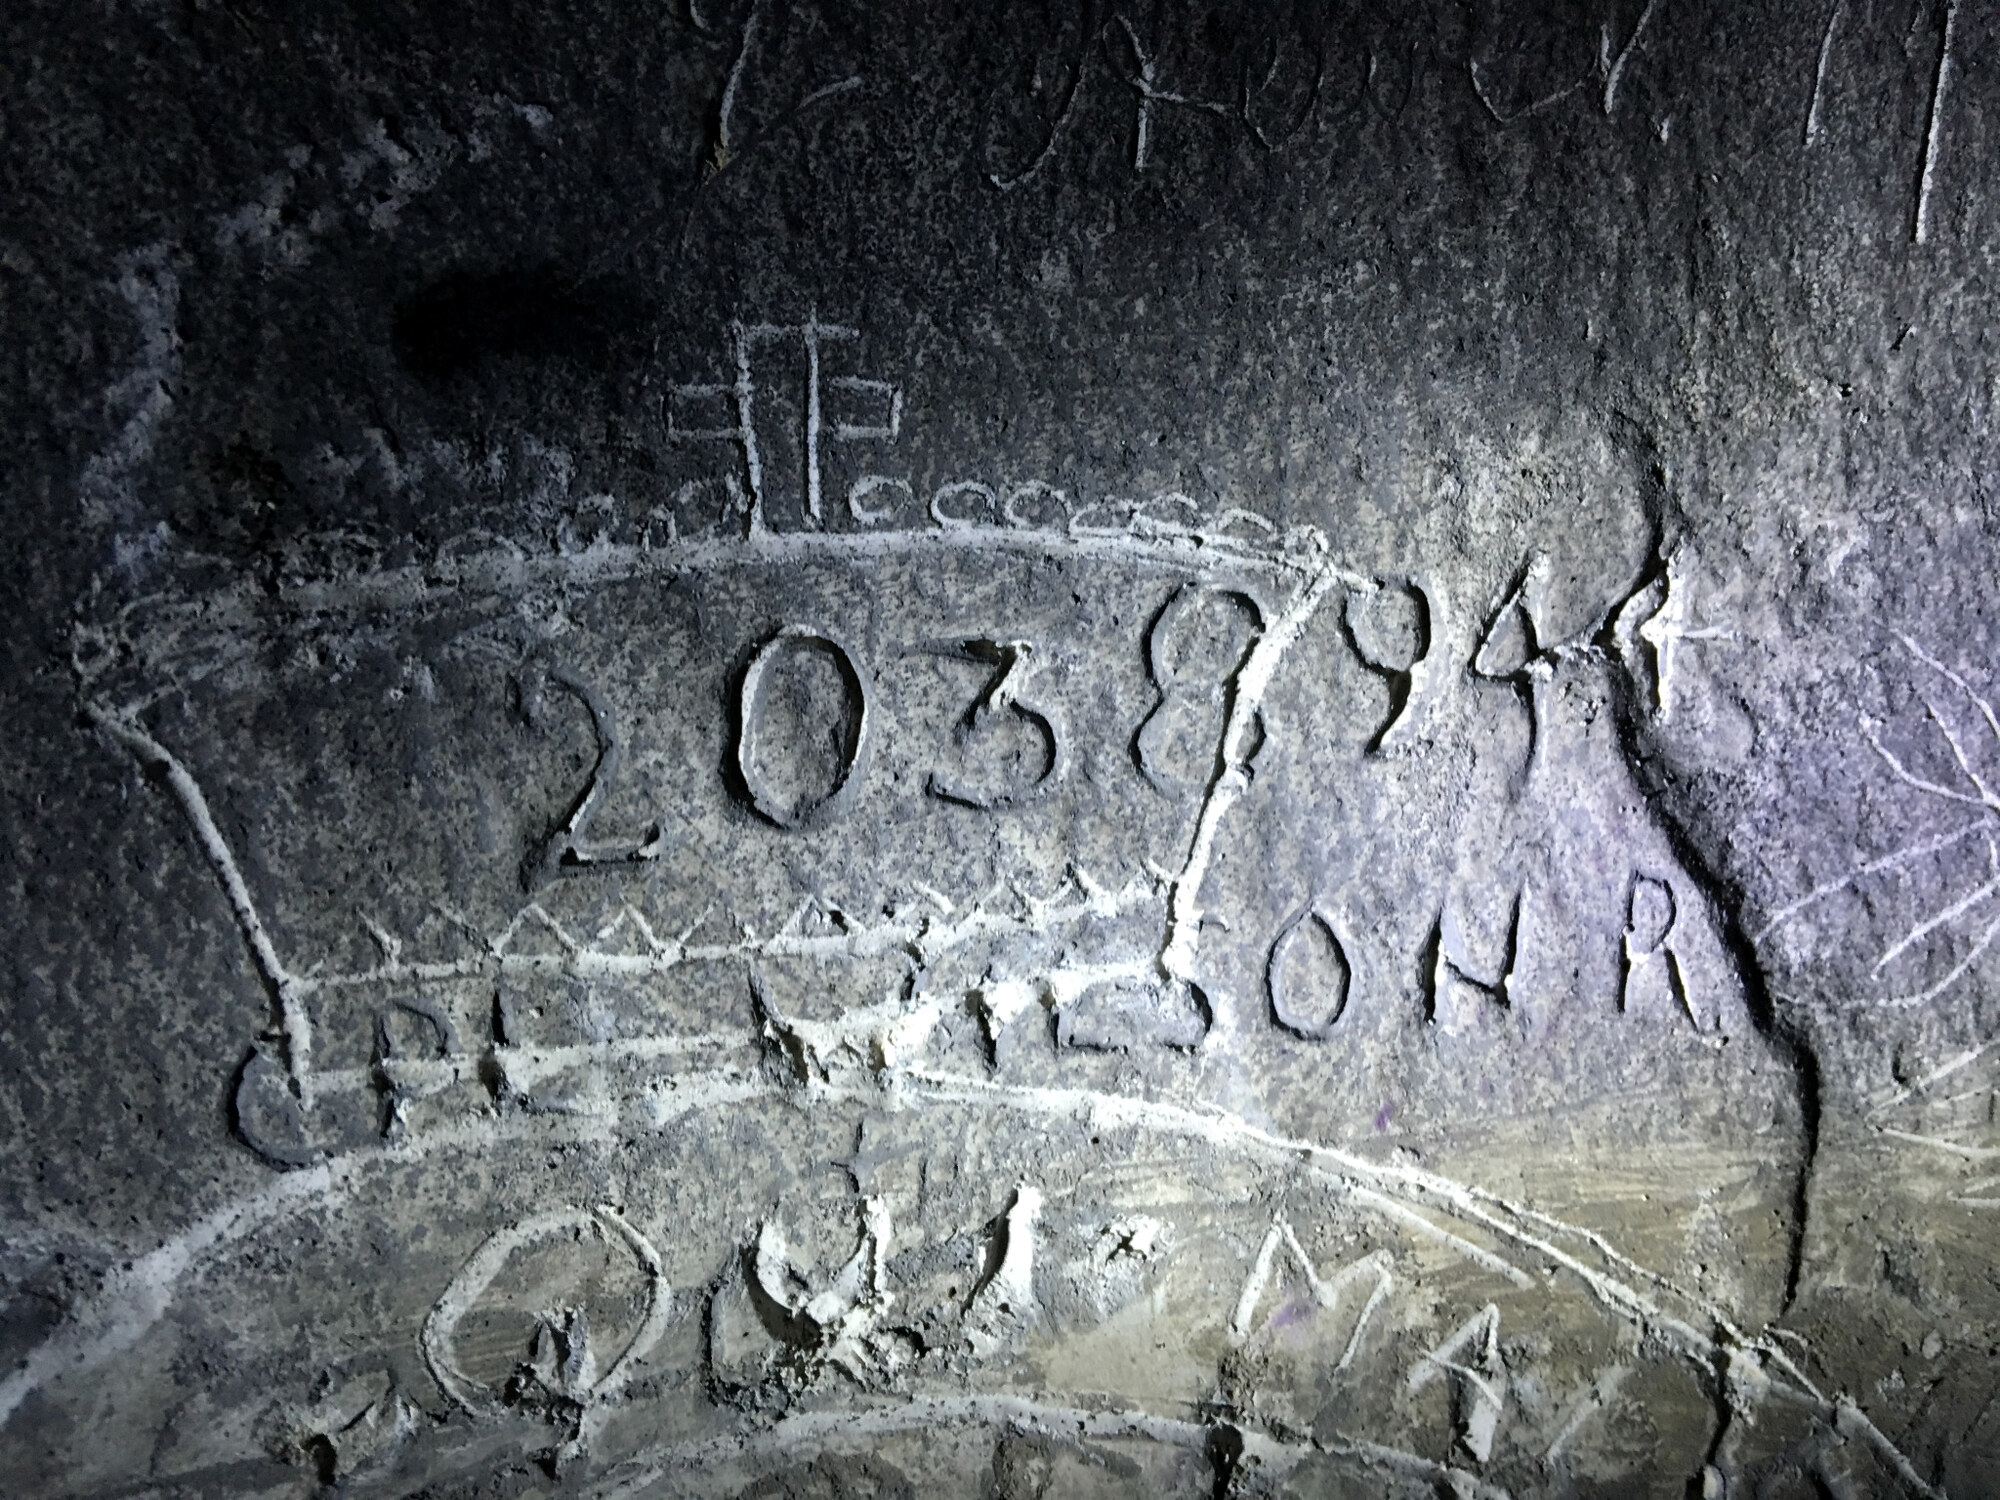
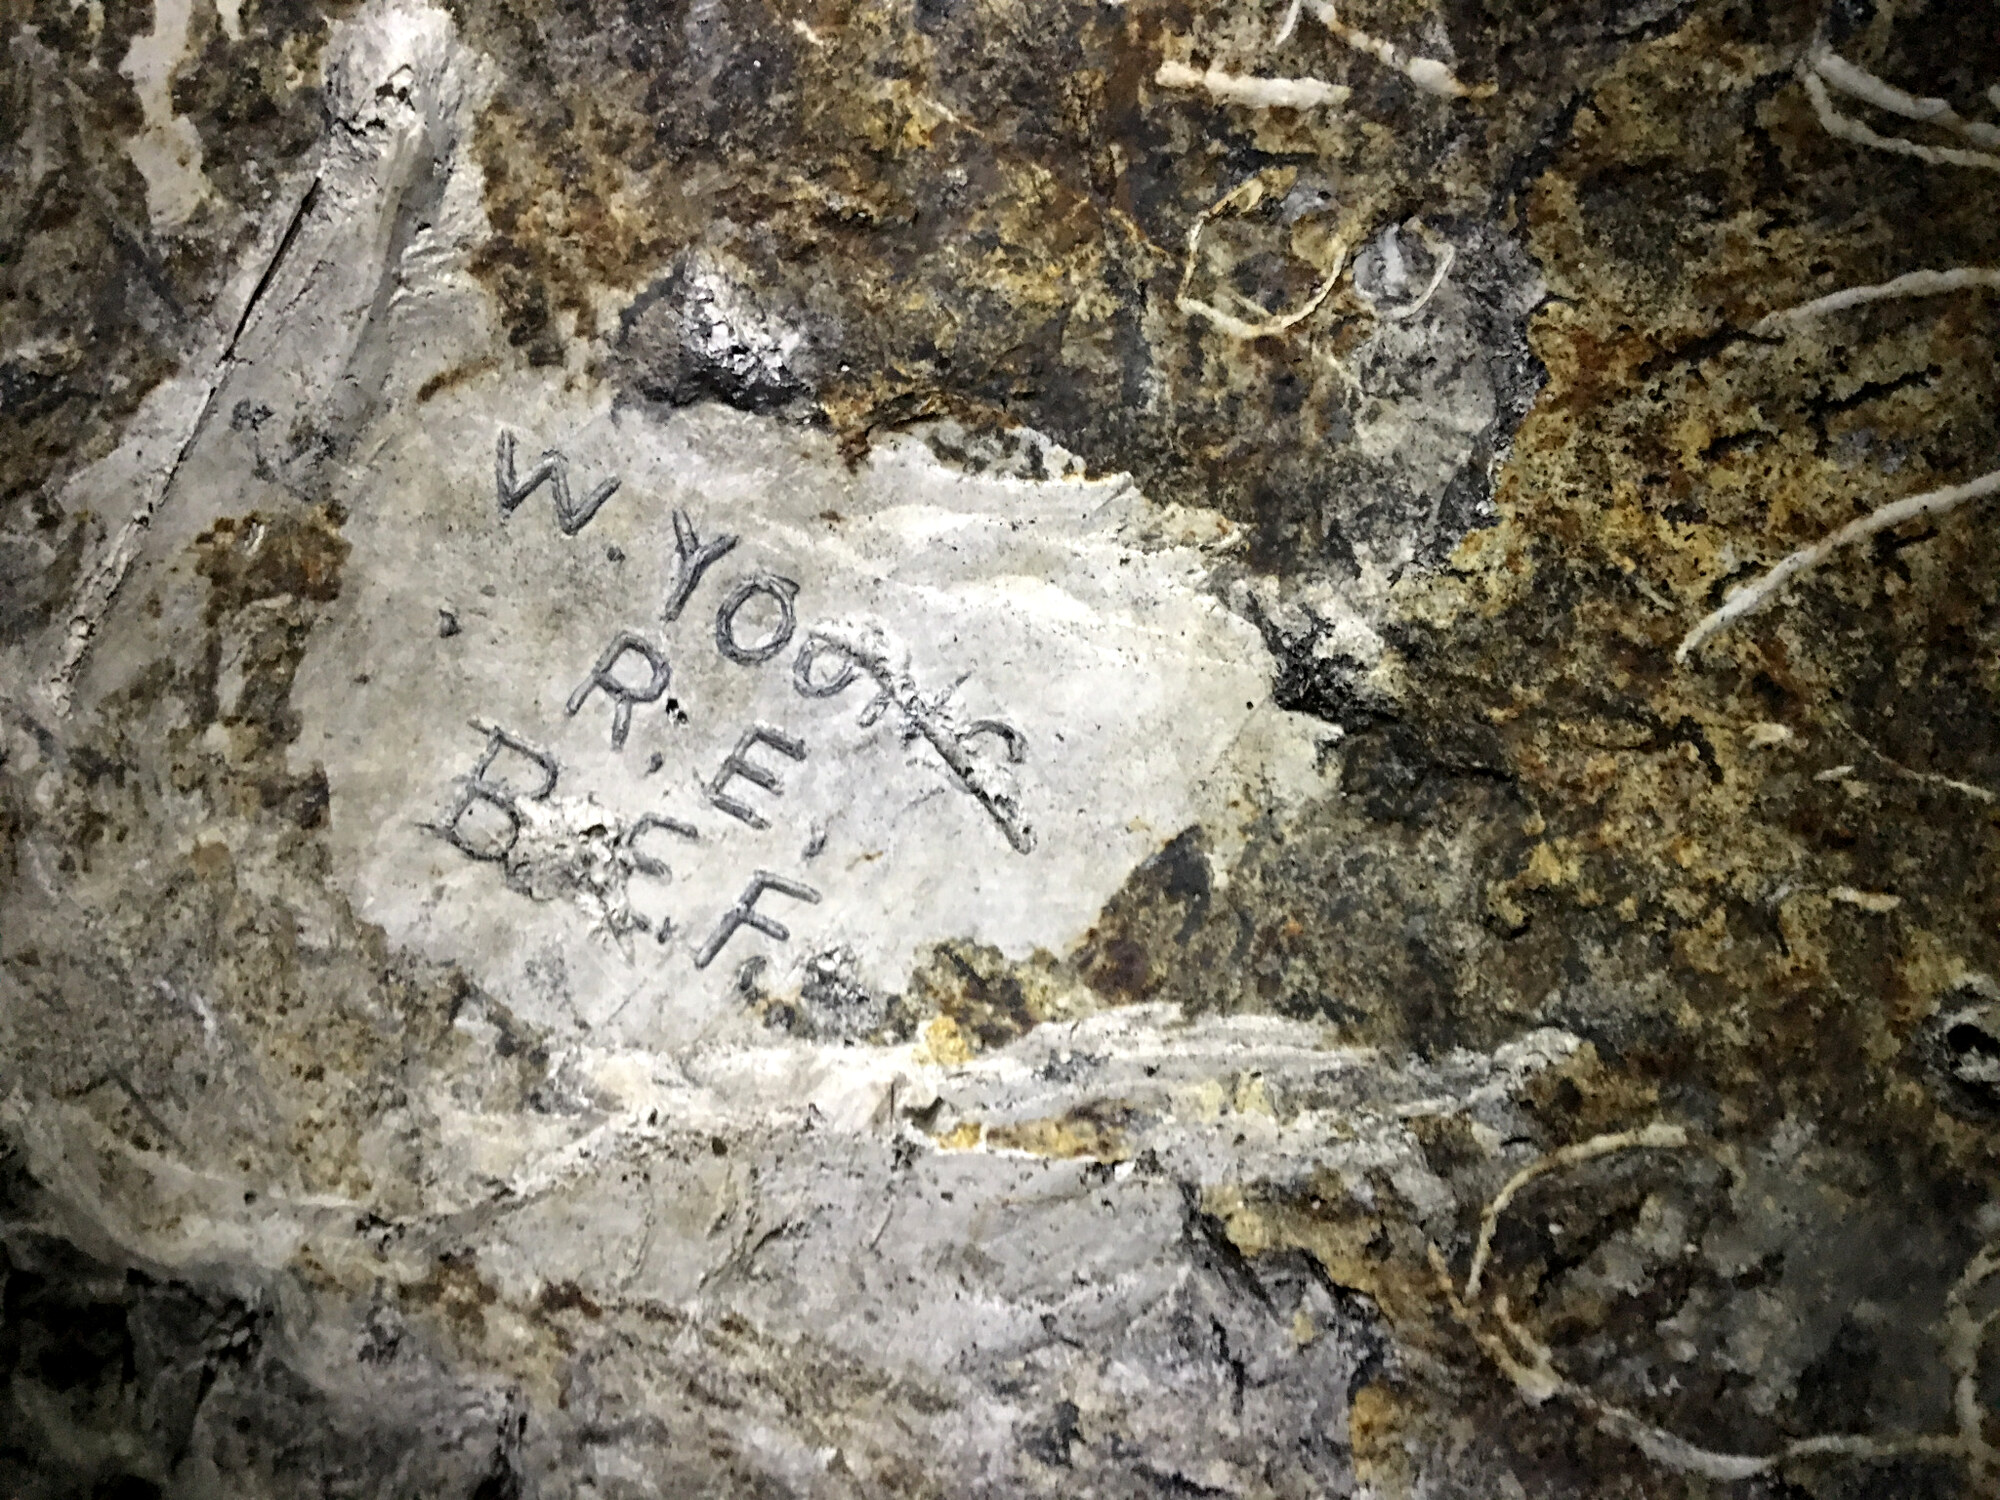
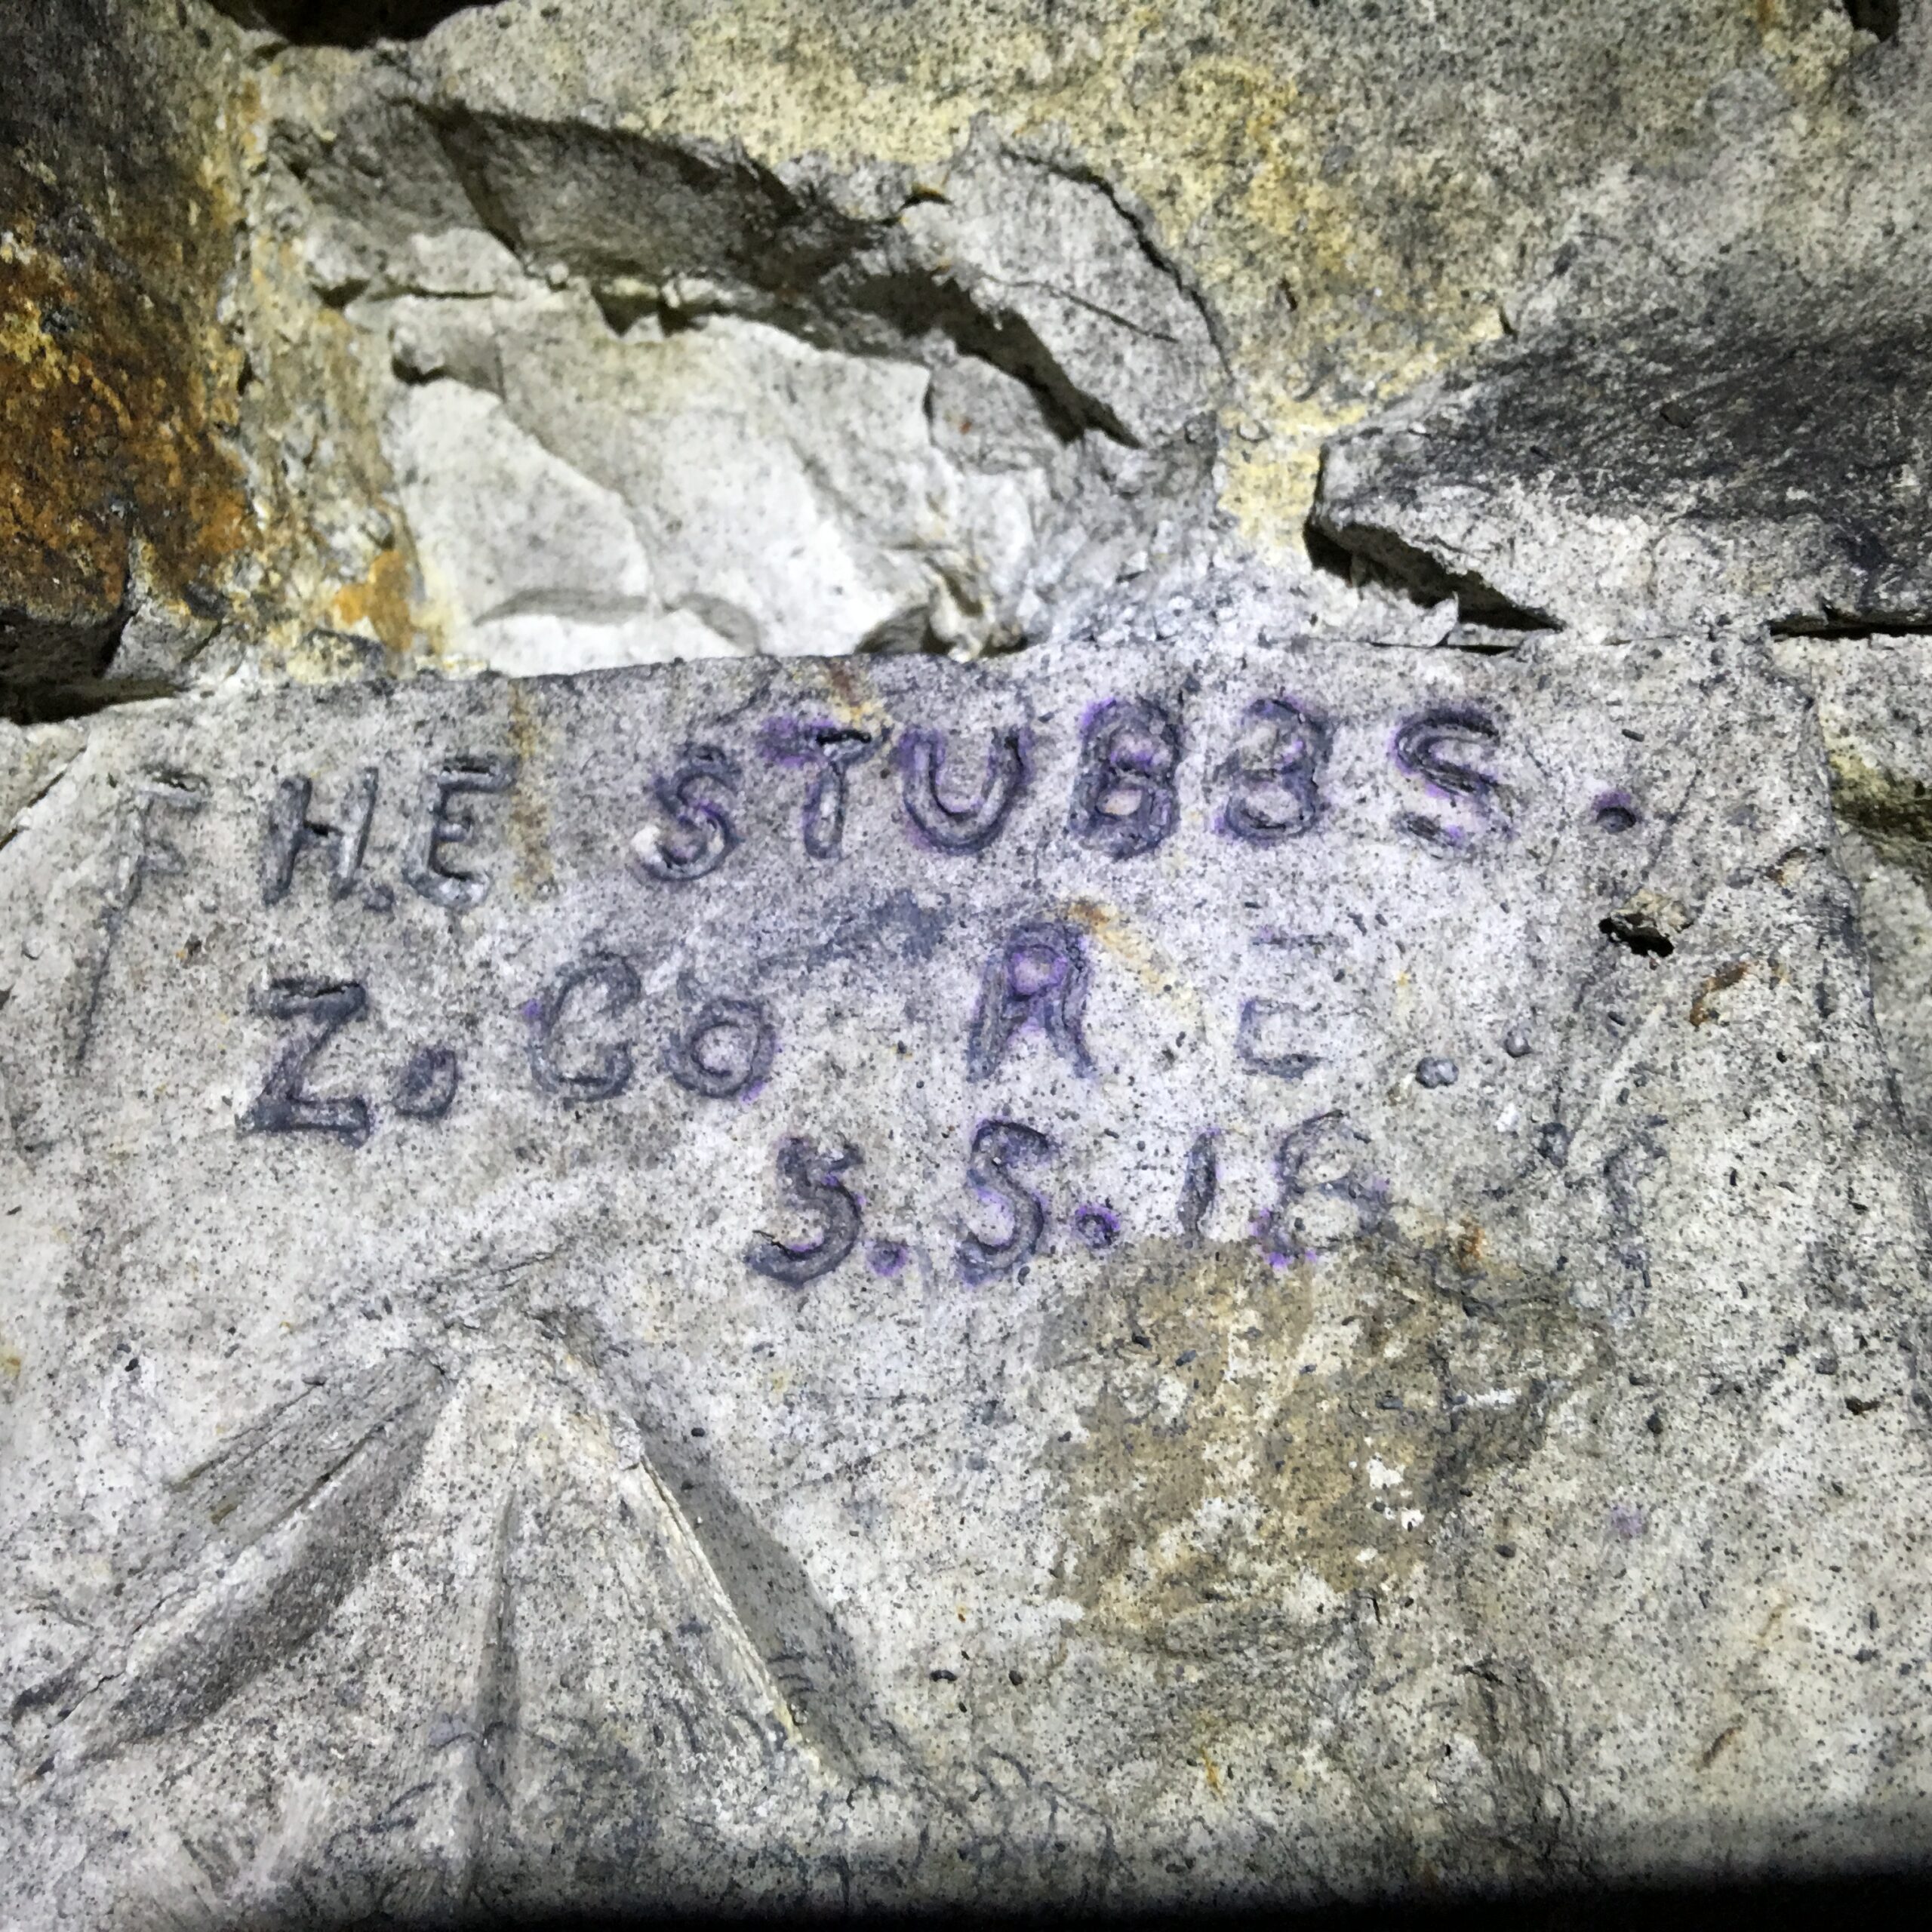
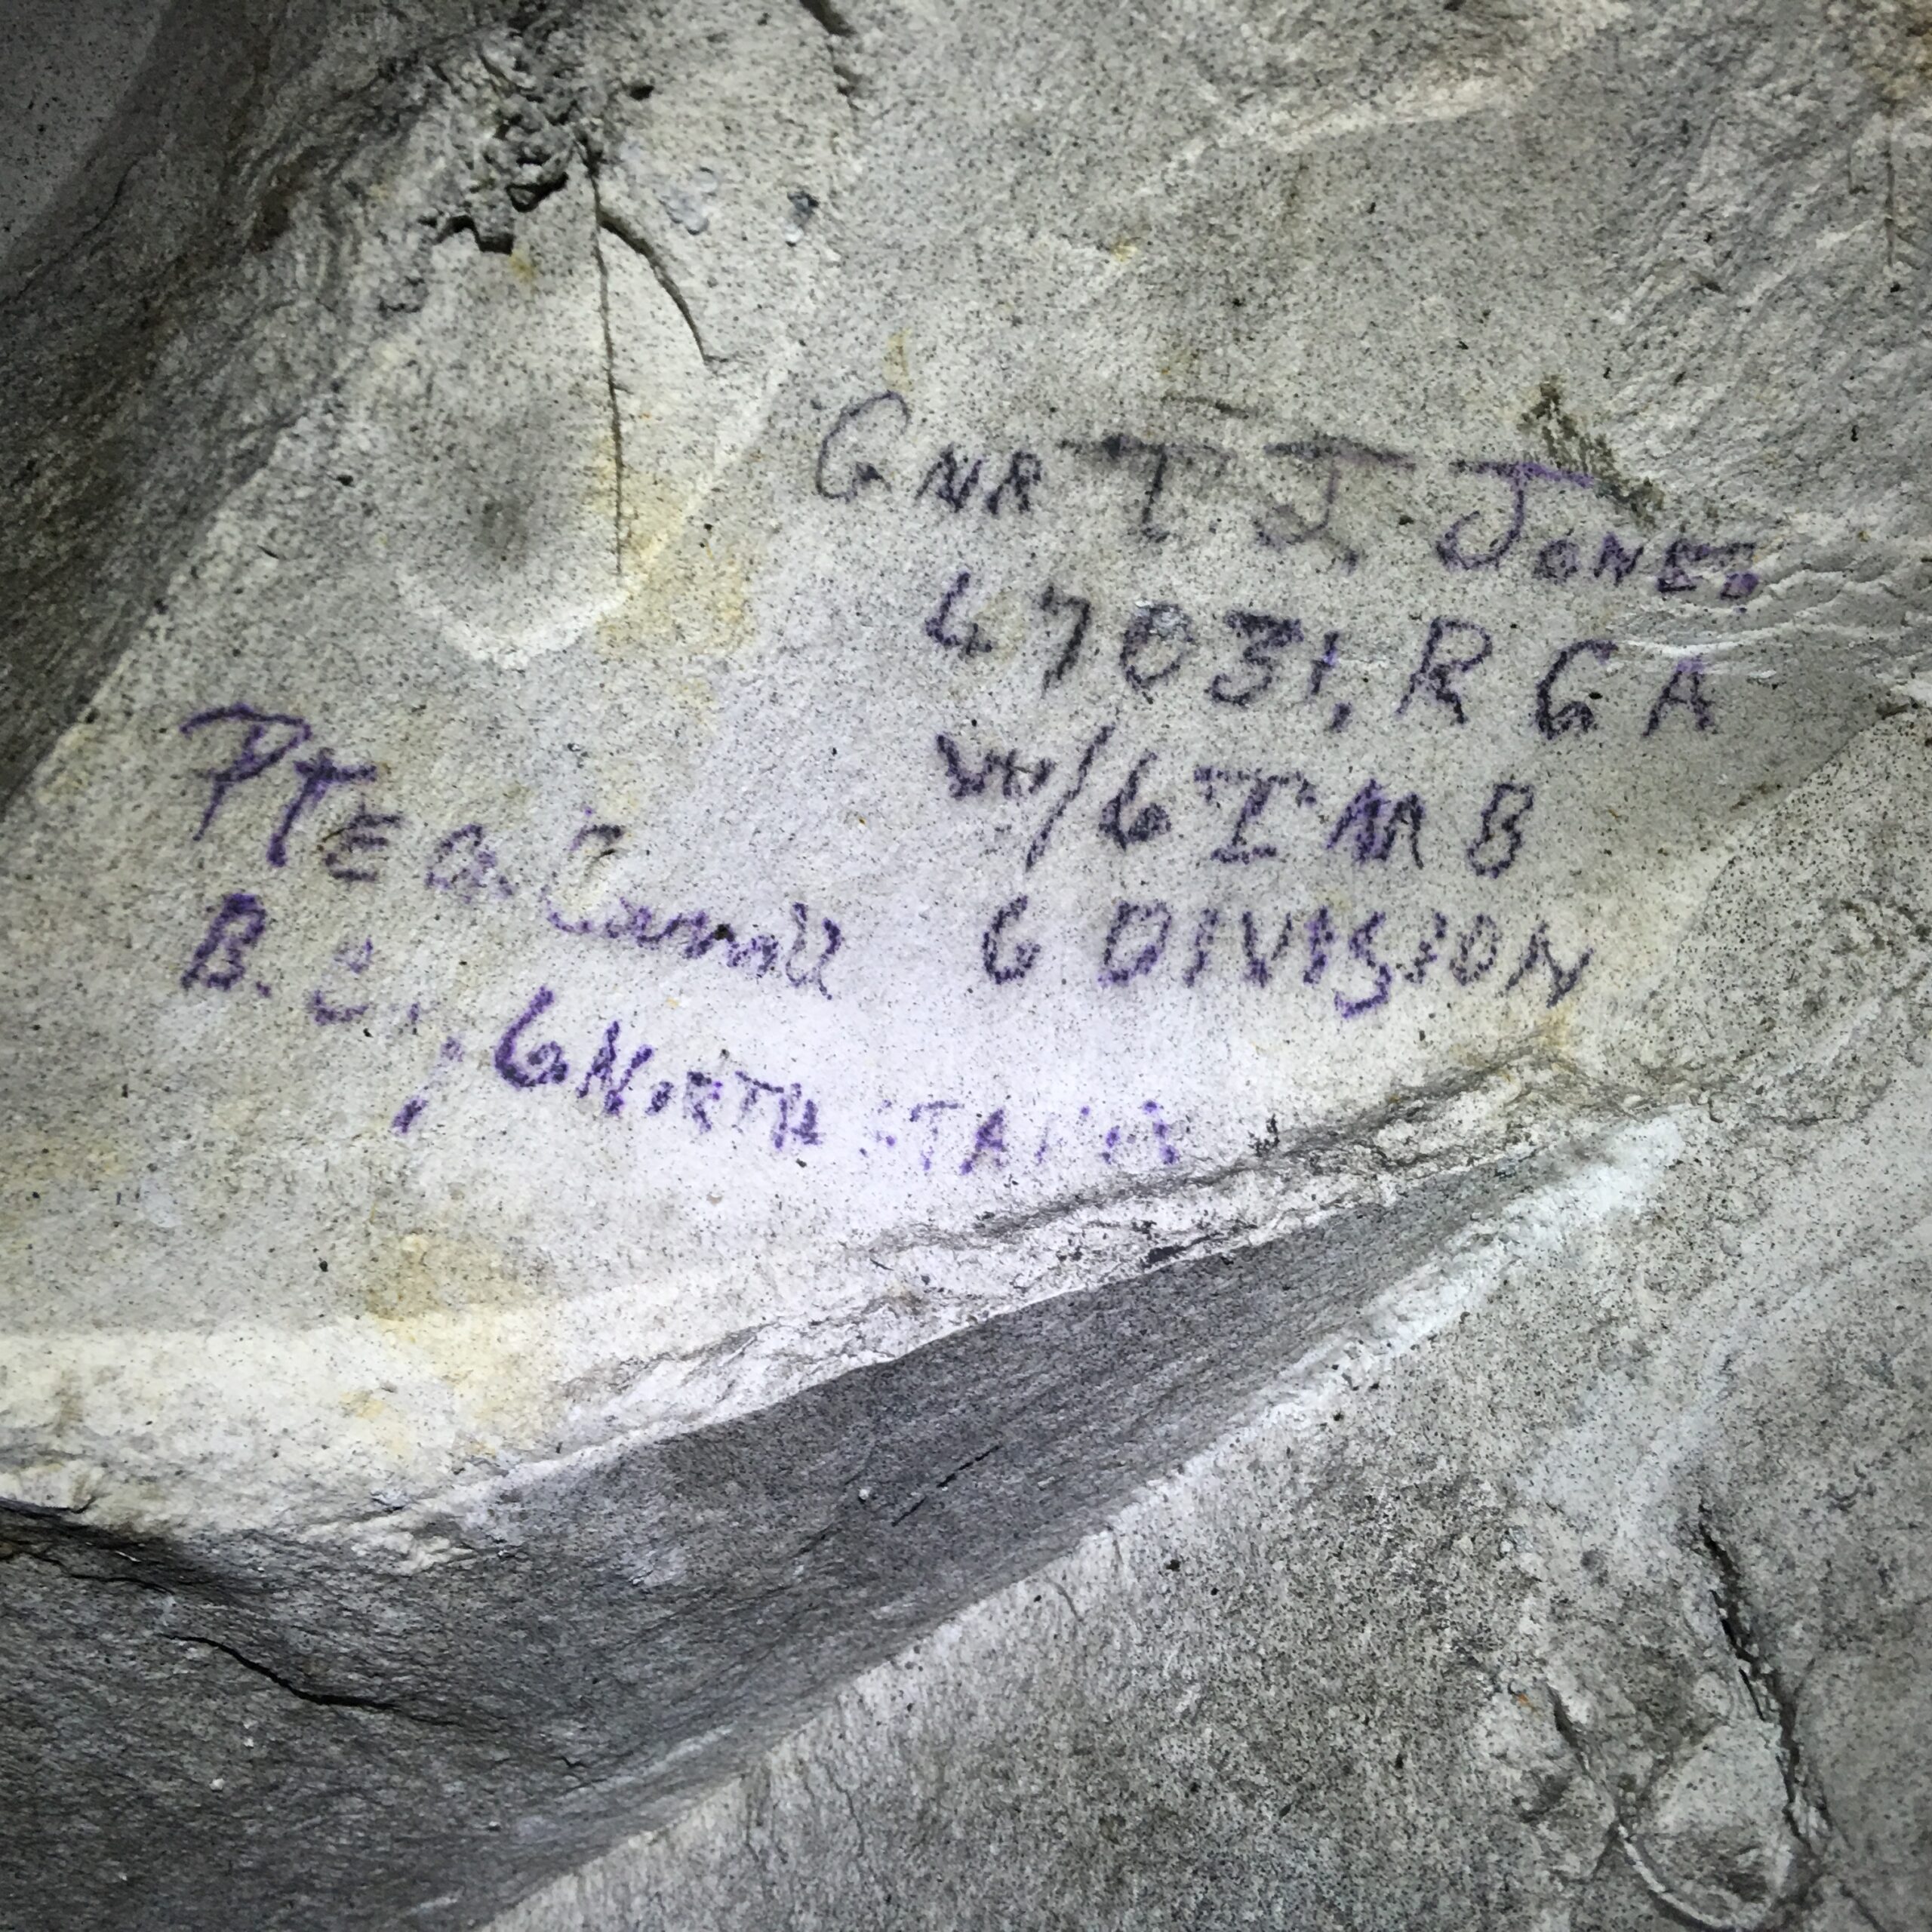
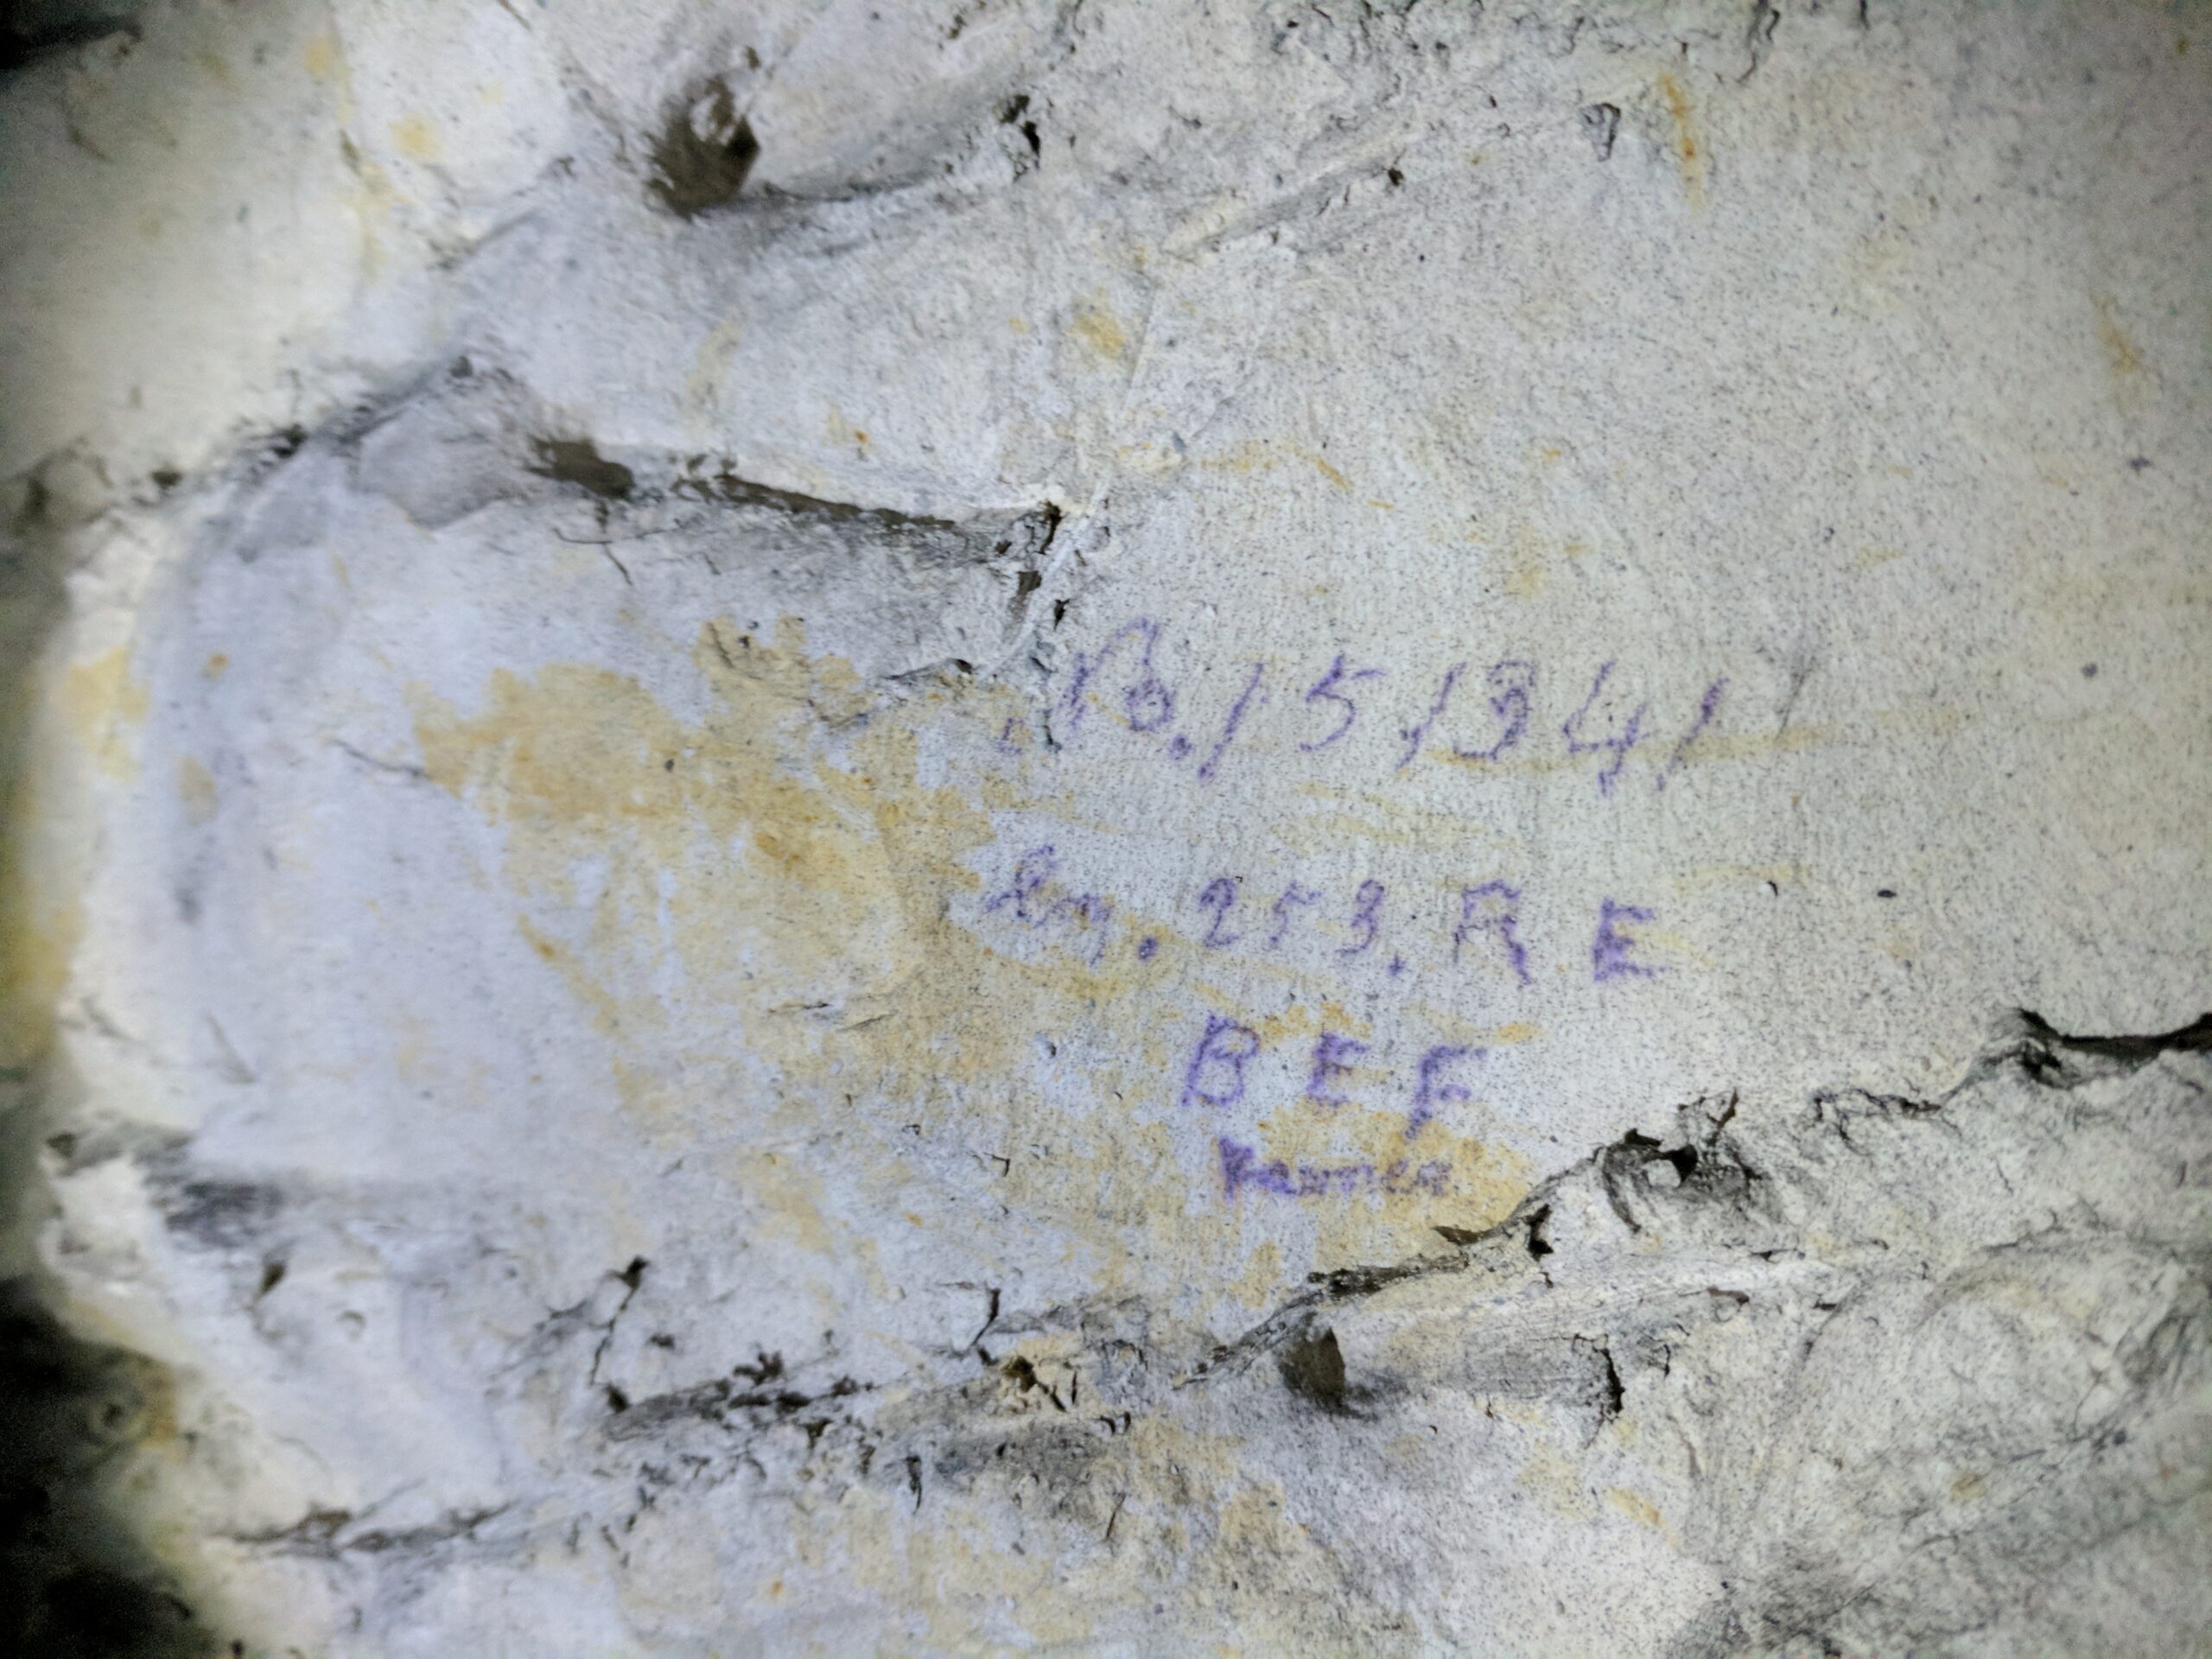
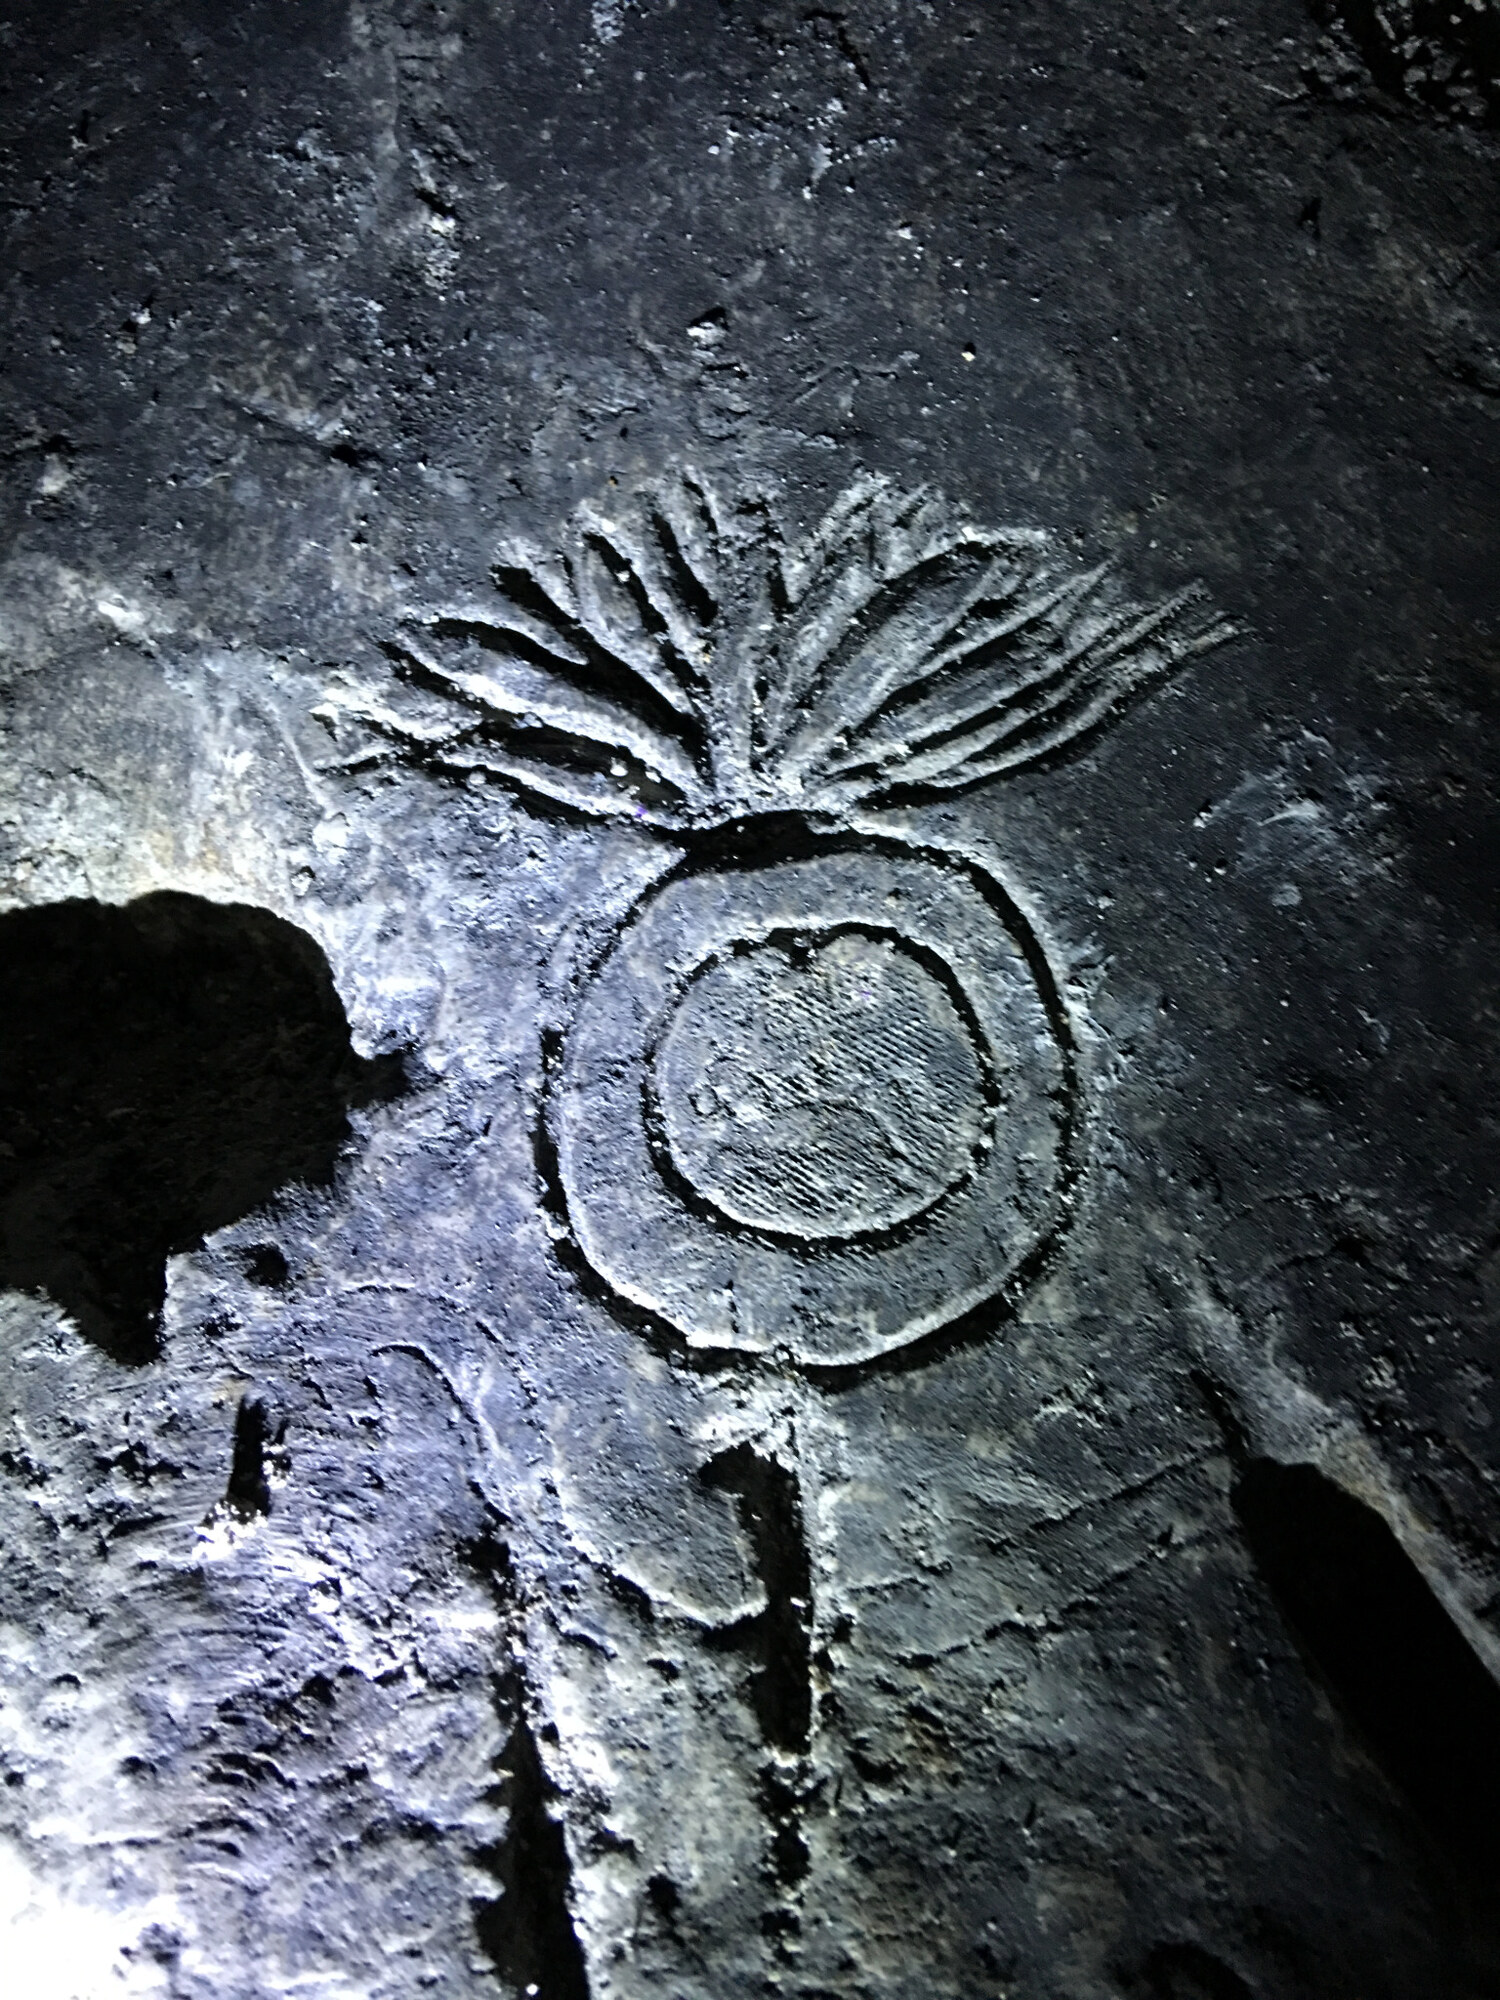
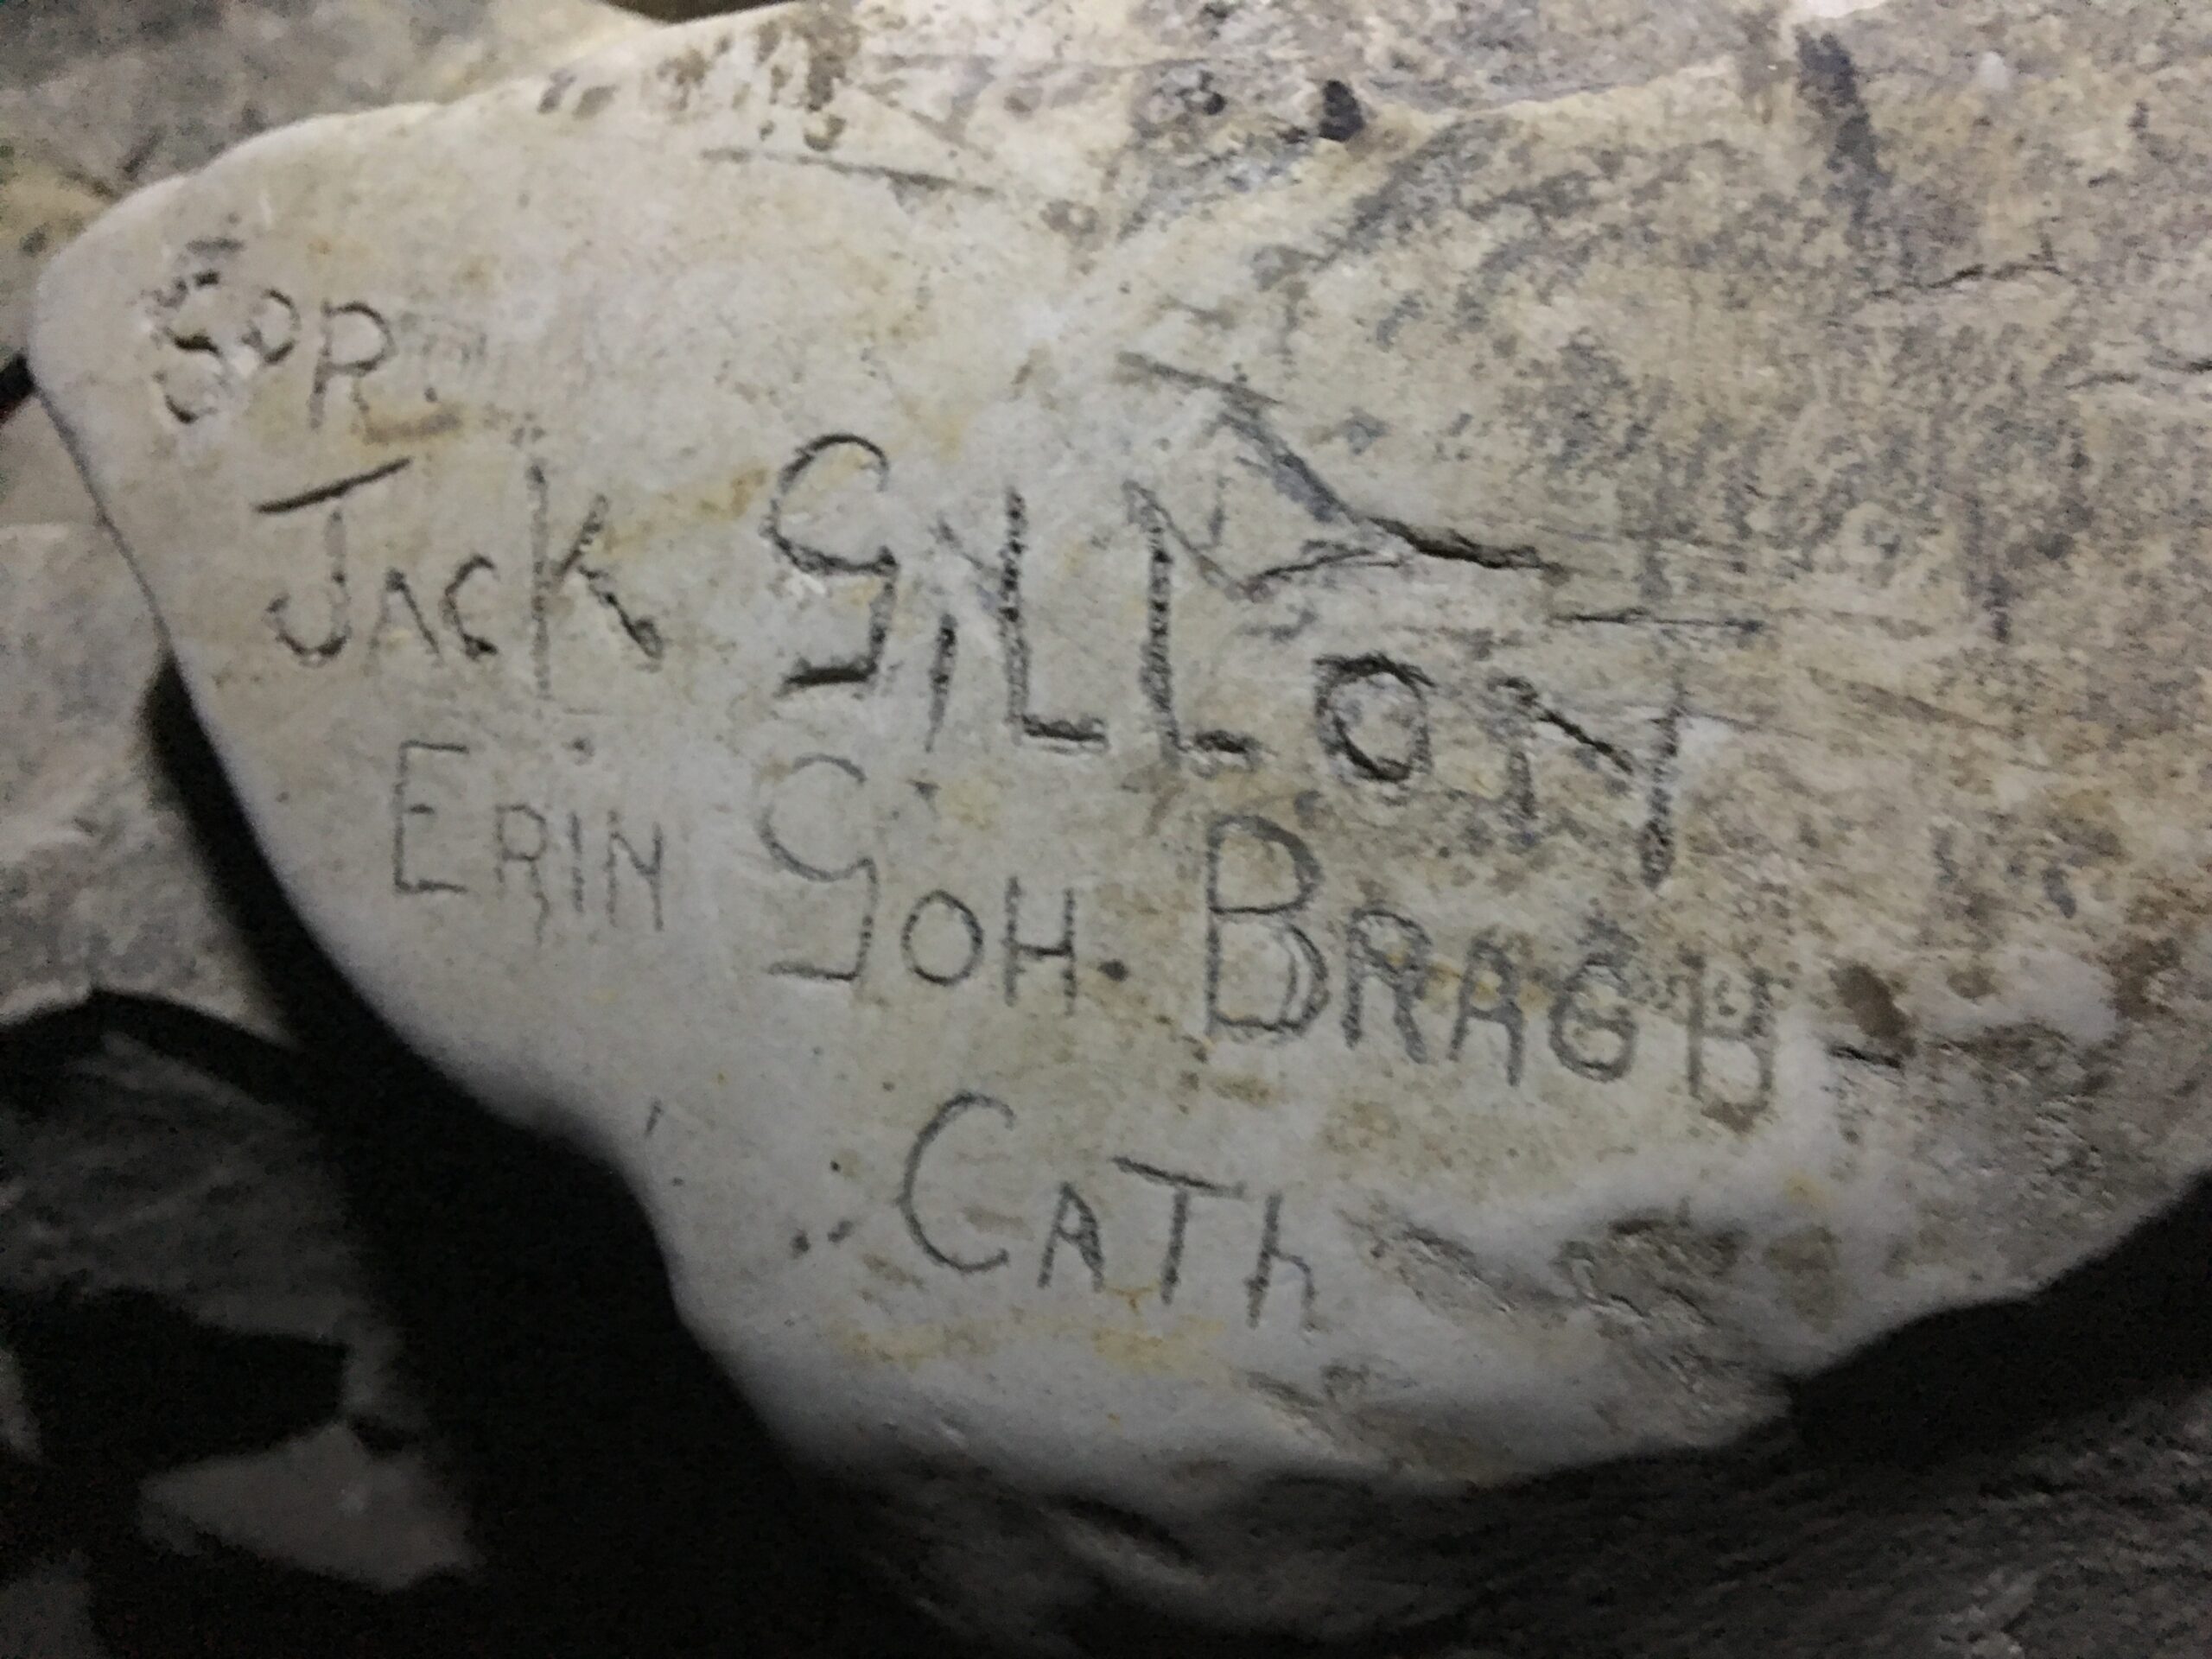
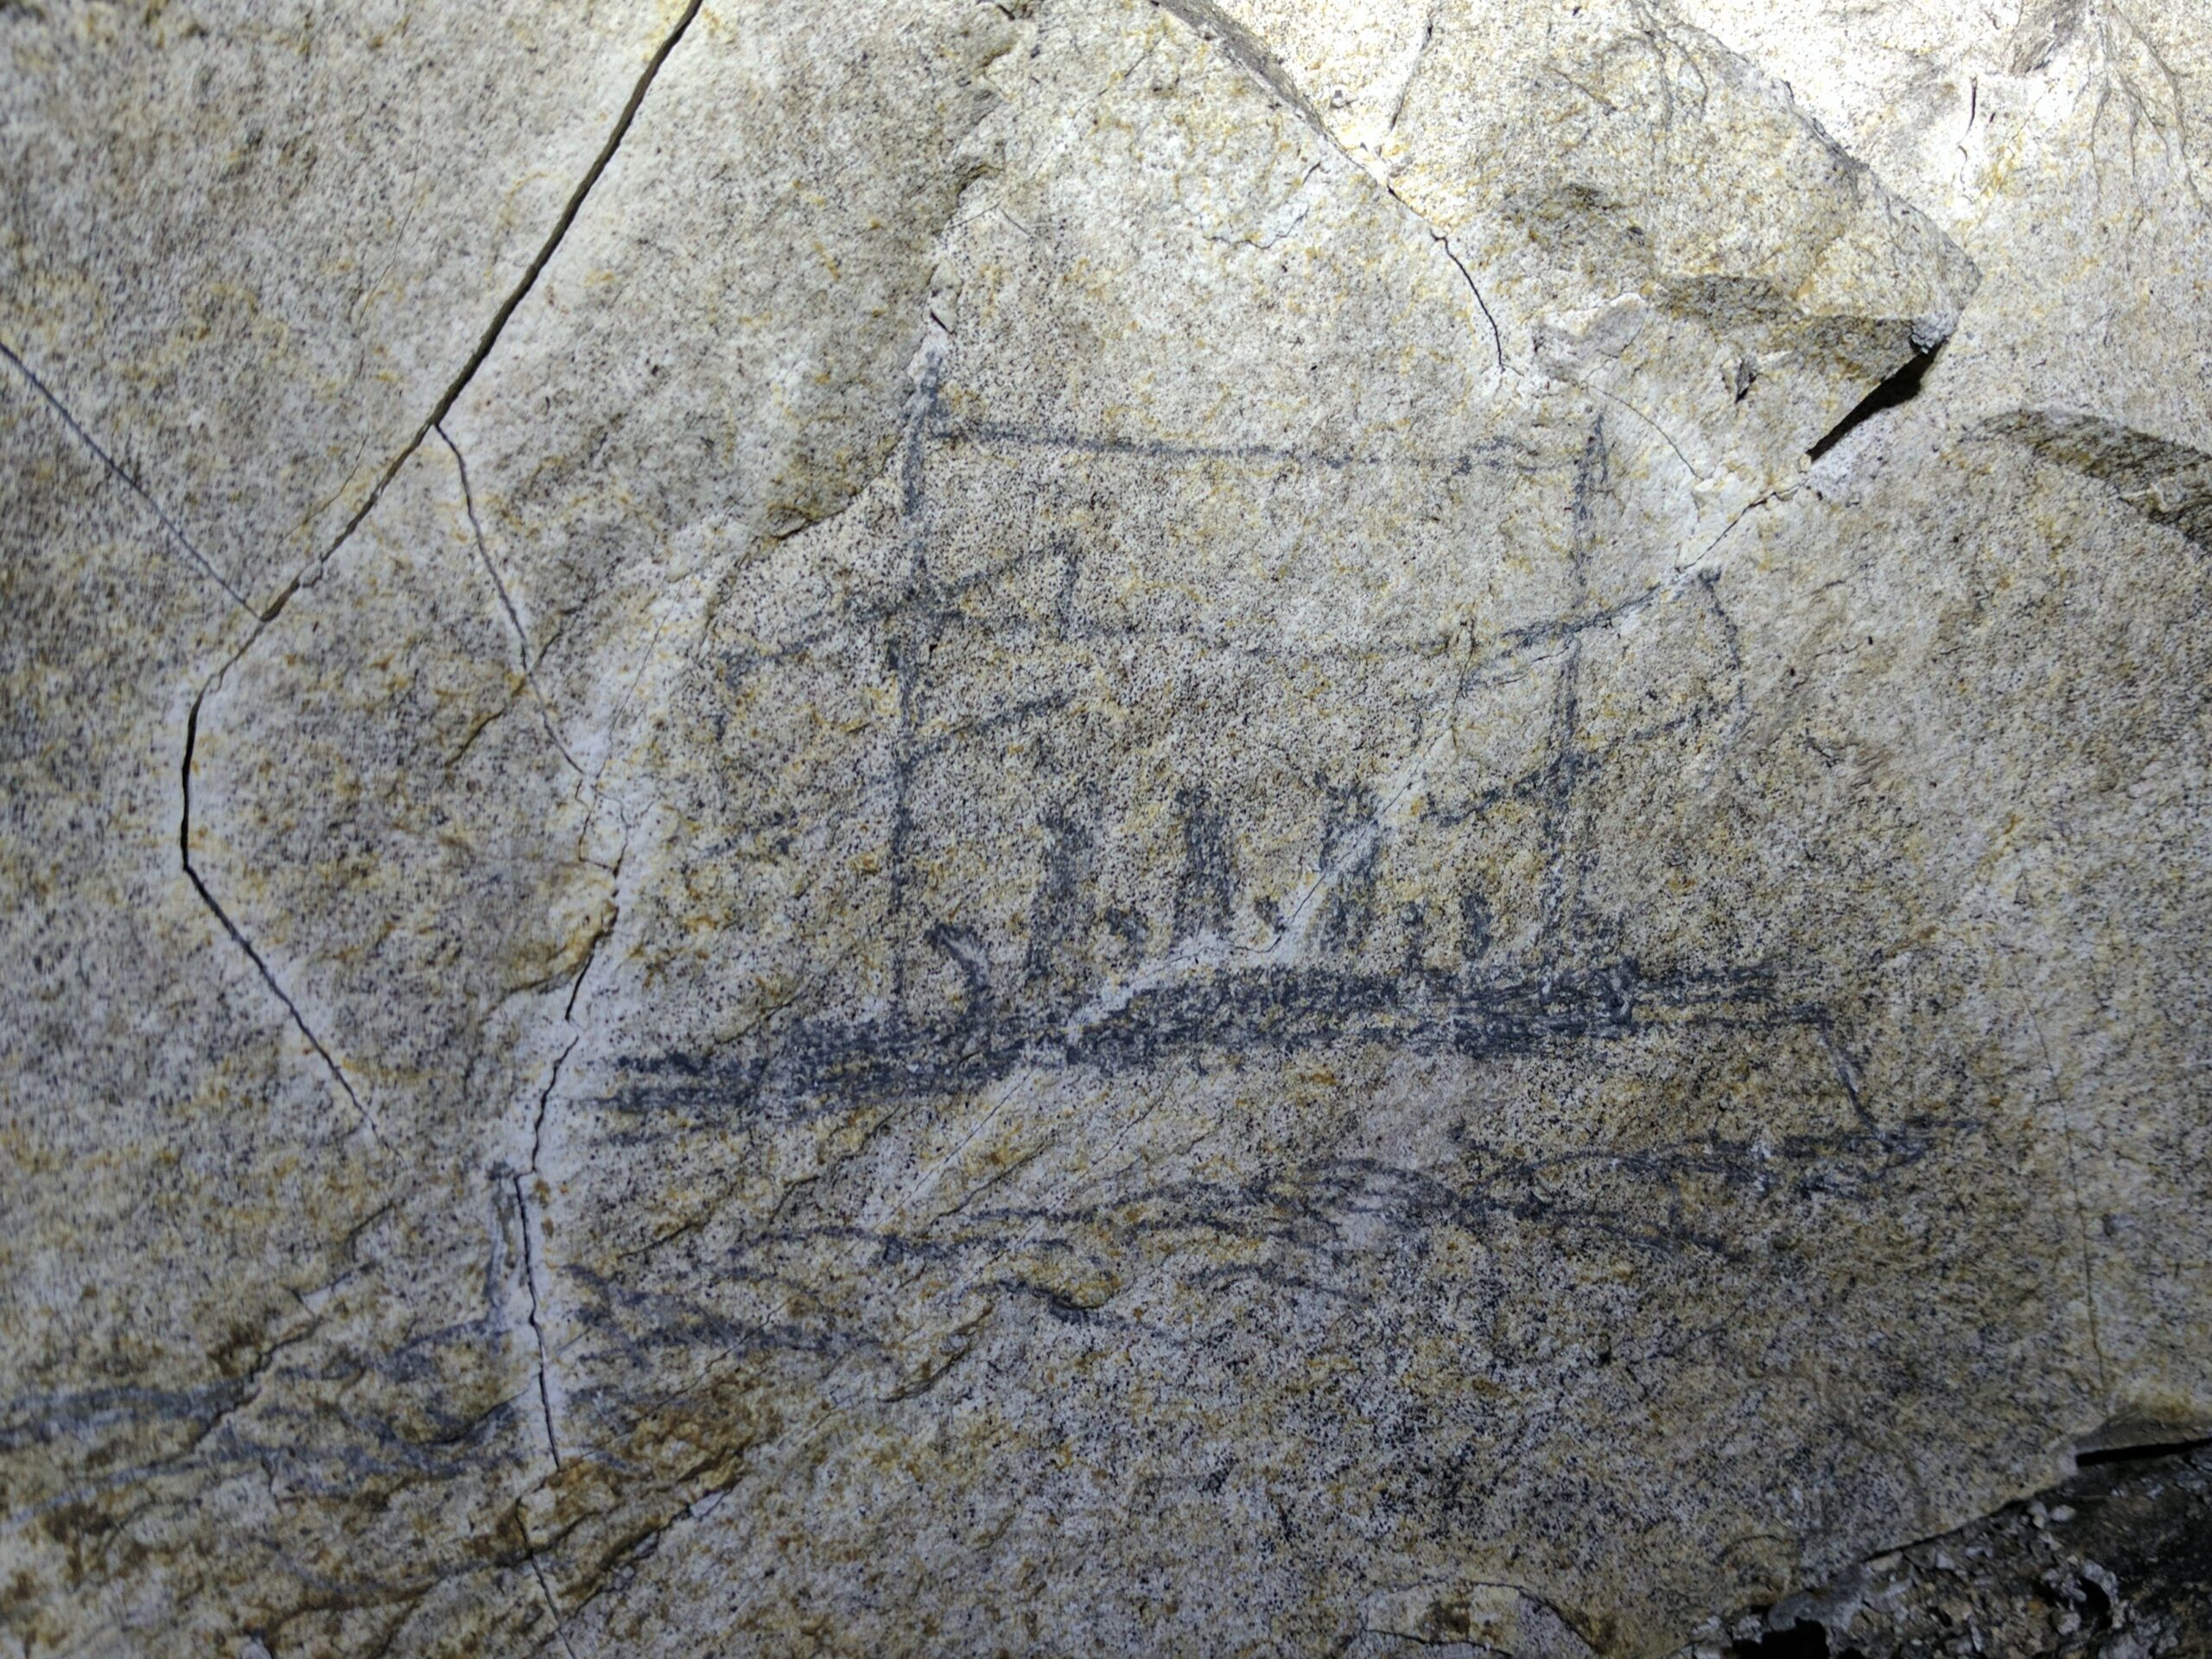
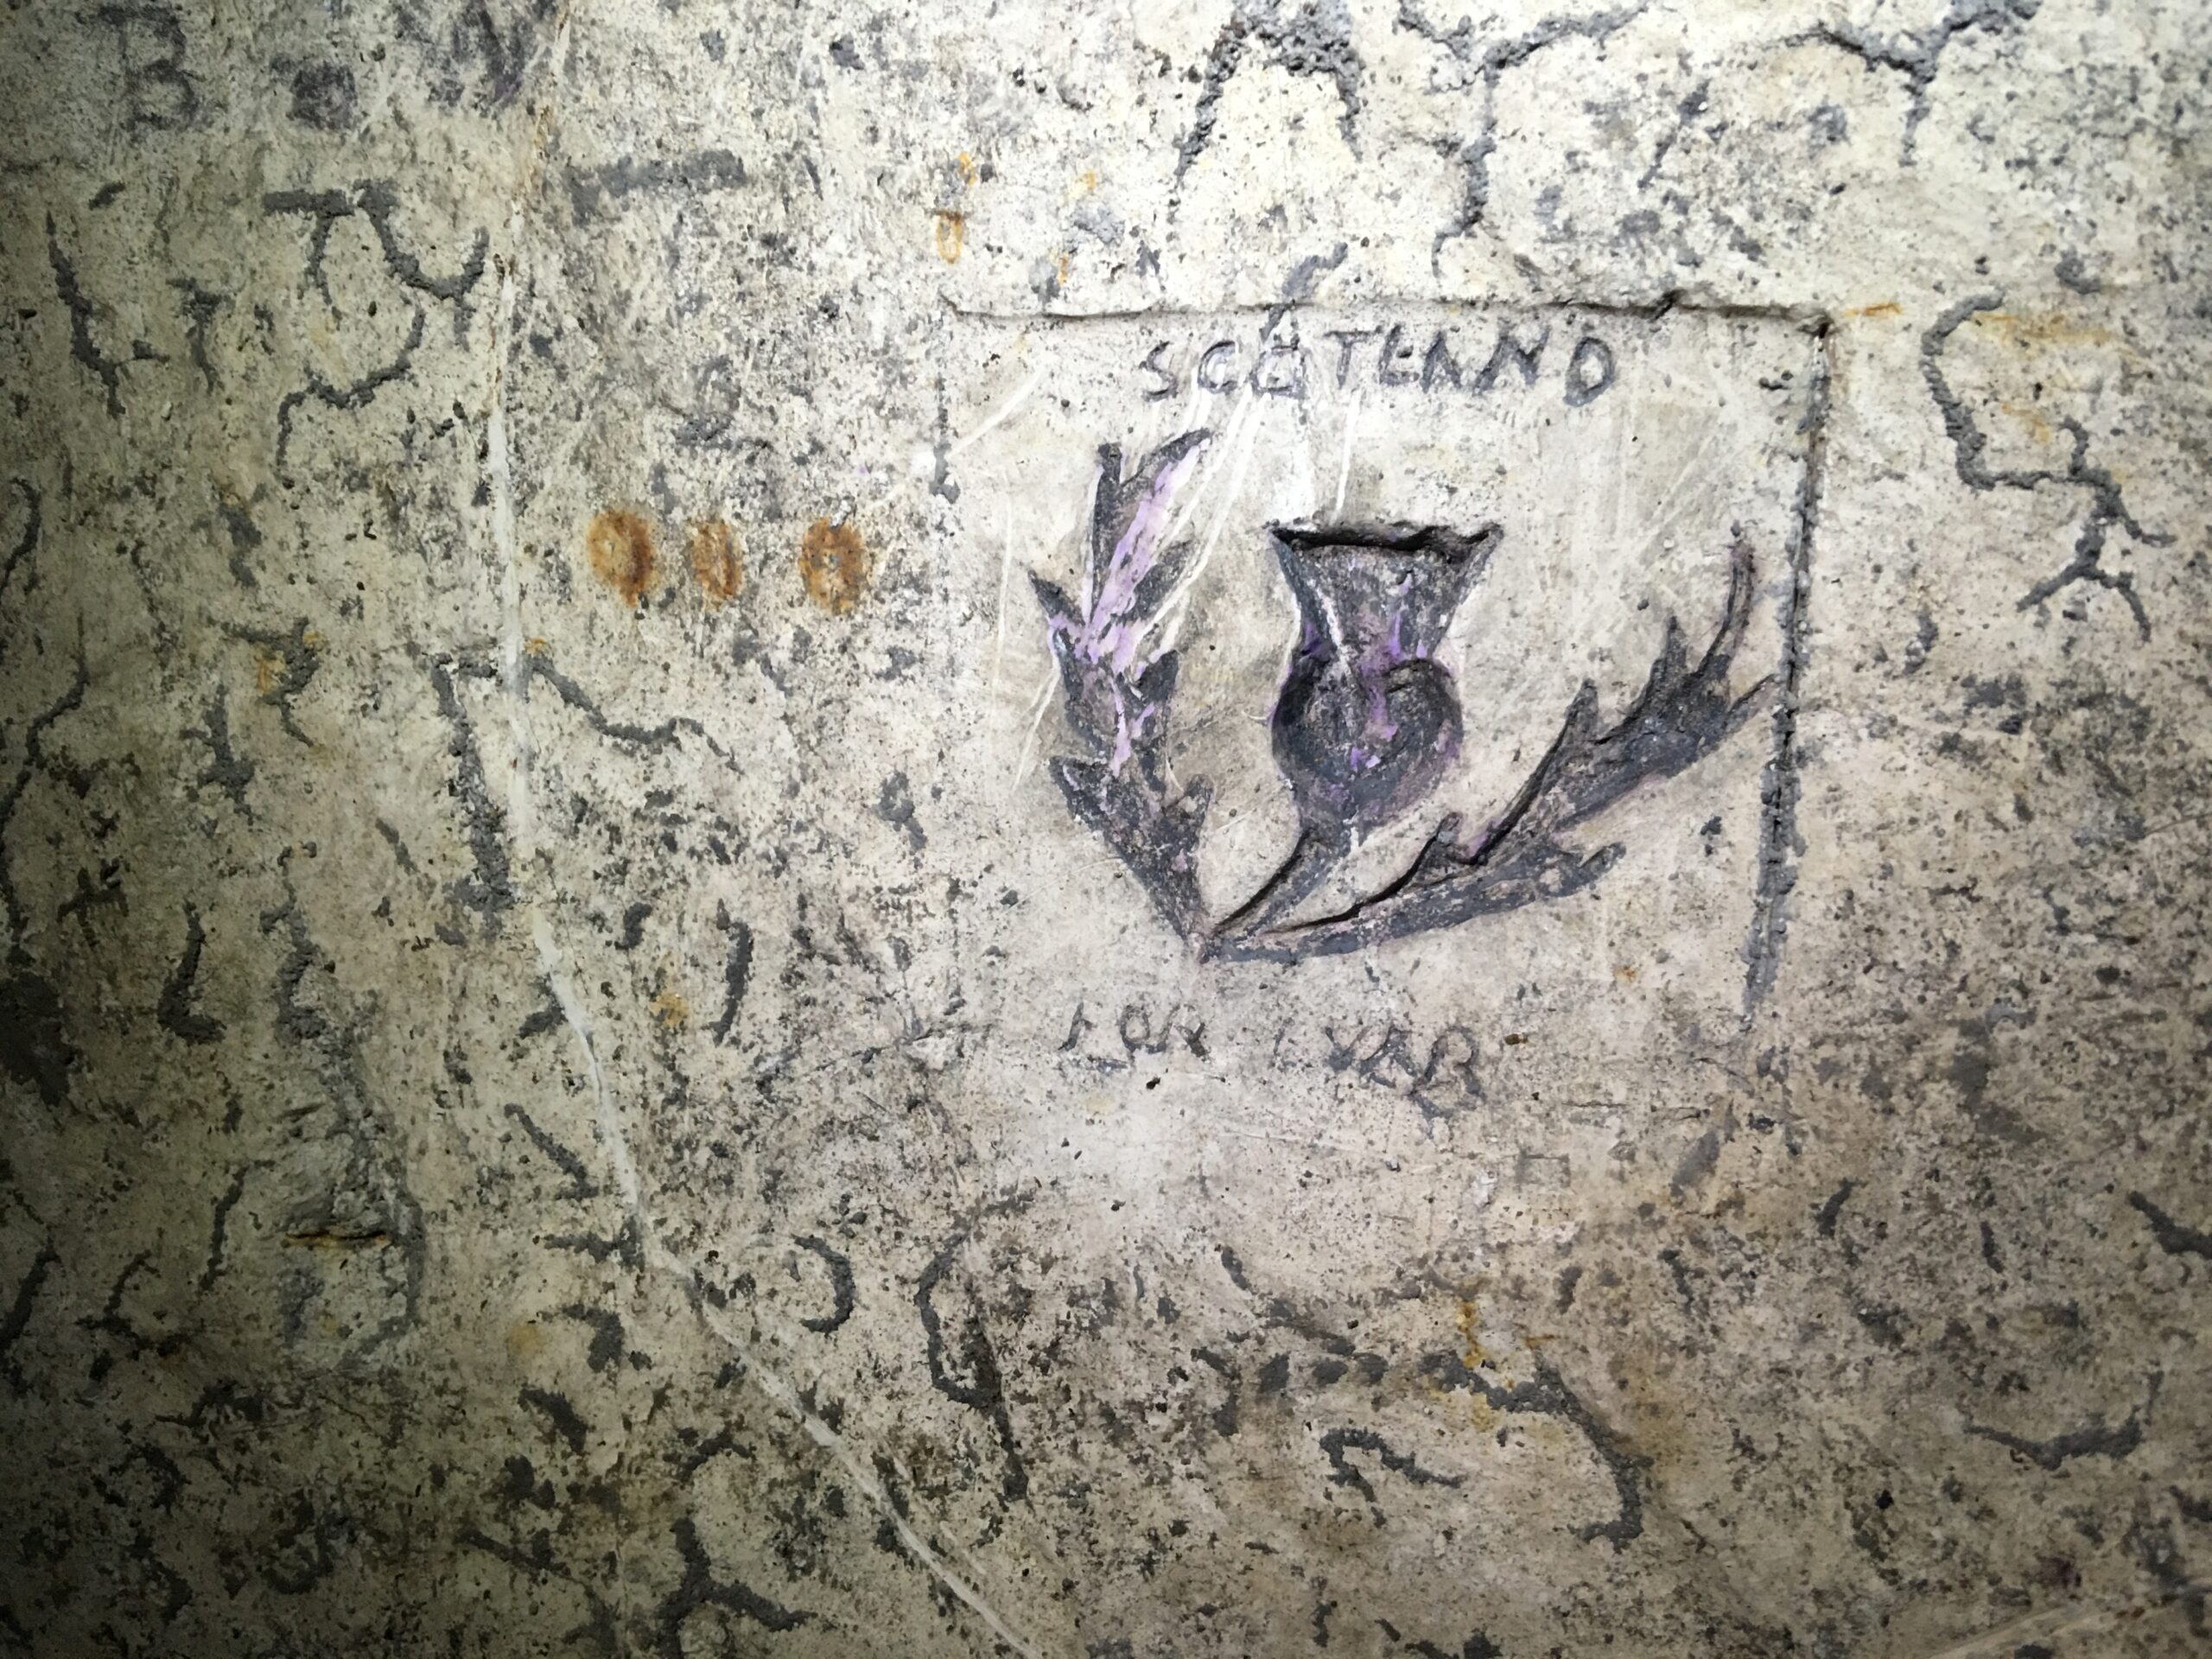
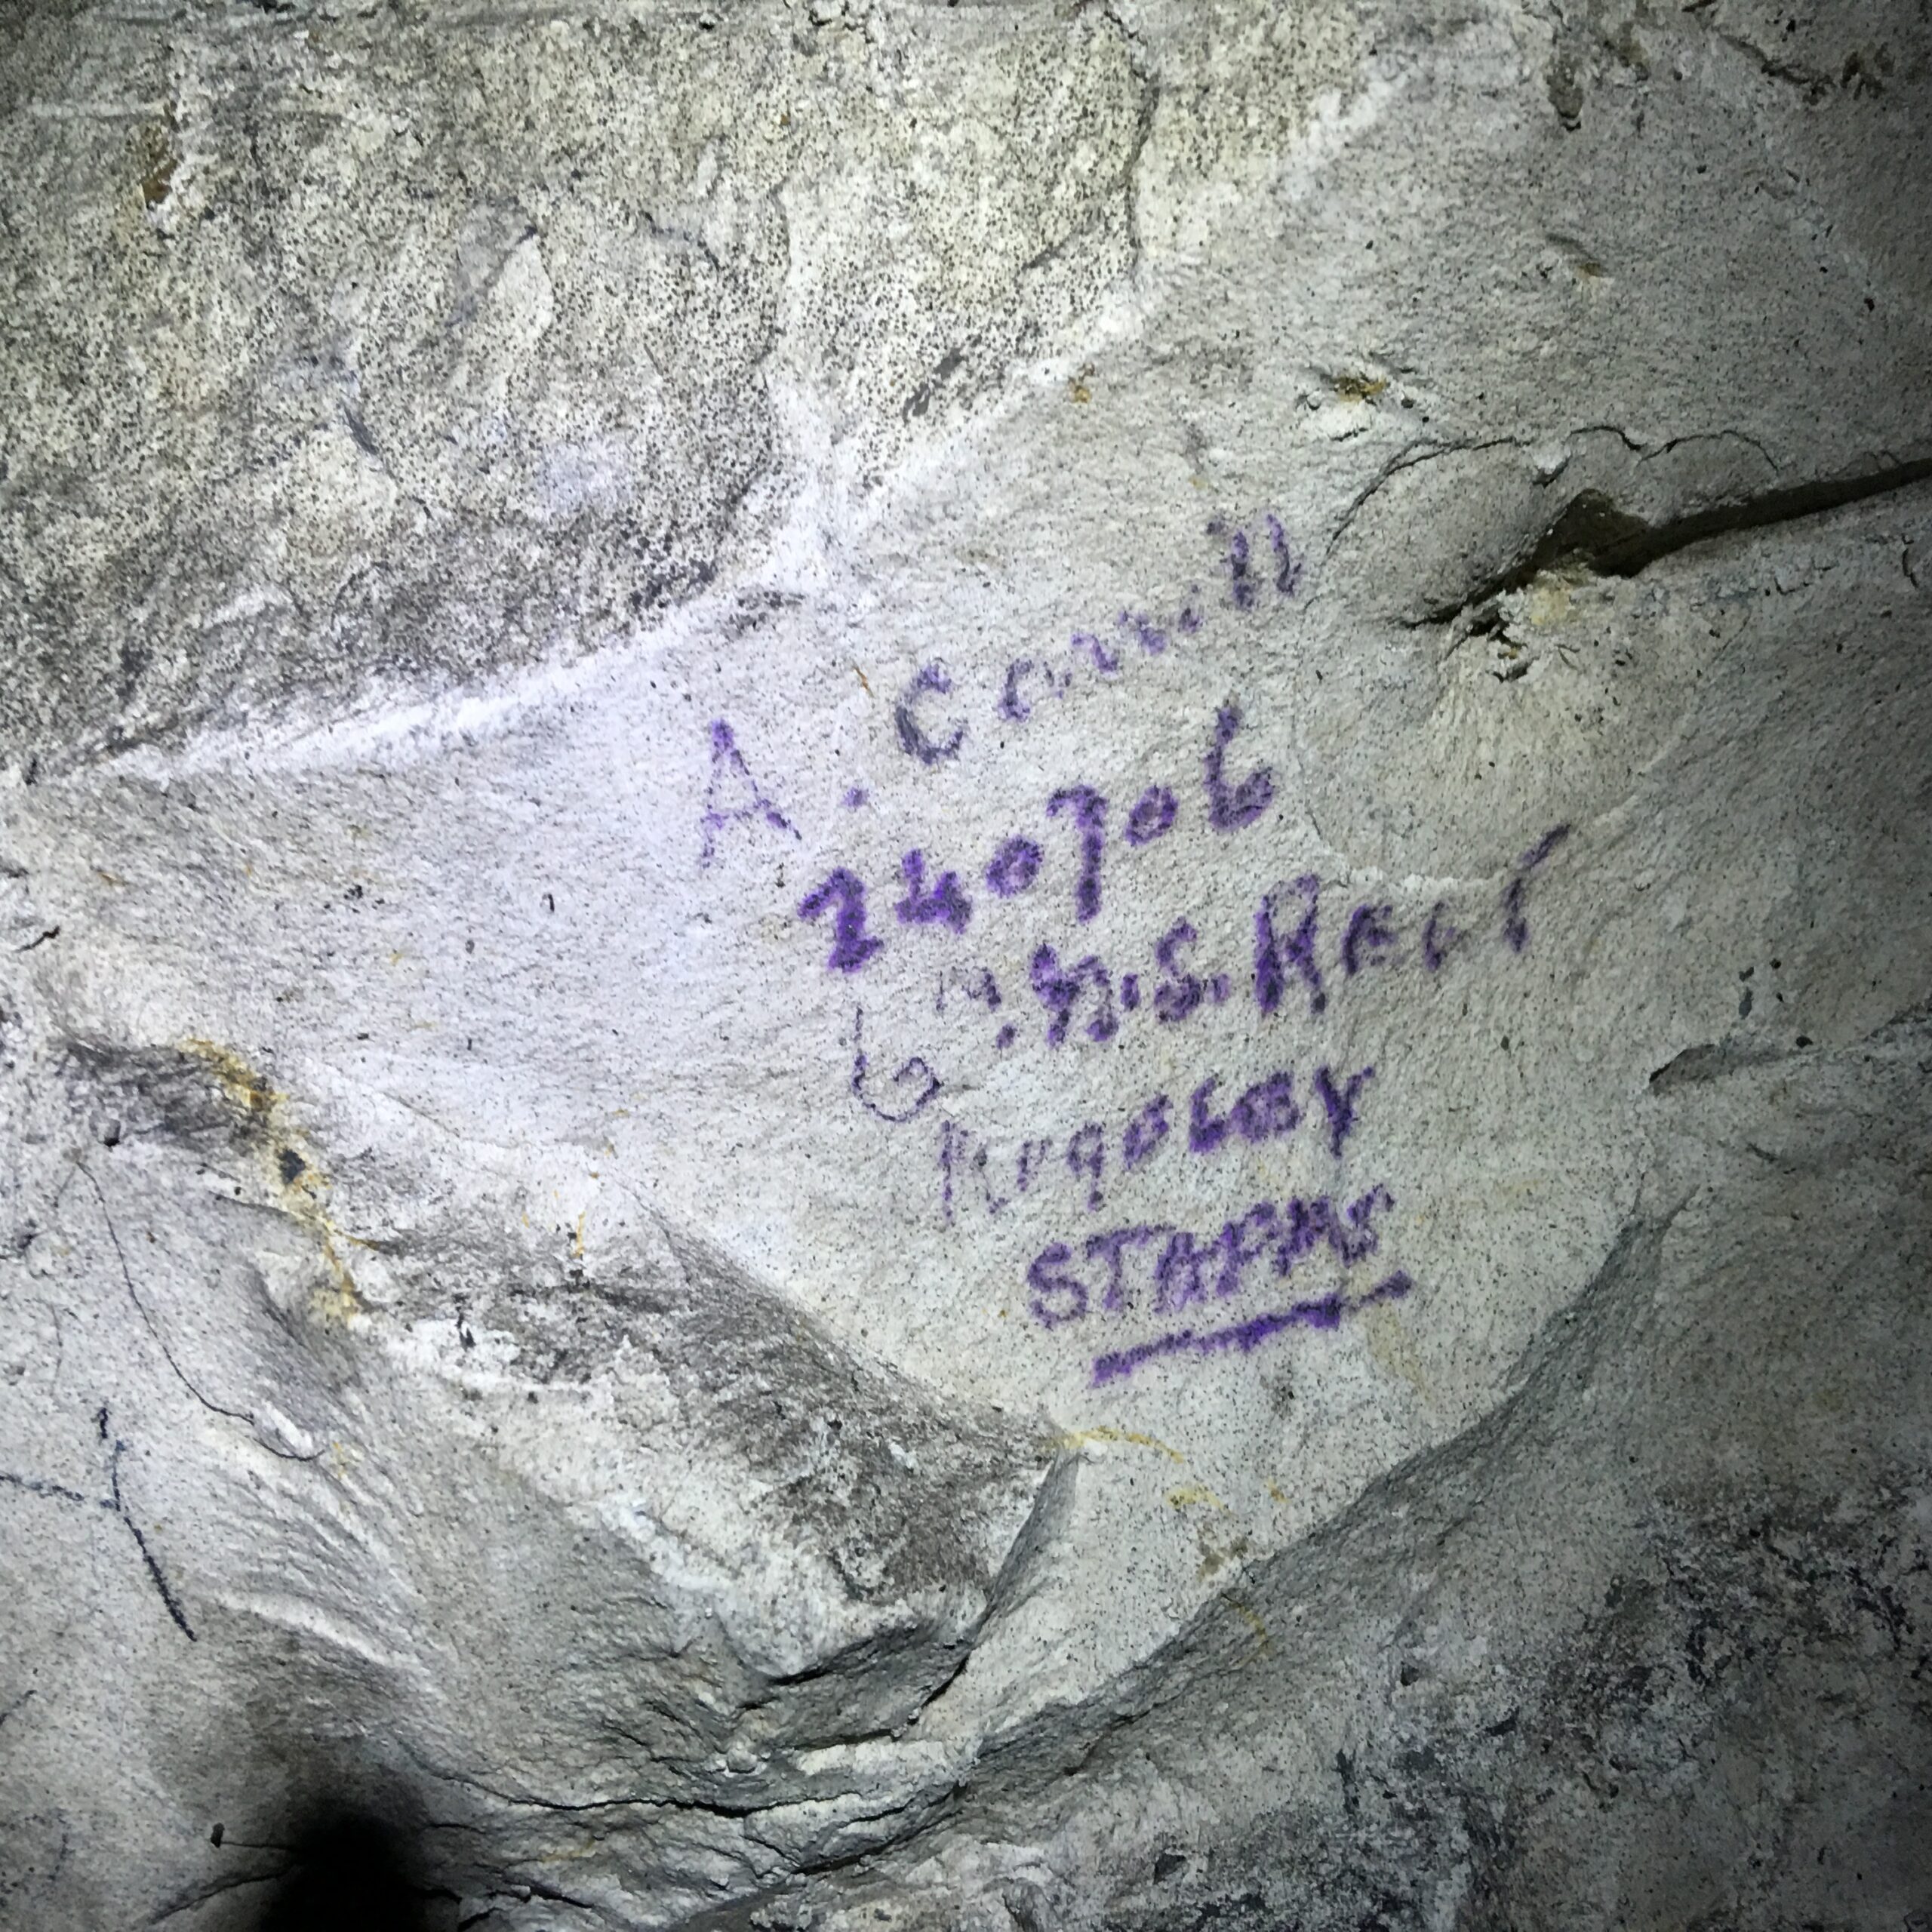
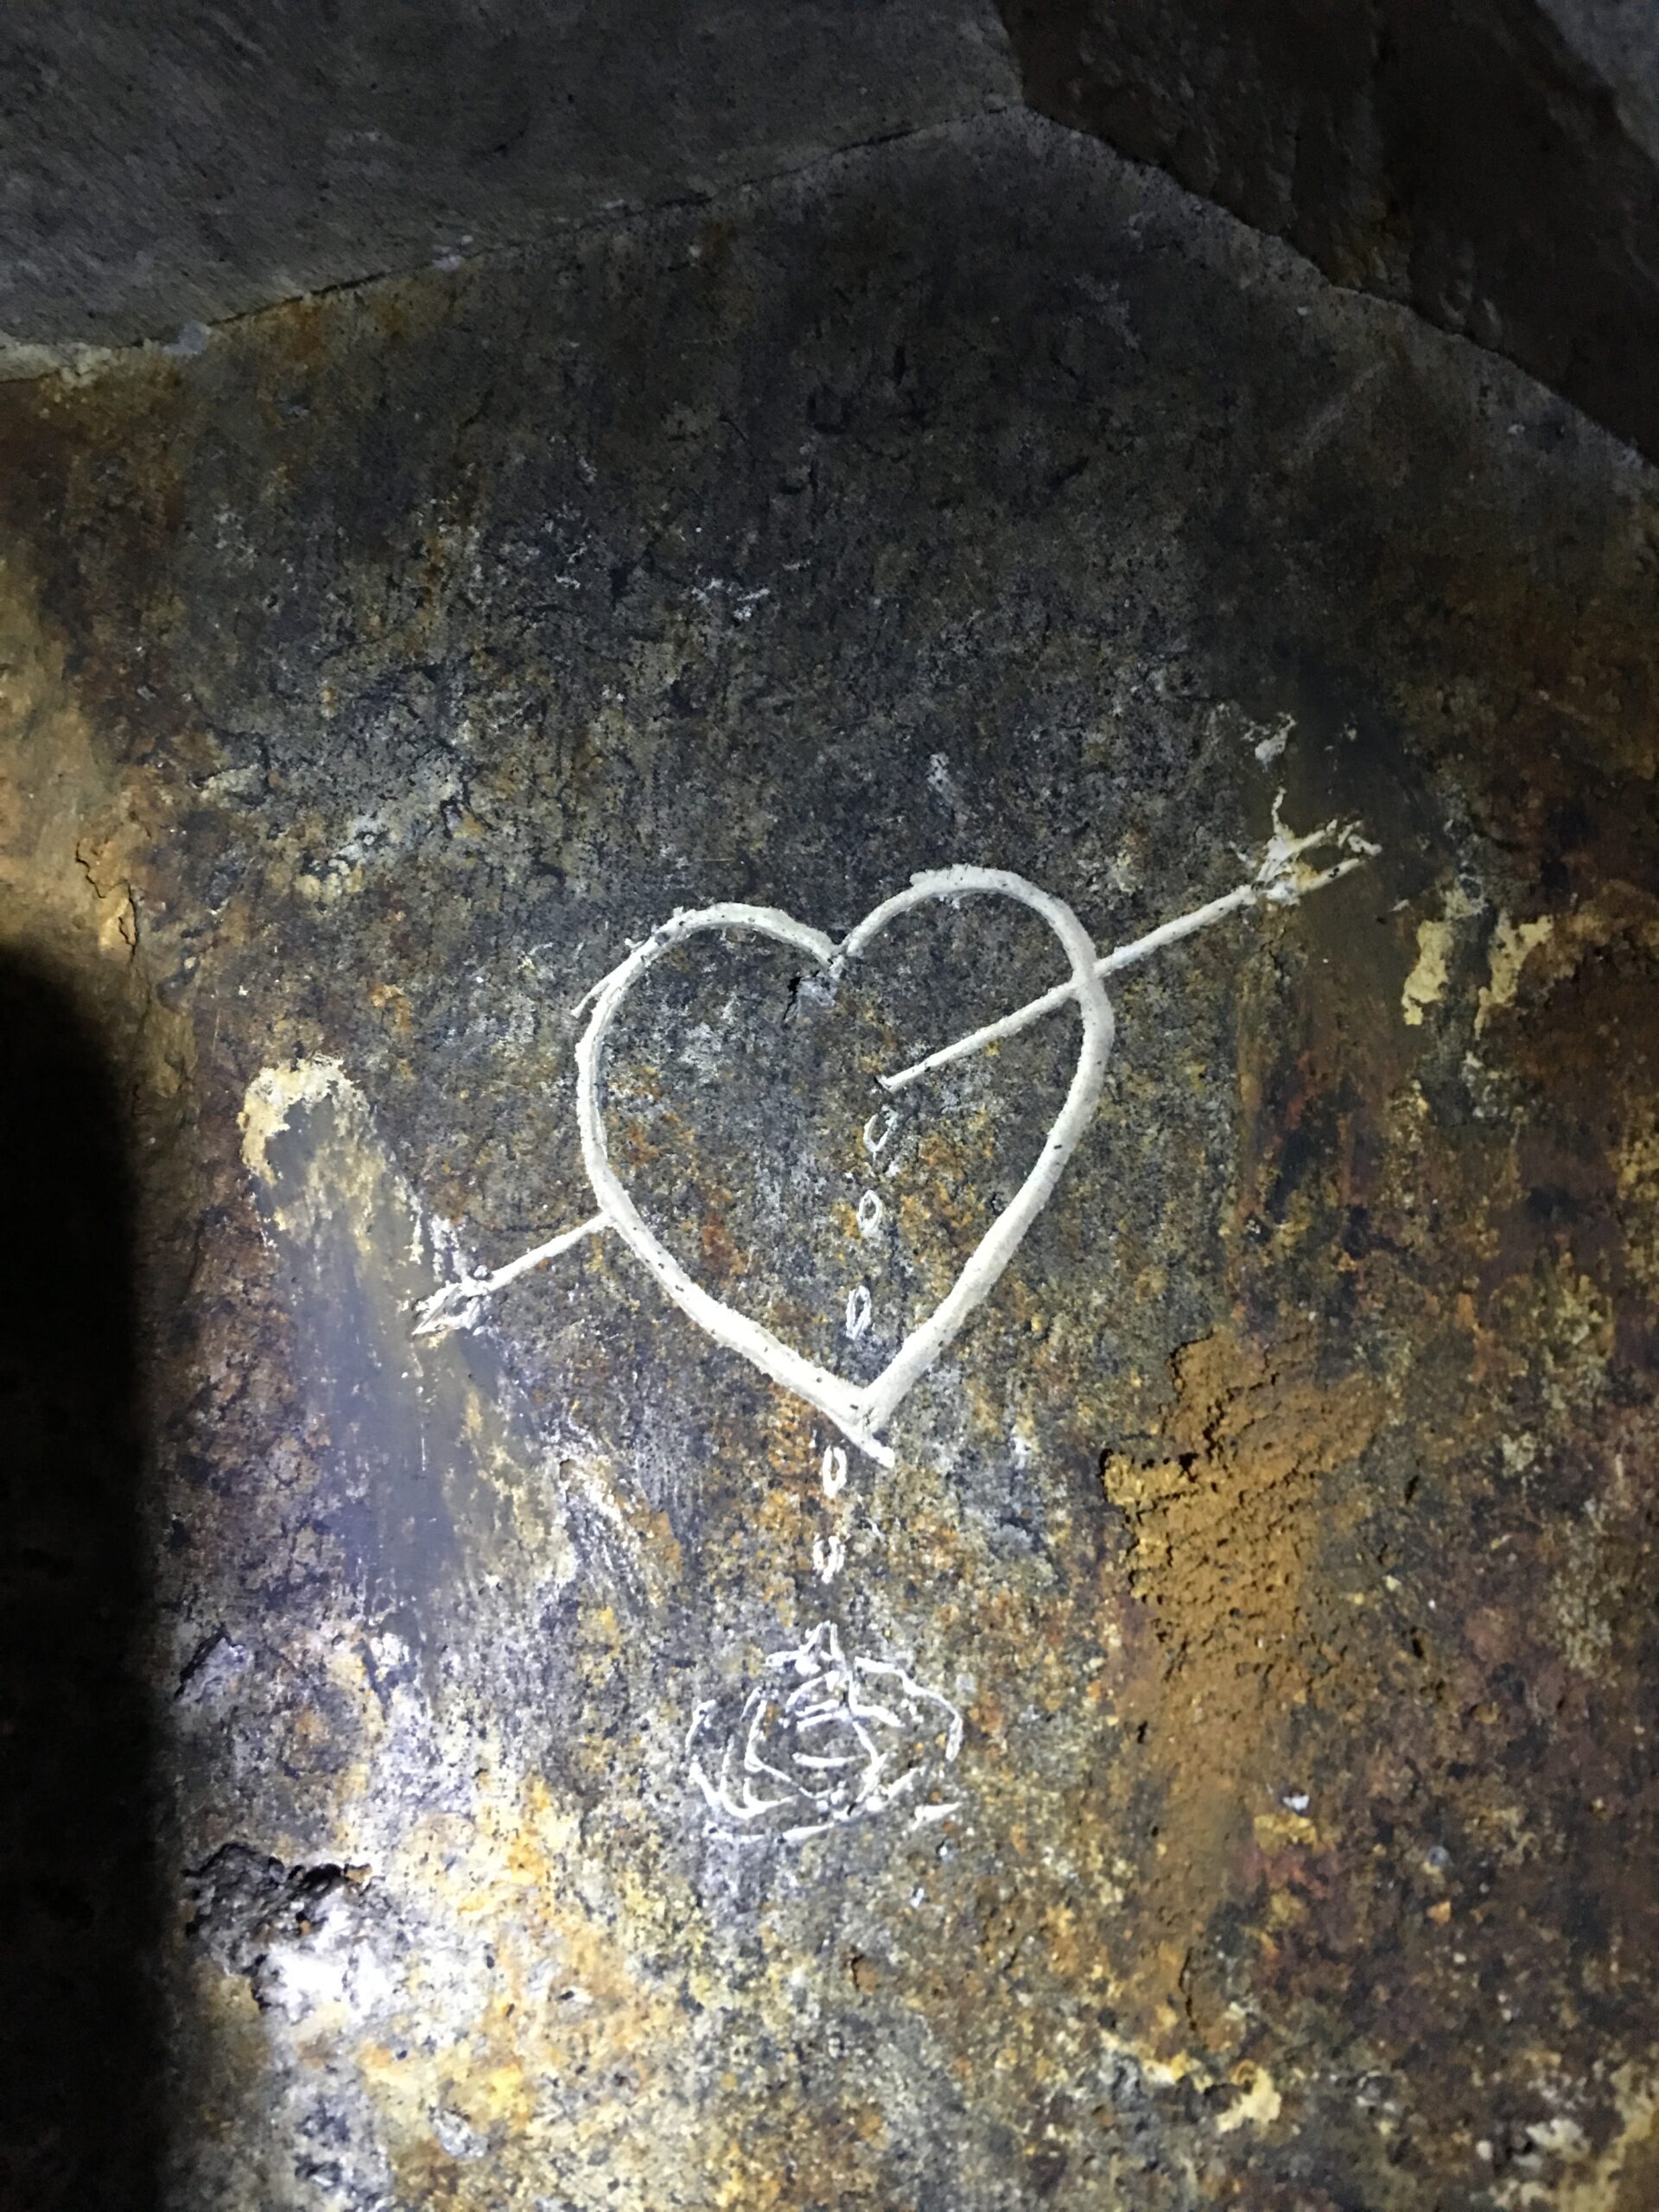
The chalk walls carry marks from both world wars. First World War names, dates, unit badges and drawings place individuals and formations within the passages they used. Among the recorded inscriptions are members of the 253rd Tunnelling Company, infantry regiments and trench mortar batteries, including V/46 Heavy Trench Mortar Battery. In the northern Hulluch passage, weathered carvings include the Marabout battle honour associated with the Dorset Regiment, a castle and other designs; an elephant appears elsewhere. Some names can be linked to soldiers through a rank, number or unit, while other marks preserve only initials or a design.
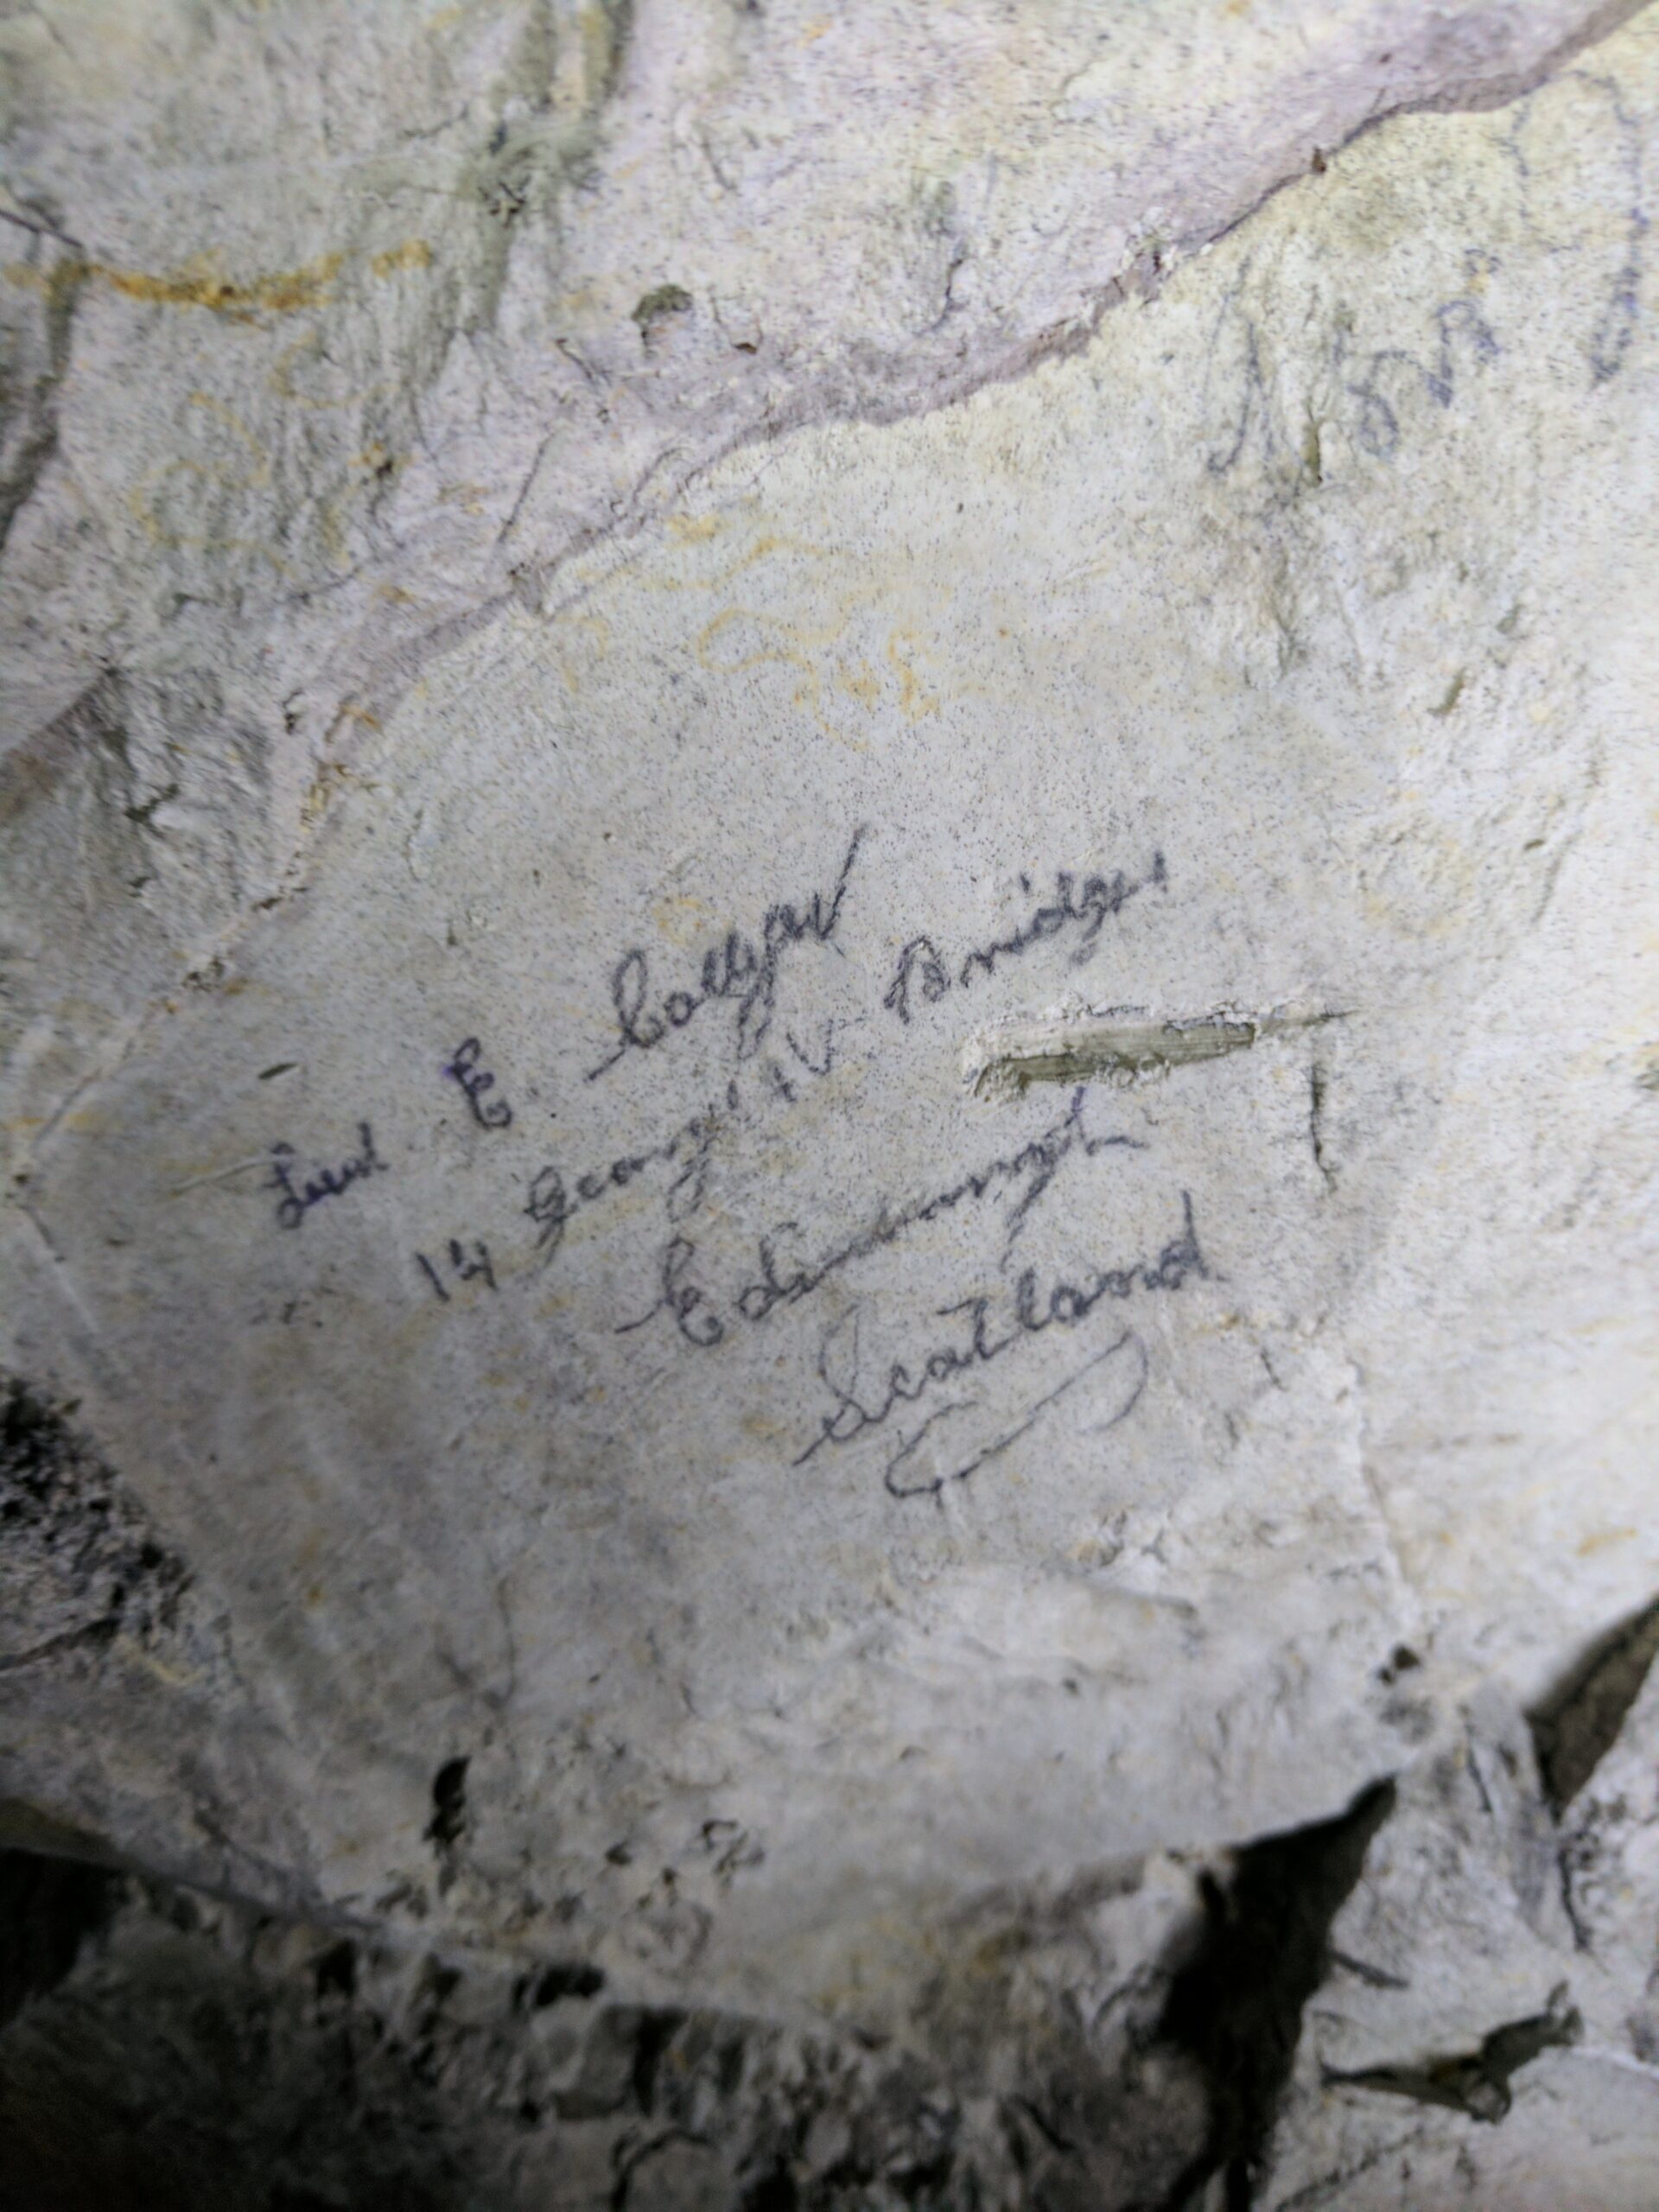
The concentration of carvings beside the water reservoir gives a sense of where men spent time. The recorded marks there include names associated with the North Staffordshire Regiment, Gordon Highlanders and Black Watch, along with Highland Division insignia and the words “Scotland Forever”. Men coming to collect water would have returned to this spot and waited beside the same walls. The inscriptions make a routine part of underground life visible alongside the larger story of tunnelling and supply.
British soldiers marked the system again in 1939–40, as engineers prepared it for a new war. Dated names and unit marks include the Royal Northumberland Fusiliers, 240 Field Company, Royal Engineers, and the 170th Tunnelling Company; a Royal Signals inscription is recorded in Cross Cut. These later marks occur within passages already bearing the traces of the men who built and used them in 1916–18. Together, the two groups of graffiti show the subway’s successive occupations, including the return of engineers to reshape its chambers and routes.
Hulluch’s history can be followed through its connections. The small fighting galleries of 1916 led to the covered routes of 1916–17; the Australians expanded those routes into a serviced, defended position; engineers adapted parts of it again in 1940. The surviving network brings those episodes together in the same chalk, from the deep mine workings to the railway passages and the names carved into their walls.
Explore the connected system
The Hulluch system was not a single tunnel but a network of connected routes, branches and deeper mine workings. Use the numbered plans below to examine each part of the modern survey.
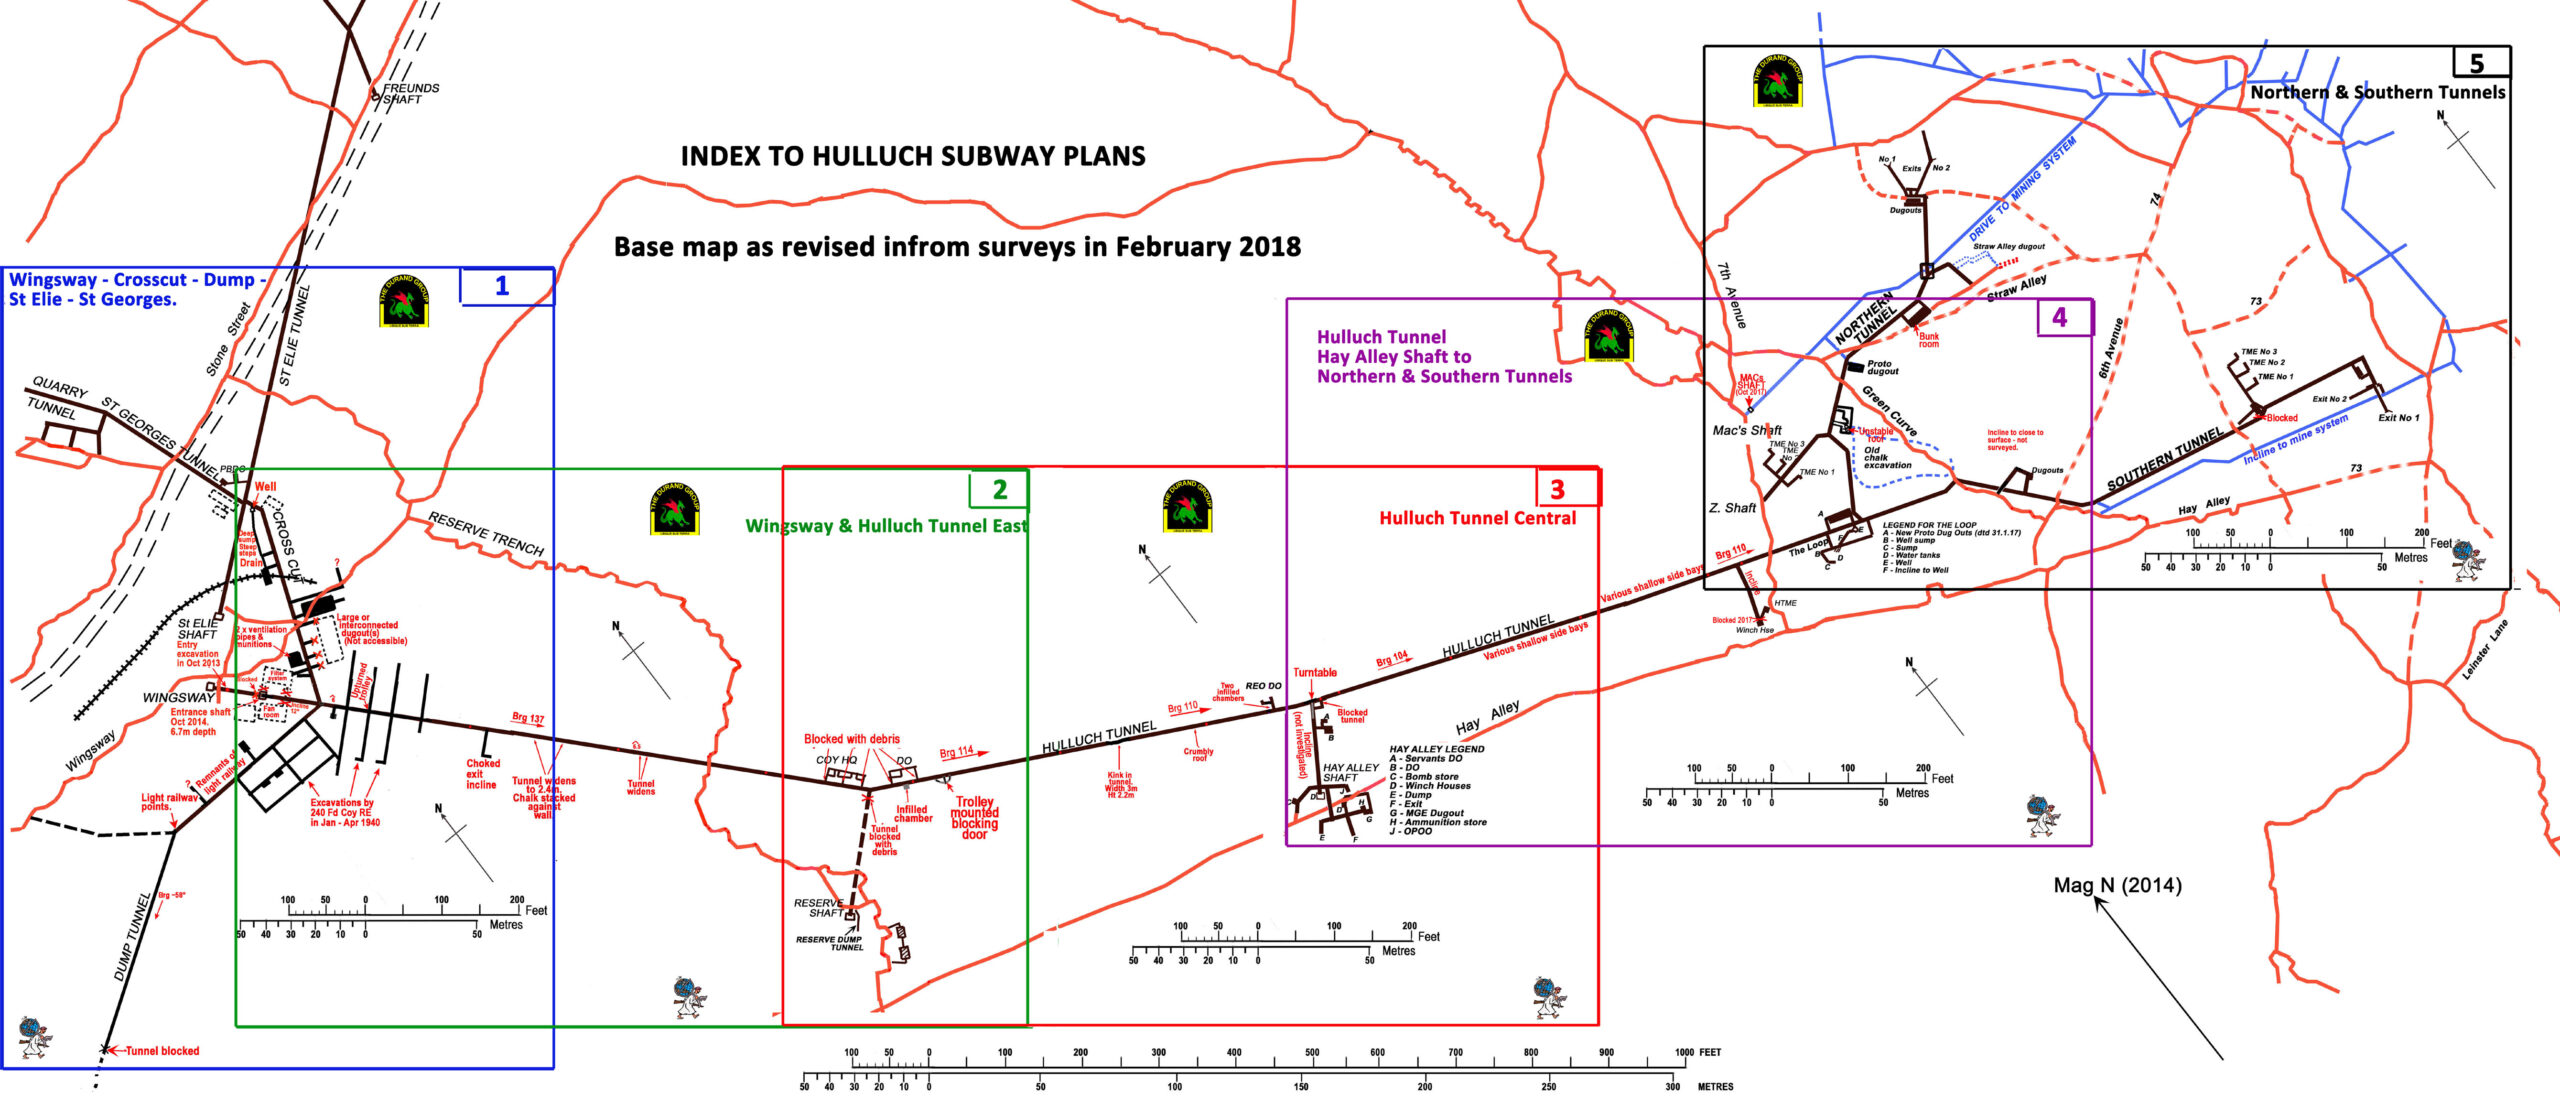
Index to survey sections 1–5. The selector below opens the corresponding detailed plan.
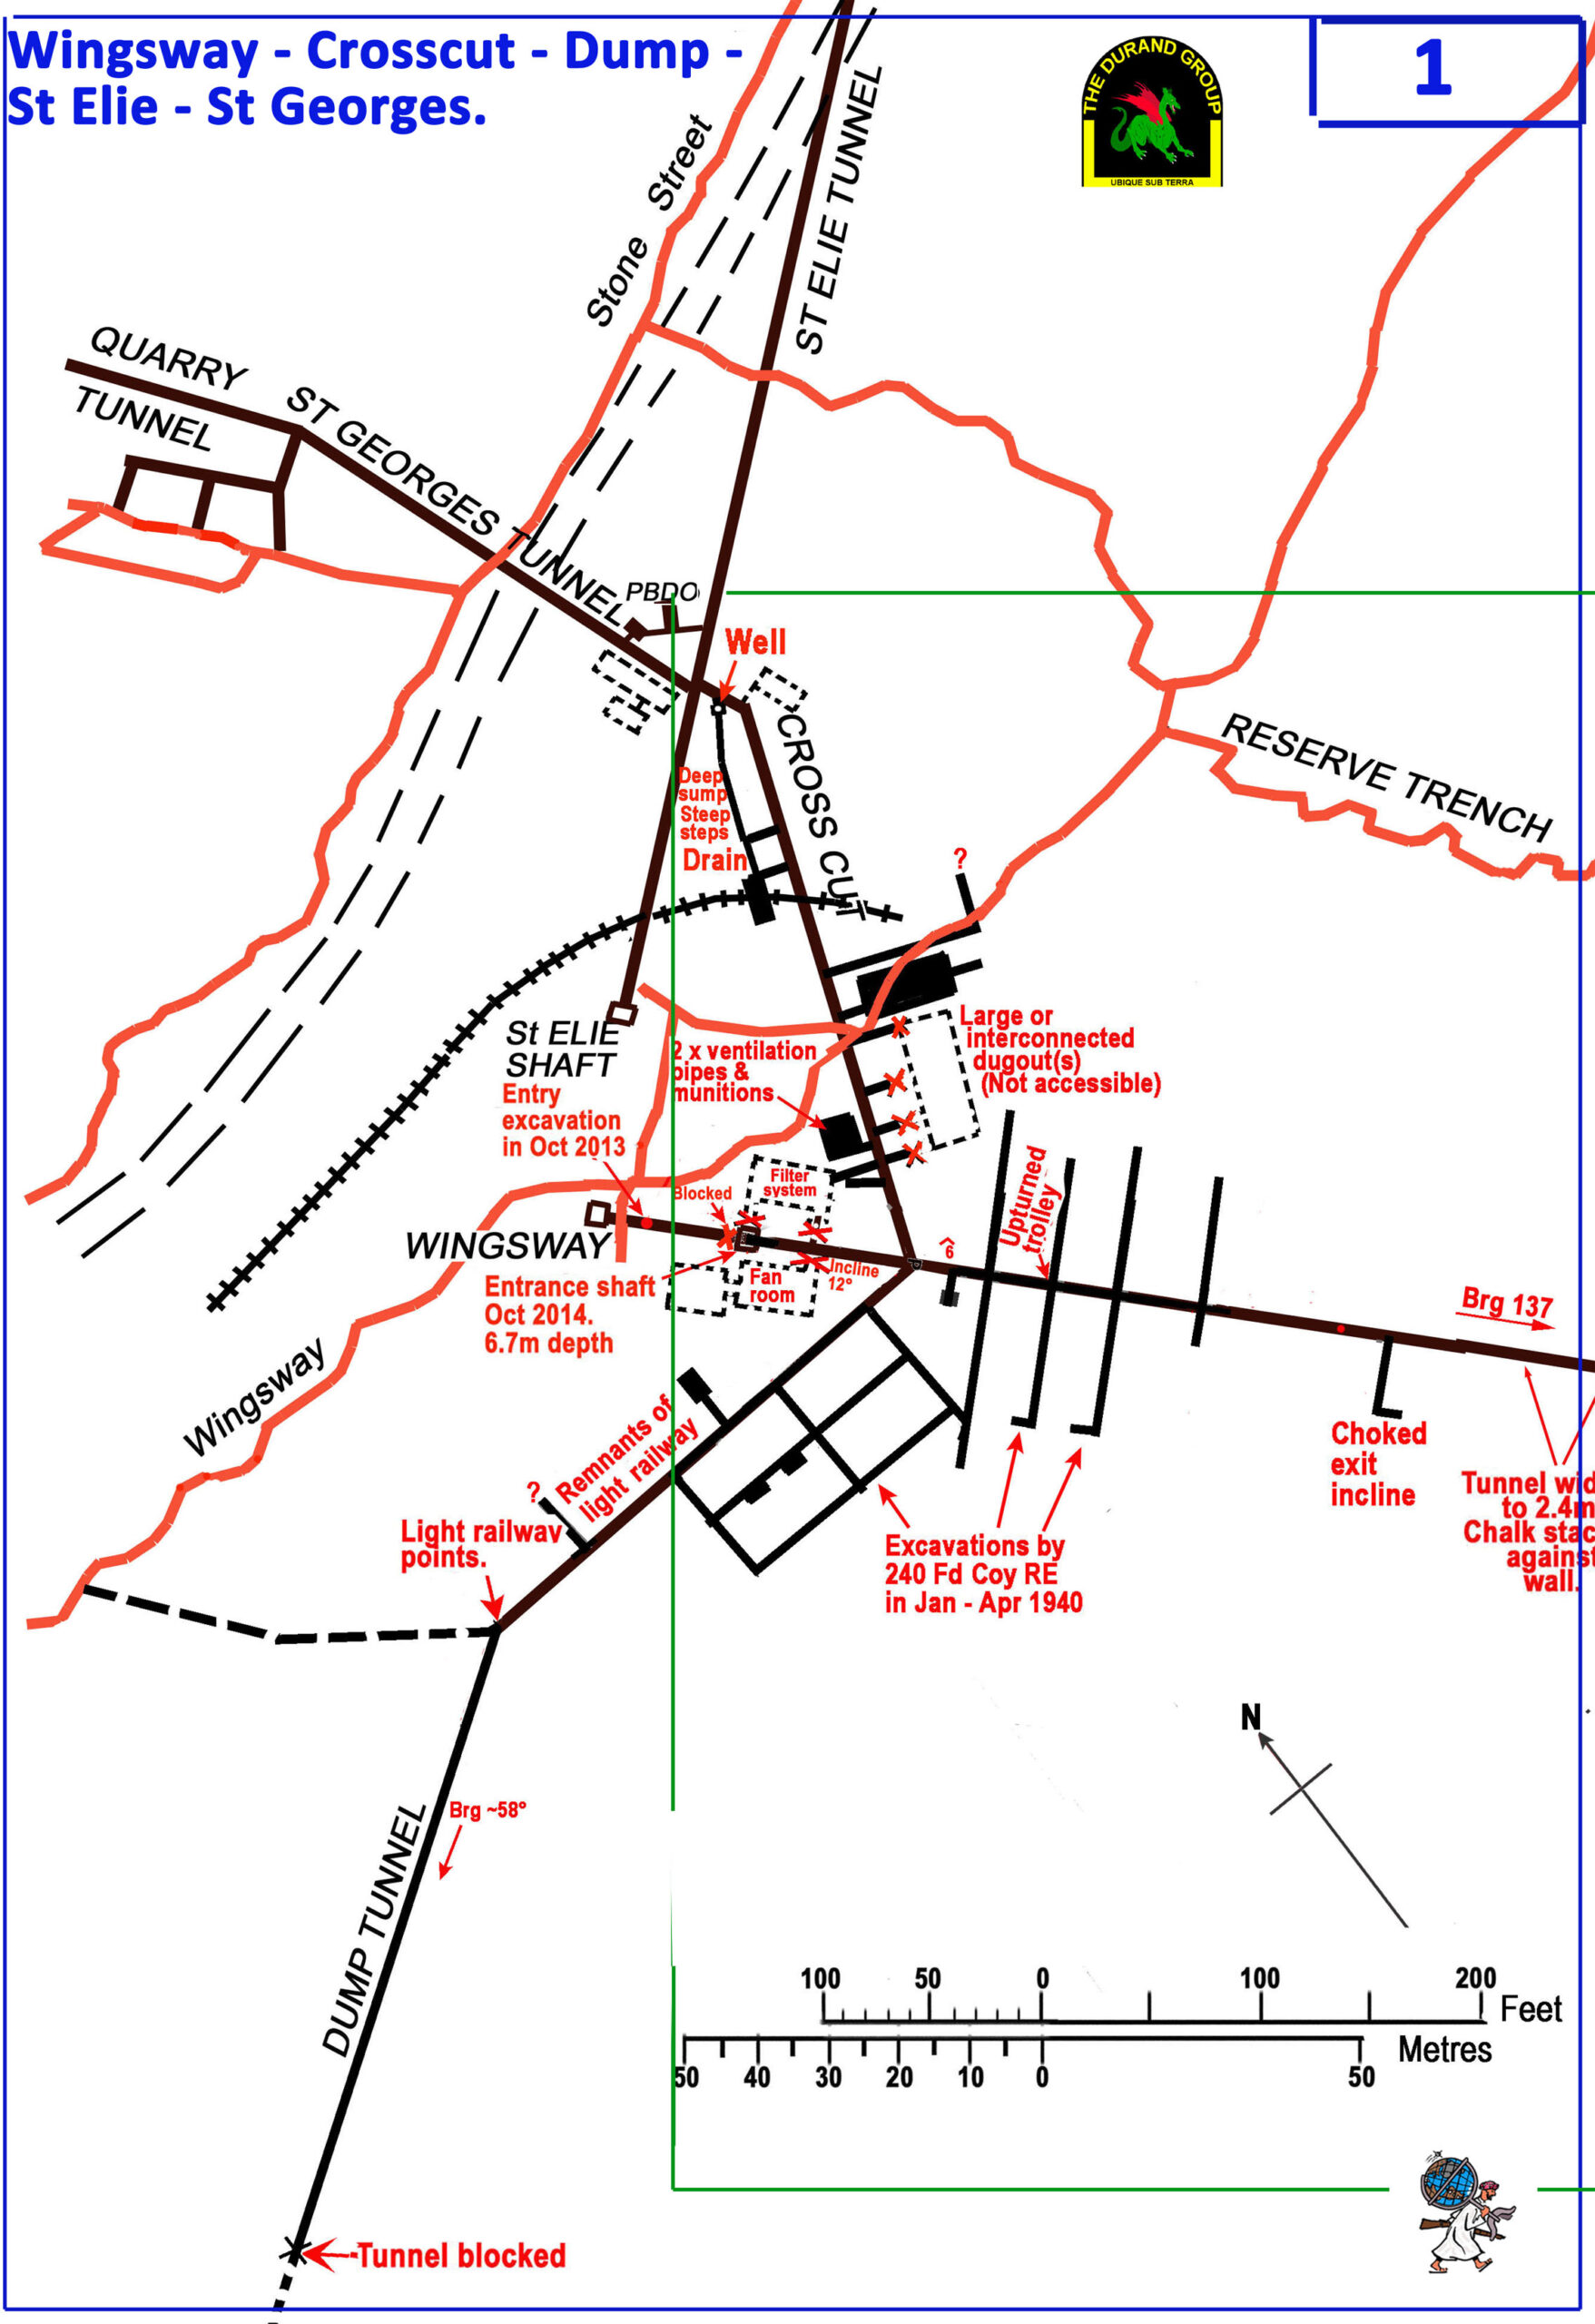
Section 1 — Wingsway Crosscut area.
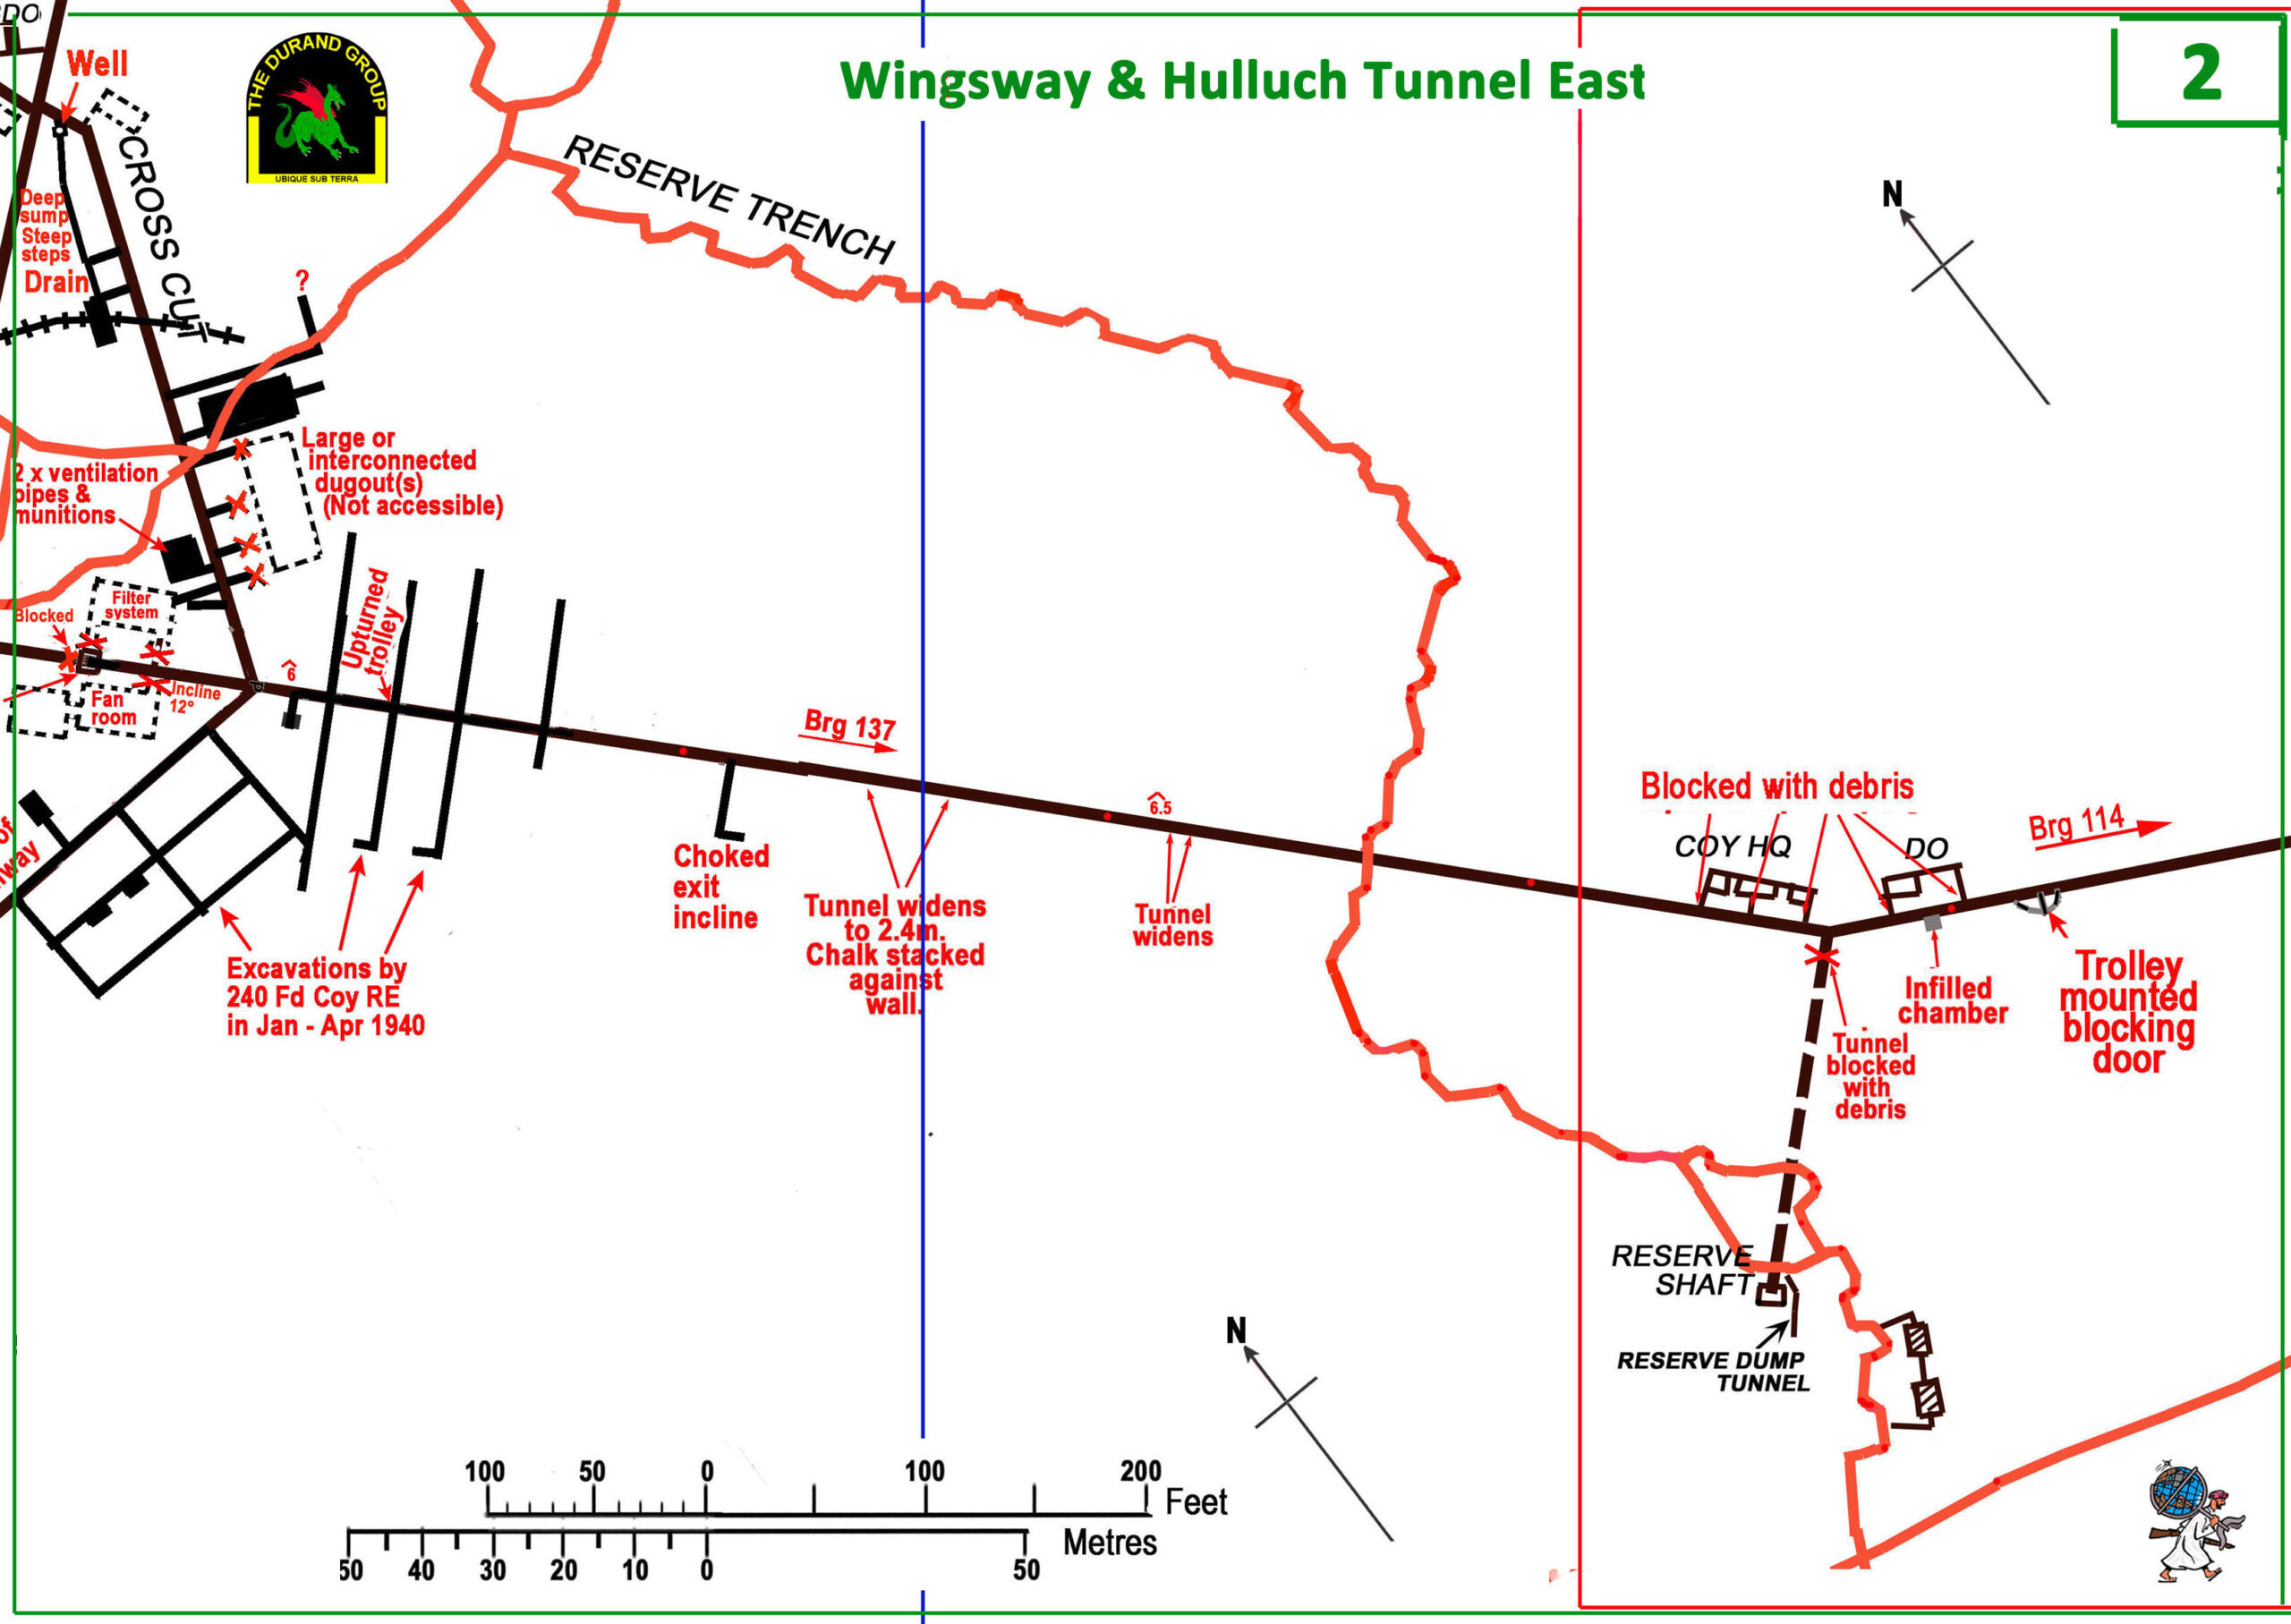
Section 2 — Wingsway and Tunnel East.
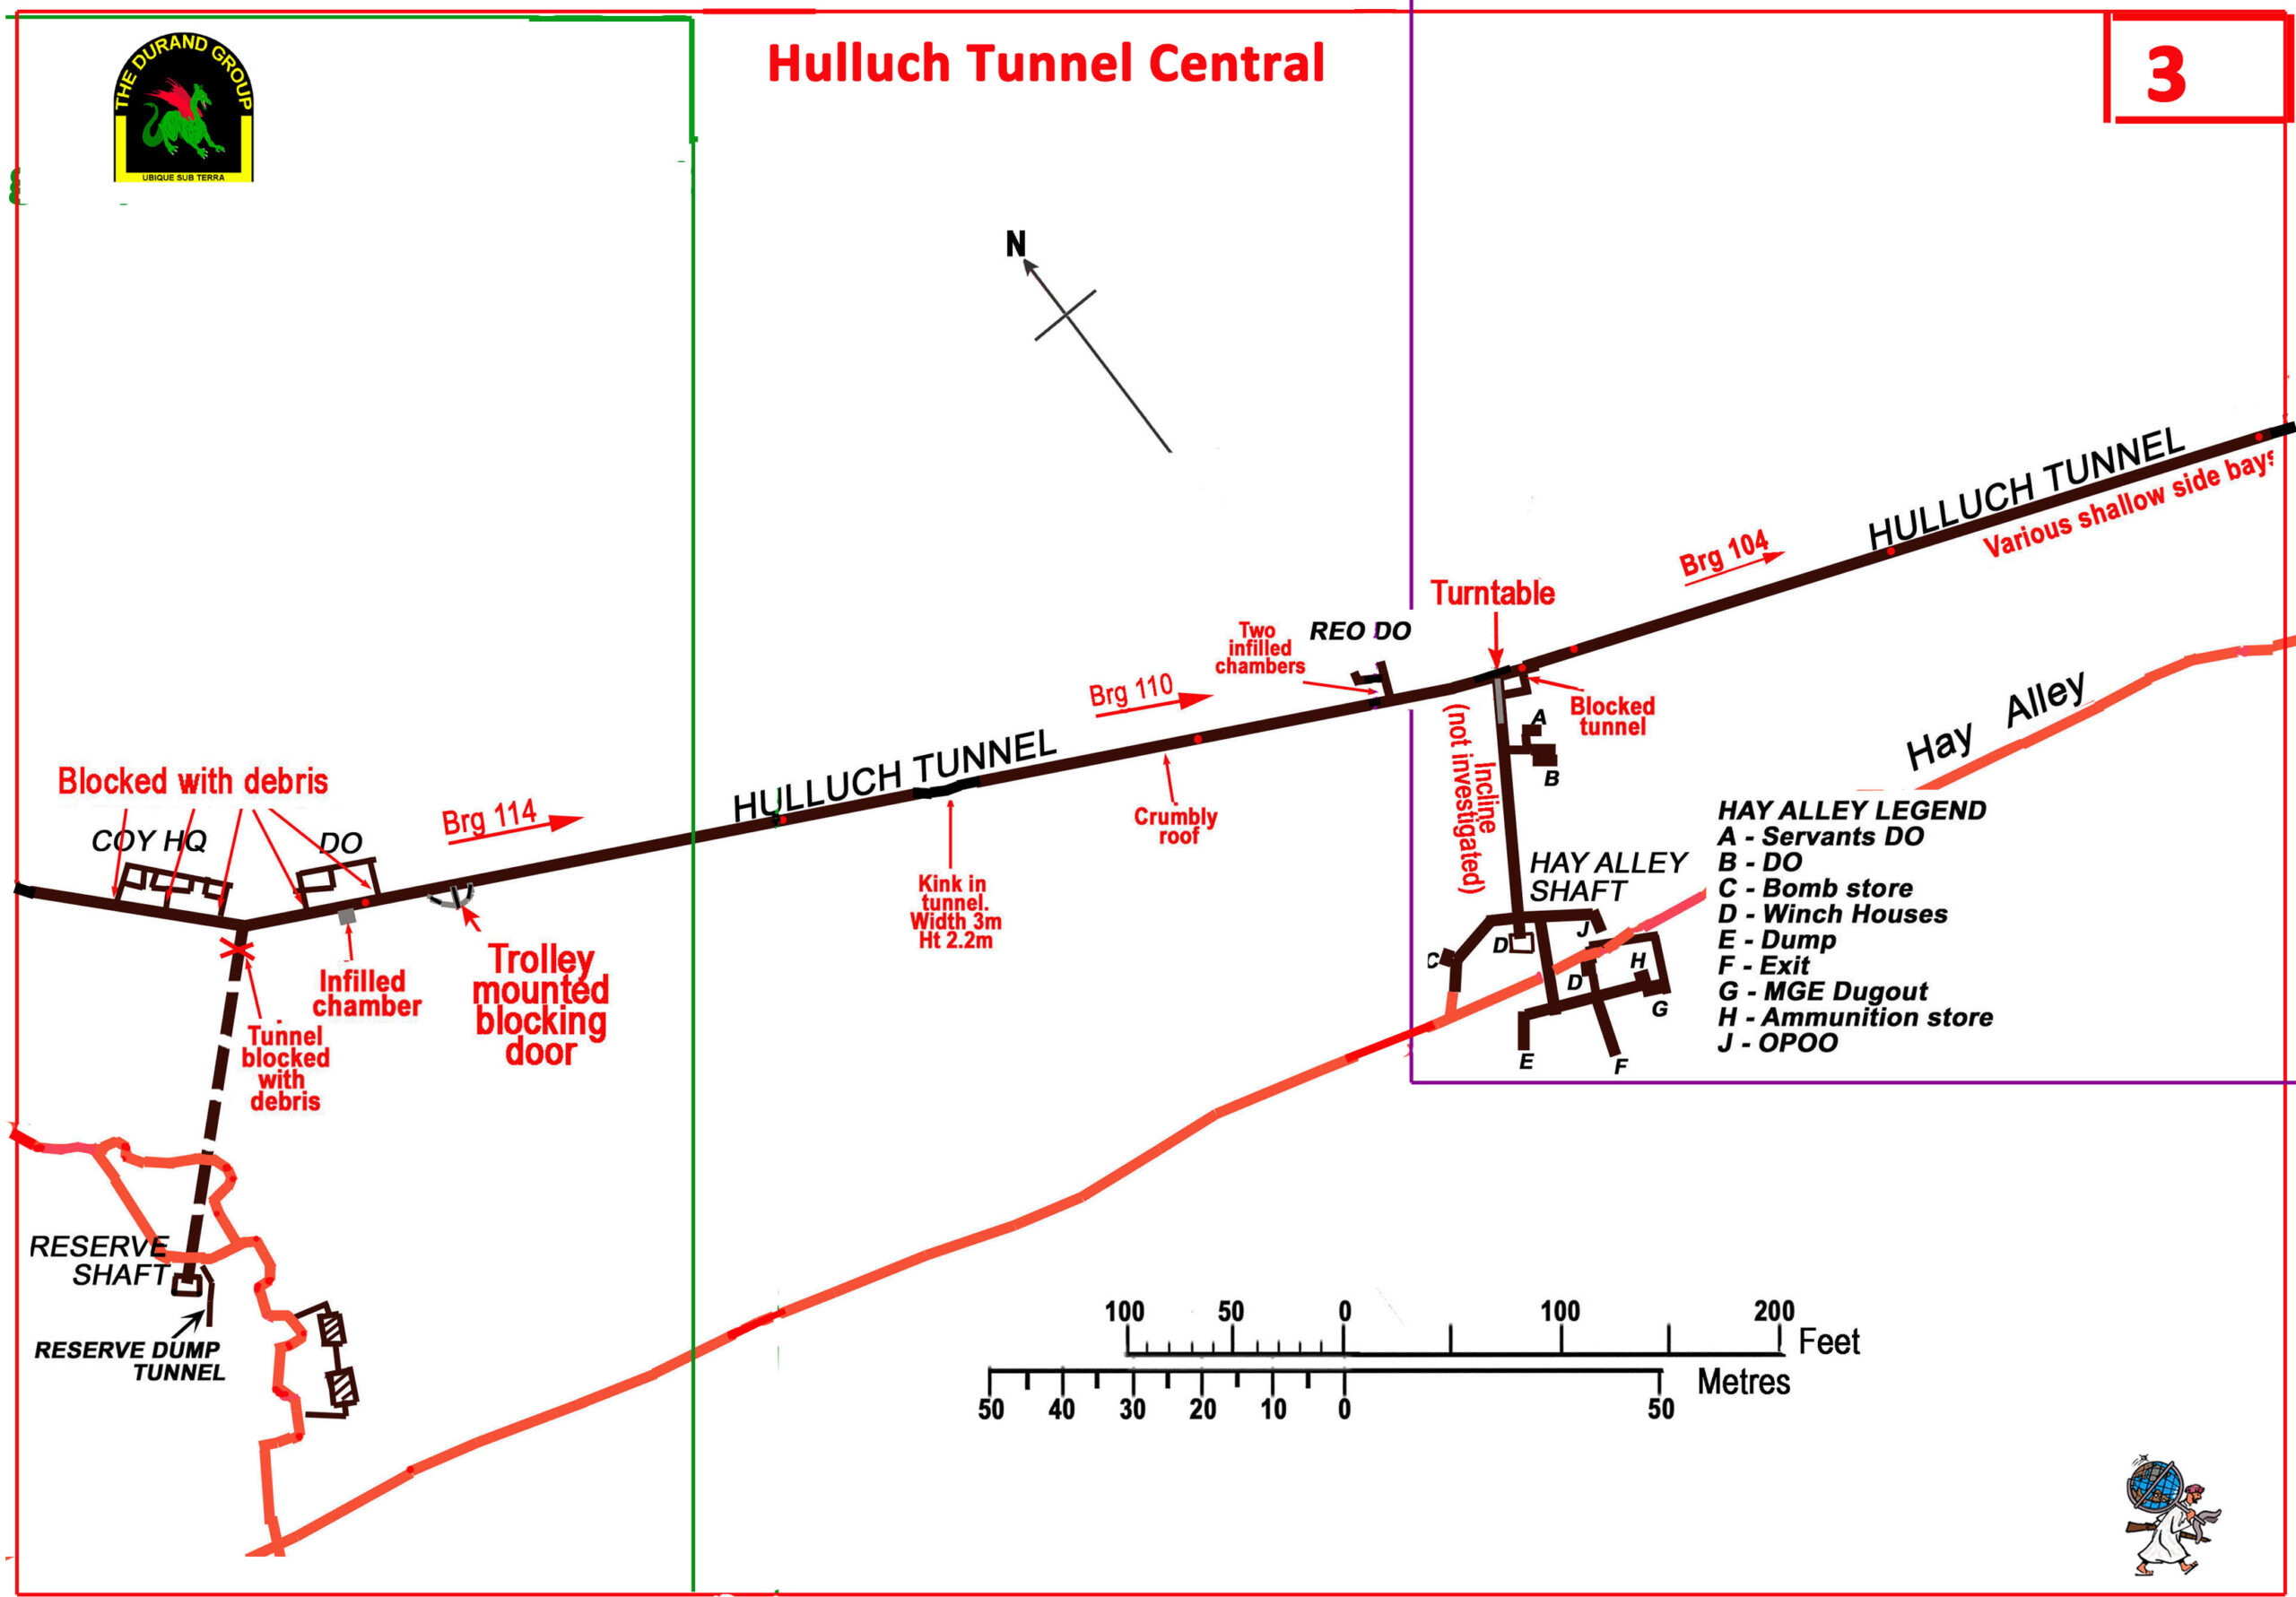
Section 3 — the central tunnel.
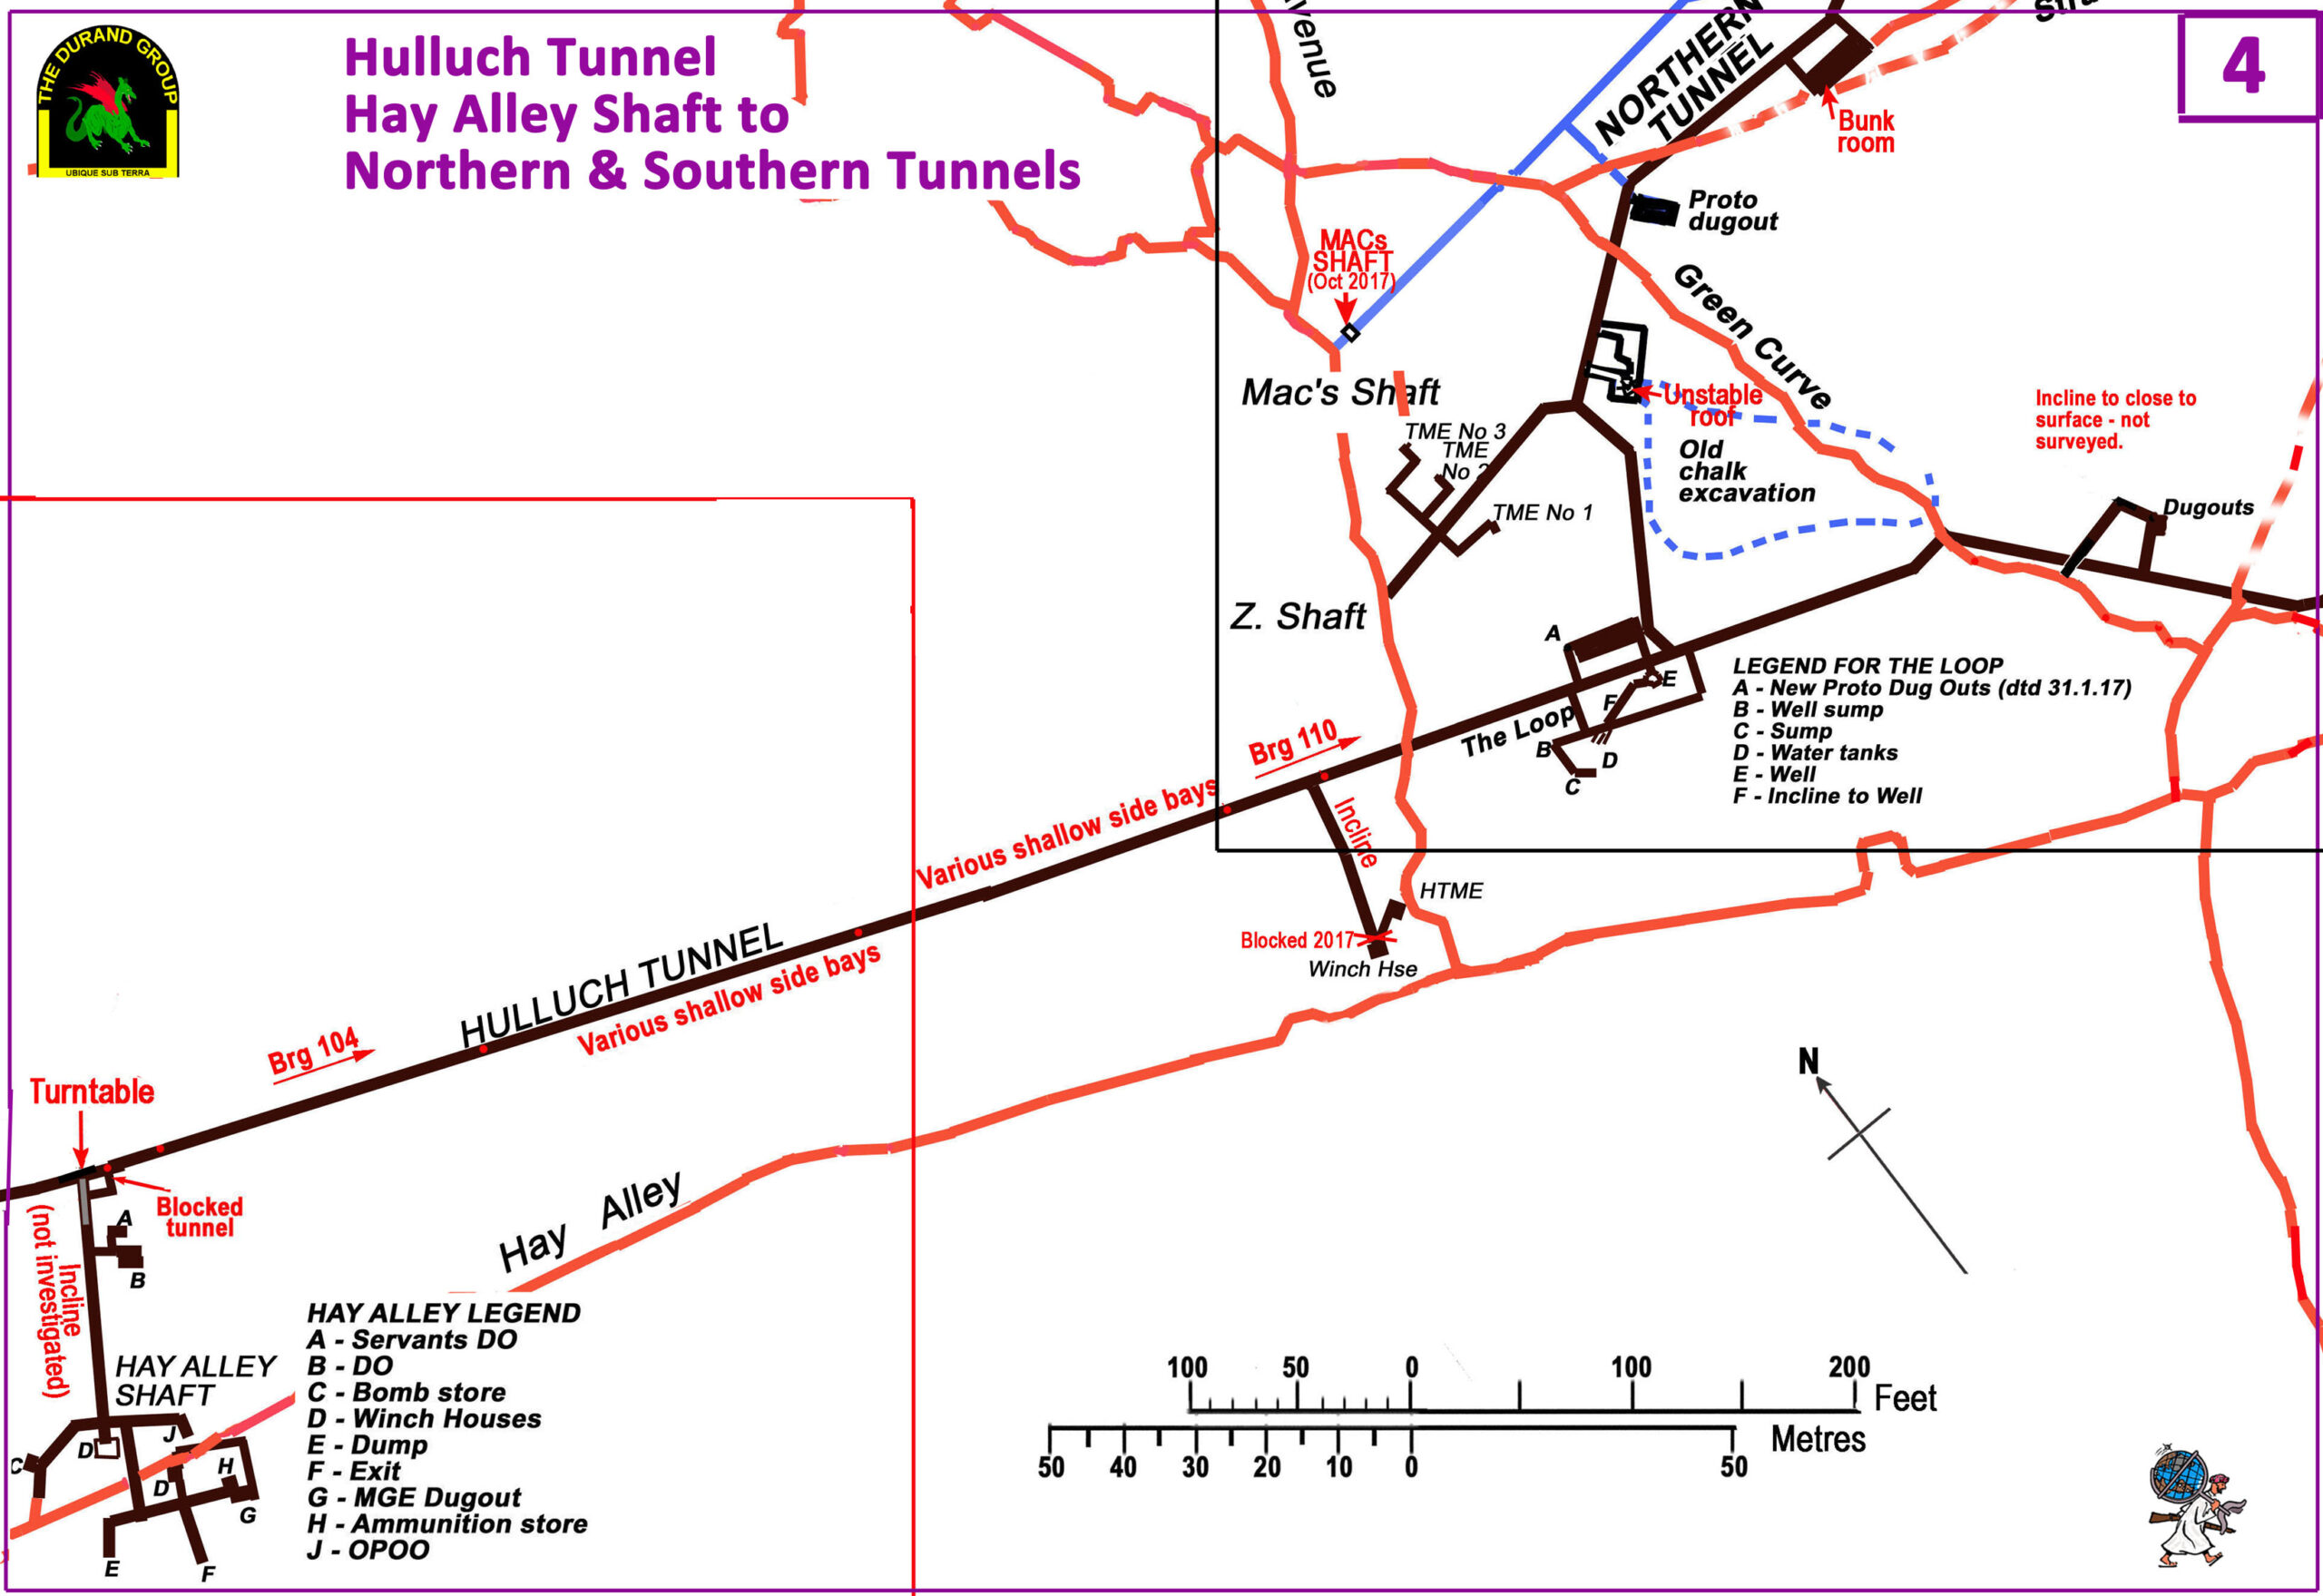
Section 4 — Hay Alley and the routes to the northern and southern tunnels.
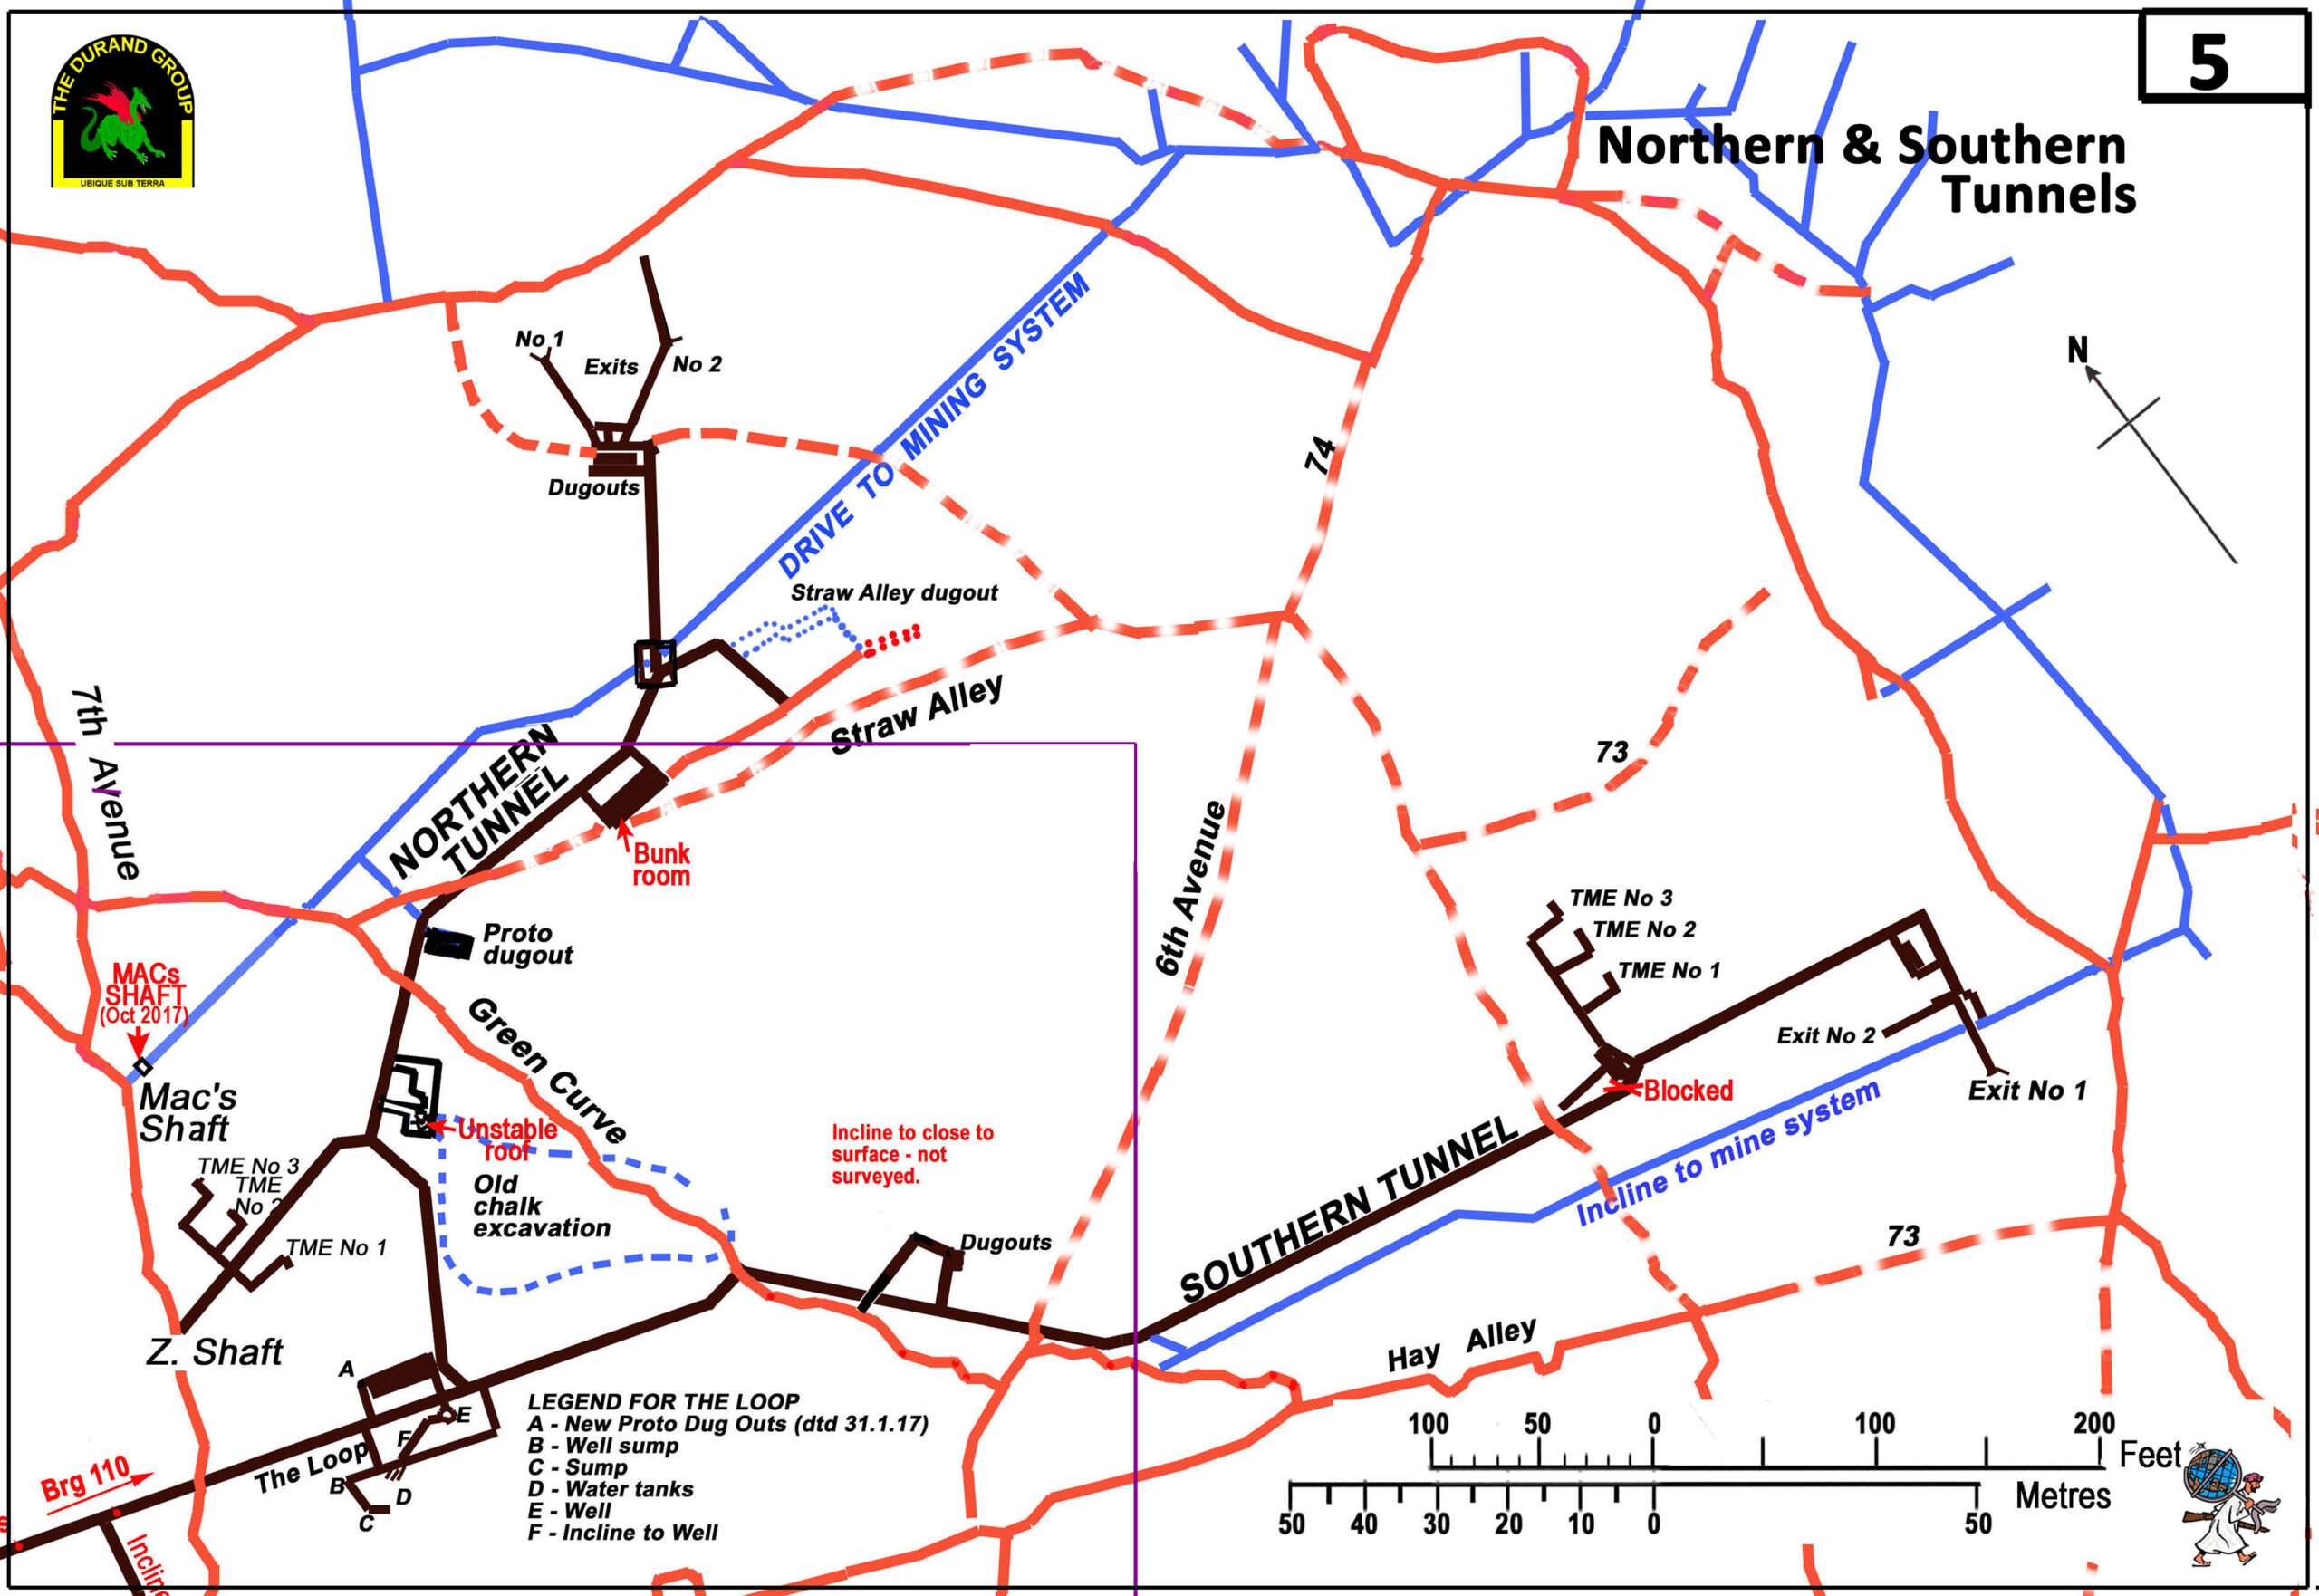
Section 5 — the northern and southern tunnels.
Sources and further reading
- National Army Museum, “Battle of Loos”.
- The National Archives, 253rd Tunnelling Company war diaries, WO 95/488/5.
- Australian War Memorial, 3rd Australian Tunnelling Company war diaries: November 1917 and February 1918.
- Charles E. W. Bean, contemporary account of his February 1918 visit to the Hulluch workings.
- Institution of Royal Engineers, Military Mining (1922), Plate V.
- Damien Finlayson, “Hades’ Henchmen: The Australian Tunnelling Companies and Alphabet Company”.
- Australian War Memorial drawings and Inspector of Mines report concerning the Hulluch defensive doors and demolition arrangements.
- Andy Prada, “‘No Ordinary Working Environment’: The Hulluch tunnels during the Great War”, Stand To!, no. 134, July 2024, pp. 24–31.
- Andy Prada, “When World Wars Collide: Re-purposing the Hulluch tunnels during the Second World War”, Stand To!, no. 135, October 2024, pp. 10–16.
- Myles Lauchlan Sanderson, “Three Aussies and an Englishman: A Personal Story of Family and War”, Stand To!, no. 128, October 2022.
- Damien Finlayson, “The Lightning Keepers: The Australian Alphabet Company in the Great War”, Stand To!, no. 112, June 2018, pp. 6–12.